Signs a Sealed Crack Is Failing and Needs Resealing
Last updated: September 10, 2026
Key Takeaways
- Clean the area 6 to 12 inches around the crack.
- If you check again in 30 to 60 days and the crack has grown past your mark, the substrate is still moving.
- If you do not compare measurements across 30 days, you may mistake a temporary cosmetic fix for a real repair.
- For the common case, though, the signs are readable.
Movement, edge lift, repeat staining, or moisture coming back after the fix—those are the usual giveaways. A sealed crack in concrete, stucco, masonry, asphalt, or painted surfaces is not really a question of “does it look perfect?” That misses the point. Better question: is it stable enough that the seal is still doing its job?
Who this is for, and what I’m assuming you already know
This applies to a crack that was already sealed with a flexible filler, sealant, epoxy, or similar repair, and now shows signs that the signs sealed crack is failing needs resealing. I’m assuming you already know where the crack is, what it was sealed with, and roughly when the repair was done. No guesswork there. If you do not know what material was used, that matters, because a polyurethane joint sealant fails differently from an epoxy crack injection or a patching compound.
I’m also assuming this is a normal property issue, not an emergency. A load-bearing beam, a foundation wall that is visibly bowing, or anything widening day by day is a different story. Not a reseal-first job. In those cases, a structural engineer, mason, or qualified contractor needs to look at the cause before anyone simply seals the line again.
For the common case, the signs sealed crack is failing needs resealing are fairly easy to read. You do not need lab gear. Just a clean surface, a close look, and the discipline to notice movement, edge failure, and moisture tracks instead of staring only at the crack width. A 1/8-inch crack that stays put can be less urgent than a hairline crack that keeps opening at the edges. Funny how that works.
What a failing seal actually looks like
A failed seal shows movement, separation, staining, or repeat leakage—not just an ugly line. The crack itself is only half the story; the seal gives out when it can no longer handle motion or keep water out.
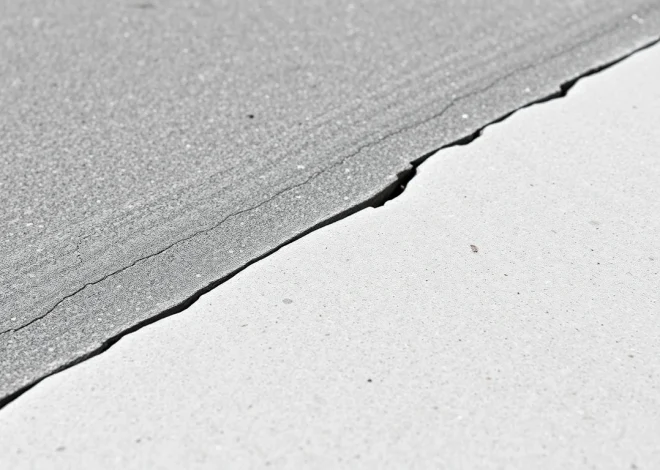
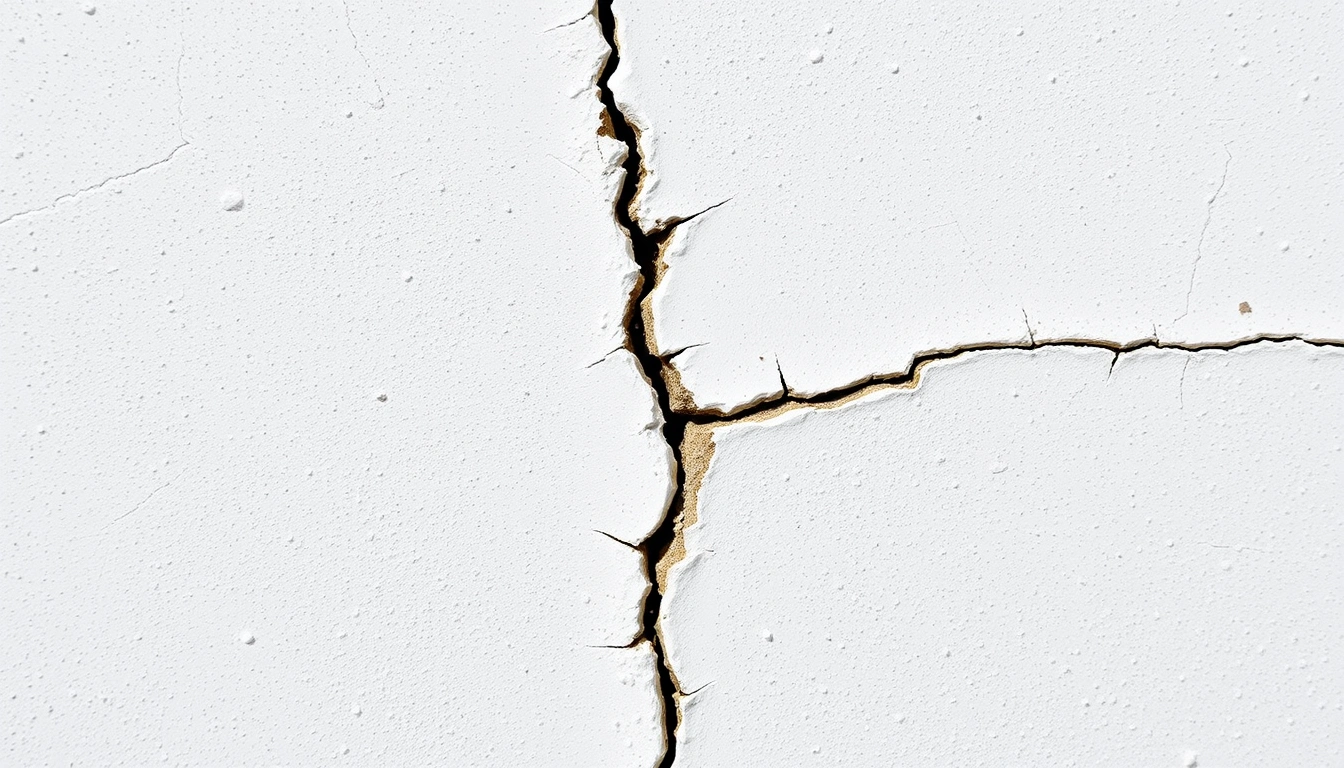
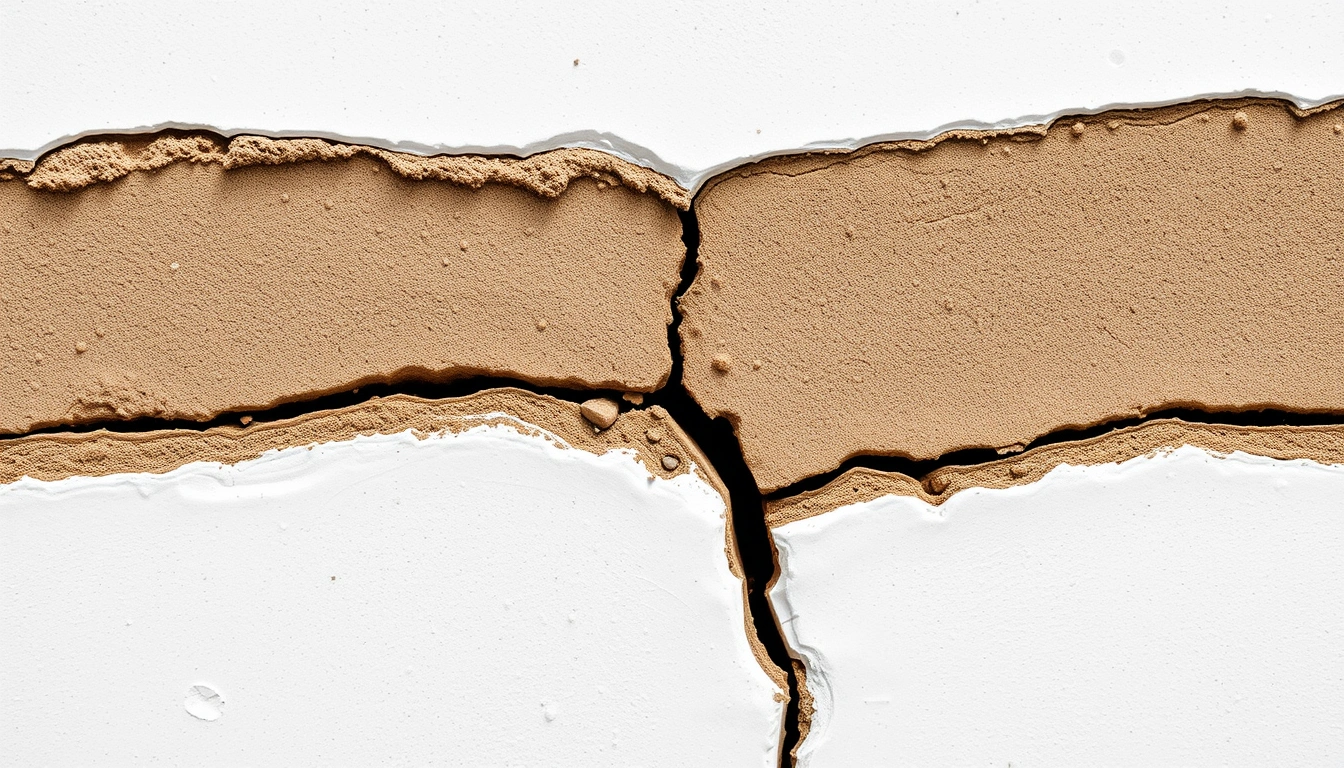
Edge separation is the obvious one. If the sealant has pulled away from one or both sides of the crack and left a narrow gap, the bond has failed. On flexible sealants, you may see a clean edge on one side and a ragged tear on the other. On hard fillers, the material may split right through the center. Either way, the seal is no longer spanning the crack the way it was meant to.
Telegraphing is another clue. That is when the crack line shows back through paint, coating, or patch material. If a coated concrete floor or exterior wall starts showing the old crack line again within a season, the movement underneath is still active. That does not always mean structural danger; it can simply mean the repair has quit working.
Discoloration counts too. Rust stains, mineral deposits, dark water marks, or a chalky white residue called efflorescence on masonry often mean moisture has found a route. If a sealed basement crack shows a damp arc after rain, or a garage slab crack keeps collecting grit, the seal is not keeping the joint dry.
The first clue is often tactile. Run a finger across the sealed line. If the sealant feels brittle, cracked, crumbly, or loose enough to lift at the edge, it is past its useful service. Good material stays attached, stays flexible where it should, and remains continuous across the crack. Clean and simple.
How do I tell the seal is failing or the crack is still moving?
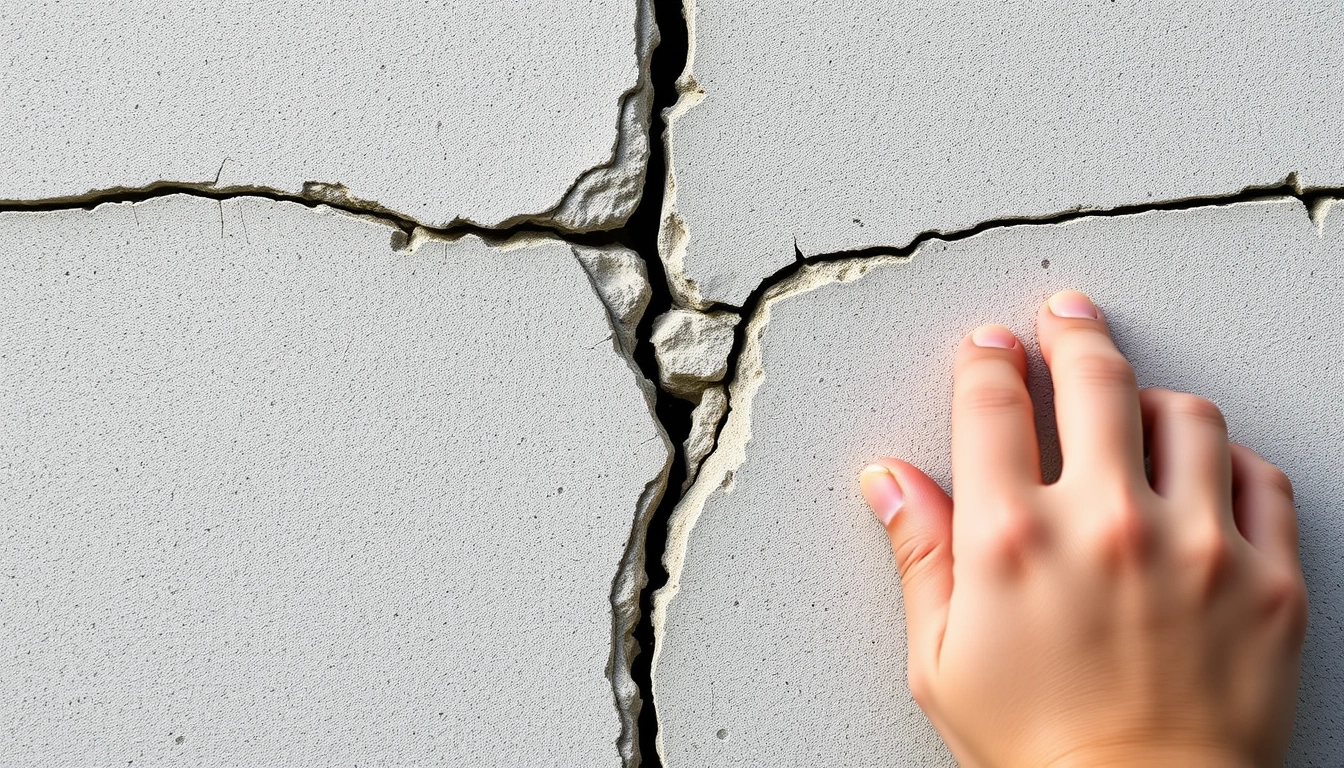
The seal is failing if the crack keeps changing width, if the sealant has lost adhesion, or if moisture shows up again after the repair. The job is to separate a cosmetic flaw from active movement.
Start with a basic inspection. Clean the area lightly so dust does not hide the edges. Hold a flashlight at a low angle; raking light makes ridges, gaps, and edge lift easier to spot. On a wall or slab, mark the ends of the crack with pencil and write the date. Then check again in 30 to 60 days. If the crack has grown past your mark, the substrate is still moving.
Use a ruler or crack gauge if you have one. Exact lab precision is not the point. Comparison is. If a sealed crack that looked tight last month now has a visible gap, or if the sealant bead has stretched thin in the middle and bulged at the edges, the repair is being stressed. A good seal keeps a steady profile; a bad one starts looking pinched, pulled, or hollow. That’s the giveaway.
Look for recurrence after weather. If the crack leaks only after heavy rain, thaw, or a washdown, the seal may be opening under pressure or at a weak spot. On exterior concrete, repeated wetting and drying cycles can break down older caulk and some patch materials, according to the U.S. General Services Administration and the U.S. Department of Energy. On interior walls, repeat dampness often means the source is behind the crack, not just at the surface.
One distinction matters here: a single line of fine checking in paint is not the same as the crack underneath reopening. Paint can craze on its own. What matters is whether the underlying repair is still bonded. If you can press a thin knife blade or plastic pick into the edge and it slips under the sealant, the bond has started to fail.
A simple rule works well enough: if the crack has not changed and the seal remains tight, you may be able to monitor it. If the line keeps coming back, the seal has lost the ability to do the job.
How I would inspect a resealed crack, step by step
I would go in this order: clean, mark, measure, test the bond, check for moisture, and then decide whether the surface needs reopening and resealing. A careful 20-minute check is usually enough for one crack.
- Clean the area 6 to 12 inches around the crack. Use a stiff brush, vacuum, or dry cloth to remove dust, chalk, and loose grit. Verify: you can see the actual edge of the seal and the base material. Problem sign: the seal is hidden under dirt, which makes edge failure easy to miss.
- Mark both ends of the crack with pencil or painter’s tape and date the mark. Leave a 1-inch reference line or label near the crack. Verify: you have a fixed point for later comparison. Problem sign: the crack crosses your mark or lengthens beyond it on the next check.
- Measure the width at 3 points: one end, middle, and other end. Use a ruler, feeler gauge, or crack gauge; note the widest point. Verify: the width is consistent or only slightly different. Problem sign: one spot is opening more than the rest, which usually means movement is concentrated there.
- Inspect the seal edges with a flashlight at a shallow angle. Shine the light across the surface, not straight at it. Verify: the sealant is attached along both sides. Problem sign: a shadow line shows a gap under the edge, or you can see the sealant pulling away.
- Press gently along the seal with a plastic tool or fingernail. Do this at 2- to 3-inch intervals. Verify: the seal feels firm but not brittle, and it rebounds slightly if it is a flexible sealant. Problem sign: it crumbles, flakes, or lifts at the edge.
- Check for moisture or staining after a rain or wash. Wait until the surface dries, then look again for darkening, white salt deposits, rust, or dirt tracks. Verify: the repair stays dry and clean. Problem sign: the same stain returns in the same place, which usually means water is still getting through.
- Look for movement around the crack, not just in the line itself. Check nearby caulk joints, corners, mortar joints, or slab edges within a 12-inch radius. Verify: adjacent materials are stable. Problem sign: nearby joints are opening too, which points to broader movement and not just one bad seal.
- Decide whether the old material can stay or must be removed. If the seal is only dirty and intact, cleaning may be enough. If it is loose, split, or debonded, it needs removal before resealing. Verify: the old seal is continuous and bonded if you plan to leave it. Problem sign: any hollow spots, peeling, or recurrent leakage means a patch-over is the wrong fix.
One detail generic guides often miss: a reseal is not a top-up. Putting fresh sealant over failing material can trap movement and leave the old weak layer underneath. Then the repair looks fine for a month, maybe two, and splits again. Like a bad sandwich. Same ingredients, worse result.
What I would do before resealing
I would remove failed material, dry the crack fully, and choose a repair that matches the substrate and the movement. A reseal only works when the crack is clean and the new material can bond to sound edges.
If the old sealant is loose, cut it out with a utility knife, scraper, or oscillating tool as appropriate for the surface. On concrete or masonry, the crack edges may need to be opened enough to expose firm material. On smooth nonporous surfaces, solvent cleaning may matter more than aggressive abrasion. The goal is not to make the crack disappear; it is to give the new seal a solid grip.
Dryness matters. Many sealants and epoxies will not adhere well to damp surfaces. If the crack sits in a basement wall, under a leaking sill, or in a slab that sweats, sealing the symptom without addressing the water source usually fails. On an exterior wall, choose a dry window of at least a full day if the repair product requires it. Always follow the product instructions when they are more specific than the general rule.
Match the material to the movement. Flexible sealants are for cracks that move a little. Rigid fillers or epoxies are for cracks that should not move and may need structural bonding. Use a hard material on a joint that opens and closes with temperature, and the crack will often come back at the edge. Not bad luck. Just the wrong material.
A lot of failures happen because people treat every crack the same, so a professional should help if you are not sure whether the crack is a joint, a surface defect, or a sign of movement. A concrete driveway crack that opens with seasons, a stucco hairline, and a basement seepage crack are three different problems. A reseal can be the right move in all three, but not with the same approach.
When should I stop and call for the right kind of help?
Stop DIY resealing when the crack is active, structural, or part of a water problem that the surface seal cannot fix. In those situations, resealing alone is the wrong tool.
The crack widens measurably between checks: that means the substrate is still moving — stop resealing until a structural cause is checked, because a new seal will likely fail again.
You see stepped cracking, bowing, or offset across the crack: that suggests one side has shifted relative to the other — do not just fill it; have the structure evaluated first.
The crack leaks repeatedly after rain or snowmelt: the water path may be behind or below the visible line — a surface reseal may help briefly, but the source needs correction or the leak will return.
The old repair keeps peeling out in strips: that usually means adhesion is poor because of contamination, movement, or the wrong product — stop patching over it and remove the failed material fully.
The crack is in a foundation wall, retaining wall, beam, or slab with load-related damage nearby: those are not cosmetic surfaces — get a qualified contractor or structural professional involved before resealing.
There is mold, efflorescence over a wide area, or rot around the crack: the seal has been failing long enough to affect surrounding materials — resealing the line is not enough by itself.
Those are the cases where a clean reseal turns into a delay, not a fix.
The mistakes that make a repaired crack fail again
The biggest mistake is sealing over dirt. Dust, paint chalk, mildew, and old loose sealant get in the way of adhesion. The result is a bead that looks continuous but peels away at the first temperature swing. The alternative is simple: clean down to sound material before applying anything new.
The second mistake is using a rigid patch where movement exists. A hard patch in a crack that opens and closes by even a small amount will split at the edges. The alternative is to match the repair to the movement—flexible sealant for moving joints, rigid repair only where movement is truly minimal.
The third mistake is ignoring moisture. People see a dry day and assume the crack is dry enough. Then the first rain reopens the leak path. The consequence is repeat failure and trapped moisture. The alternative is to find the moisture source and let the material dry to the product’s requirement before sealing.
The fourth mistake is patching only the visible face. If the old material is hollow or debonded beneath the surface, a thin top layer will not hold. The consequence is a repair that splits just below the skin. The alternative is to remove loose material until you reach firm edges.
The fifth mistake is not checking movement over time. A crack that looks stable today can still open with heat, cold, or settling. If you do not compare measurements across 30 days, you may mistake a temporary cosmetic fix for a real repair. The alternative is to mark and recheck. Straightforward, but easy to skip.
The sixth mistake is resealing the same failing crack over and over without asking why it opens. That is how small maintenance jobs turn into hidden damage. The right move is to figure out whether the issue is a joint, a water entry point, or a structural crack that needs a different repair method.
What counts