How to Seal Control Joints in a Concrete Driveway
Last updated: October 24, 2026
Quick Answer: sealing control joints in a concrete driveway usually takes a few hours of prep and sealing, plus the cure time on the package before traffic returns. How to Seal Control Joints in a Concrete Driveway starts with a clean, dry joint, the right backer rod depth, and a flexible self-leveling sealant.
Seal control joints in a concrete driveway with a flexible self-leveling sealant after the joint is clean, dry, and set to the right depth. The job is less about “filling a gap” and more about giving the saw-cut joint room to move without trapping water, sand, or debris.
If the joint is a true saw-cut control joint, the goal is a neat, durable seal that stays slightly recessed or just flush. If the line is a random crack, this method is the wrong fix; use the crack-specific repair page in the surface-specific crack repair hub instead.
What control joints do, and why that changes the repair
Control joints are intentional weak lines cut or formed into a concrete slab so the concrete can shrink and crack where the cut tells it to. On a driveway, those joints usually show up as straight saw-cuts, often about one-quarter of the slab depth, though the exact layout depends on the pour.
That matters because a control joint is expected to move. A sealant there is not just cosmetic. It needs to stretch and compress as the slab opens and closes with temperature, moisture, and traffic. A hard filler that bonds rigidly across the joint can tear loose in a season and sometimes chip the edges of the saw-cut.
This is also where finish level matters. A driveway joint usually should not be packed full and crowned high. If the surface ends up proud of the slab, tire edges and snow shovels will find it. If it sinks too low, grit and water collect. A slightly recessed seal is often the safer target for a concrete driveway with normal vehicle use.
This page is for a control joint, not an expansion joint. Expansion joints use different materials and different movement allowances. It is also not for slab cracks outside the joint line. A diagonal or wandering crack is a different problem.
Before choosing a product, read the label for joint use and movement capability. A polyurethane or silicone joint sealant made for concrete is usually a better fit than a general-purpose caulk. For technical guidance, the ASTM standards for joint sealants and installation methods are worth knowing by name: ASTM C920 covers elastomeric joint sealants, and ASTM C1193 is a standard guide for use in sealing joints.
For more installation details, consult a concrete professional or the sealant manufacturer if the slab has unusual movement, a slope, or existing edge damage. The U.S. General Services Administration also points readers to ASTM C1193 for joint-sealant installation guidance.
What you need first
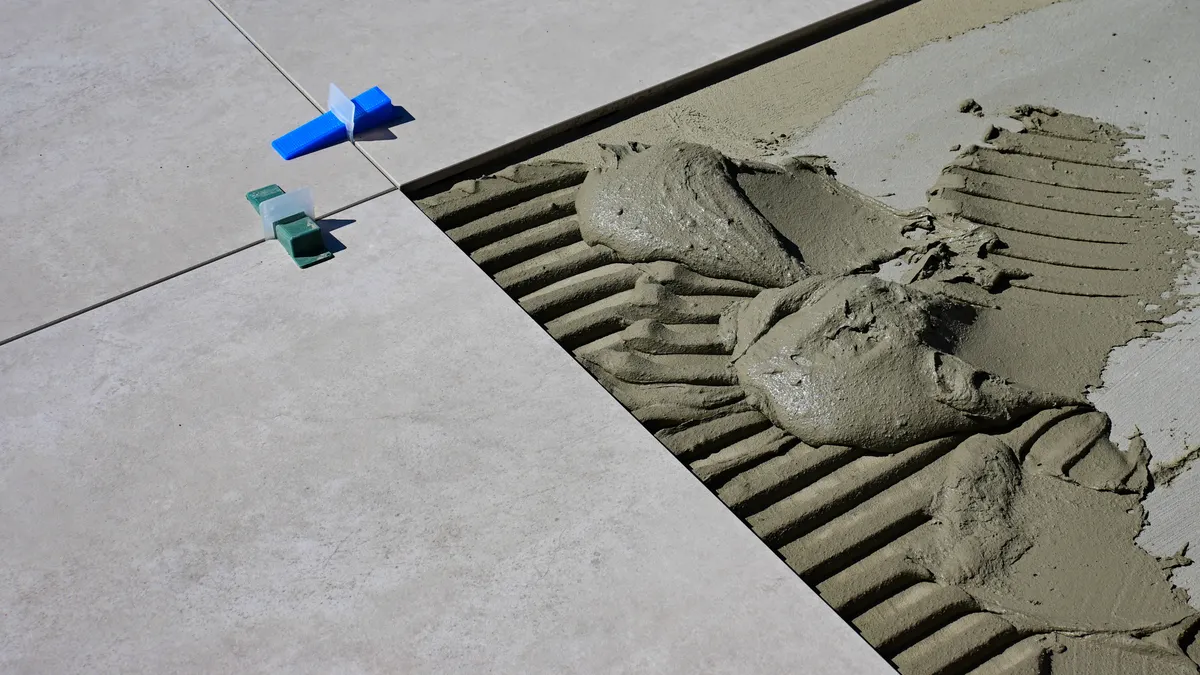
You need a dry joint, a vacuum or stiff brush, masking tape, a joint knife, backer rod sized to the joint, and a self-leveling sealant labeled for concrete joints.
A few more things make the work cleaner: a caulk gun if the product is cartridge-fed, a utility knife or tuck tool for trimming backer rod, and gloves. If the driveway has narrow saw-cuts, a 1/4-inch or 3/8-inch backer rod is common; wider joints may need larger diameters so the rod sits snug and does not fall through.
The sealant choice matters. A self-leveling joint sealant is the right tool when the joint is horizontal and you want the material to flow into the cut. For sloped driveways, the product must be rated for that use or it can run out before it skins over. That is one reason the label matters more than the brand name.
You also need a dry weather window. Many concrete sealants need a dry surface and moderate temperature to cure properly; if conditions look marginal, consult a professional and follow the product label. If rain is in the forecast within the cure window on the product label, wait. Wet concrete dust in the joint can also ruin bond, so sweep and vacuum until the sides of the saw-cut are clean. ASTM C1193 and the sealant manufacturer’s instructions are the right references here.
If the joint edges are ragged, do not grind aggressively unless that is needed to remove loose material. Overworking the edges can widen the joint and make the finished line look sloppy. The cleaner the original cut, the more finished the result.
How to seal control joints in a concrete driveway
Seal control joints in a concrete driveway by cleaning the joint, setting the correct depth with backer rod, masking the edges, placing the sealant, and letting it cure without traffic. The order matters because each step sets up the next one.
- Clear the joint completely. Remove stones, dirt, weeds, old brittle filler, and loose dust from the saw-cut with a shop vacuum and a joint knife. When this works, the joint looks empty and the sides of the cut are visible from top to bottom.
- Check the joint width and depth. Measure the opening in a few spots. Saw-cuts are often narrow, but they are not always even. The backer rod should fit snugly and sit low enough to leave room for sealant above it.
- Set backer rod to the right depth. Press the rod into the joint with a blunt tool until it sits below the surface by about 1/4 inch to 1/2 inch, depending on the sealant label. If the rod is set correctly, it stays in place and gives the sealant a uniform bed.
- Mask the joint edges if you want a crisp line. Run painter’s tape along both sides of the cut, leaving only the joint exposed. This is especially useful where the driveway finish is broomed or decorative and you want to avoid smears.
- Place the self-leveling sealant steadily. Cut the nozzle to match the joint opening and fill the joint in one smooth pass. The sealant should settle into the cut and wet both sides without leaving voids or air pockets.
- Tool only if the product calls for it. Some self-leveling products are meant to flow on their own. If the label says to tool the bead, use a joint knife lightly to break surface tension, not to scrape material out. A good fill leaves a smooth, slightly recessed surface.
- Pull tape before the skin forms, then keep traffic off it. Remove masking tape while the sealant is still wet so the edges stay clean. Then block vehicles and foot traffic for the cure time listed on the package, which is often measured in hours rather than minutes; if the cure window is unclear, consult a professional and the manufacturer’s instructions.
If the sealant drops too far into the joint, the backer rod is likely too low or too small. If it domes above the slab, too much material went in or the joint was too narrow for that product. Either problem can shorten service life.
How to handle saw-cut joints differently from random cracks
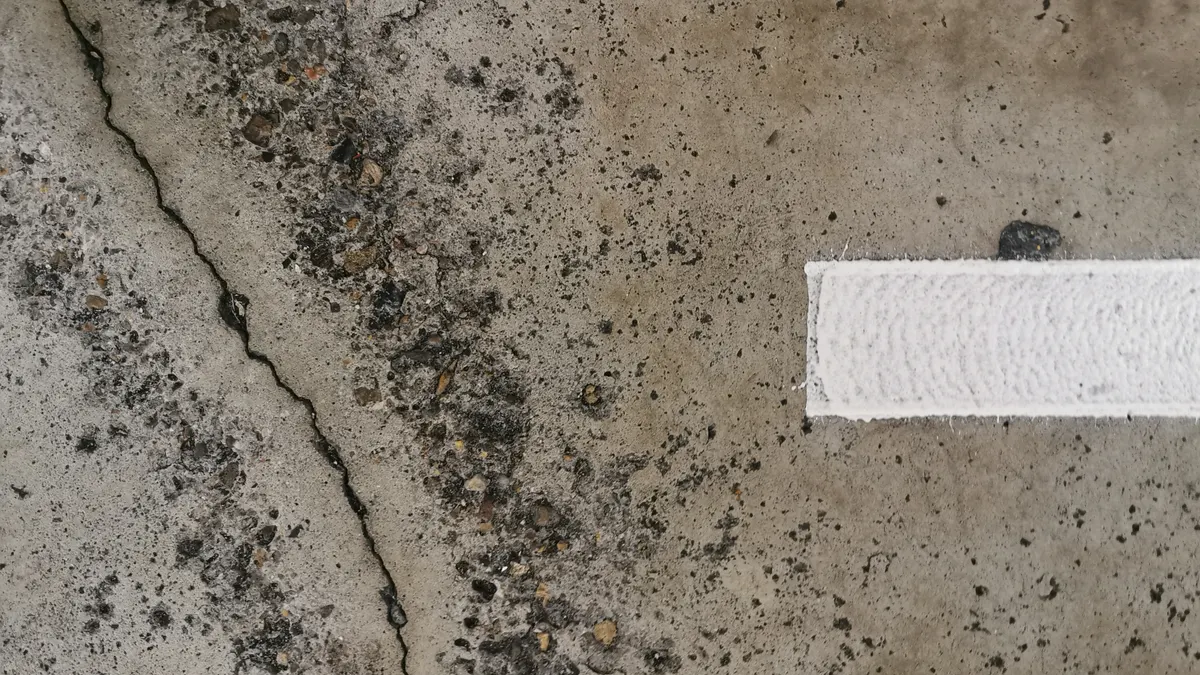
Saw-cut joints get a flexible joint sealant; random cracks usually need crack repair, not joint sealing. That difference saves time and keeps the repair from failing at the first seasonal movement.
A saw-cut control joint is straight, planned, and part of the slab design. The concrete on either side is supposed to move a little. In that case, use a sealant that tolerates movement and place it so it can stretch. A concrete slab with joint sealant still keeps its control function.
A random crack is different. It may be caused by settling, poor base support, excess water in the mix, or a load issue. If you force the wrong material into that line, the repair may peel out because the slab is moving in an unpredictable way. This is why the crack-repair topic has its own page.
Look at the edges too. A saw-cut joint usually has relatively crisp sides, even if the cut is a bit rough. A crack often has fractured edges and a jagged path. If the line changes direction, crosses the slab unexpectedly, or opens wider in one spot, stop and reassess before sealing.
There is one more practical difference: finish level. A control joint on a driveway is often best left nearly flush or a little below the surface. A random crack repair may end up flush for different reasons, especially where trip hazards or water intrusion are part of the problem. The finish target is not the same, and mixing the two approaches leads to poor results.
If you are hiring this out, ask the contractor how they will tell a saw-cut joint from a structural crack. A good answer should mention joint movement, edge condition, and whether backer rod will be used. If the answer is just “we fill all gaps,” keep looking.
What a good finished joint should look like
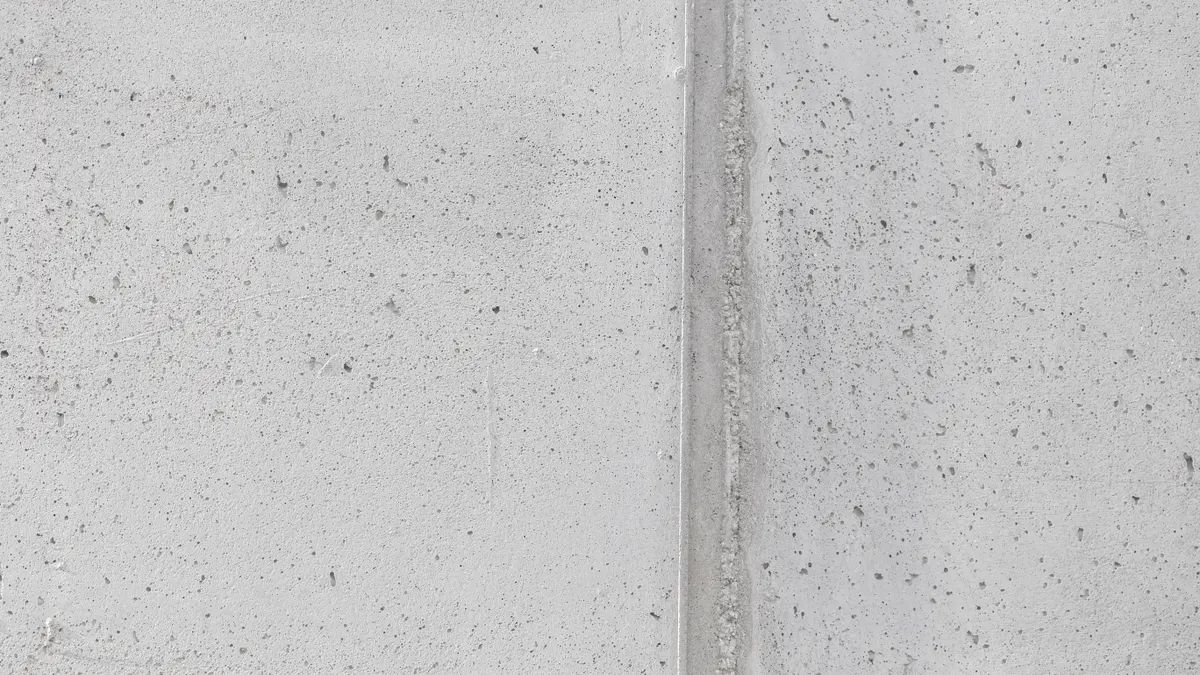
A good finished control joint is continuous, clean, and set at a consistent depth with no gaps at the edges. The sealant should bond to the concrete sides, not bridge over loose dust or sit on top like a ribbon.
On a driveway, appearance matters because tires, sunlight, and winter cleanup expose every mistake. A sound joint seal is usually smooth enough to shed water and debris, but not so high that it becomes a speed bump. The line should follow the saw-cut, not wander beyond it.
Watch for three common finish problems. First, surface skin with a hollow center means the joint was dirty or the sealant was overworked. Second, cracking along one edge often points to poor movement allowance or a product not suited to the joint width. Third, a sunken center usually means the backer rod was set too deep or the joint was overfilled and then shrank back.
Temperature matters here. Sealants behave differently on a cool 50°F day than on a hot slab in direct sun. On very warm concrete, the joint may be slightly open; on a cool morning, it may be tighter. That changes how the bead sits. A contractor who understands control joints will often schedule the work around weather instead of forcing the same approach every day.
If the driveway has decorative saw-cuts or a high-end finish, ask for a small test section first. That is not overkill. It is the easiest way to see how the material levels and whether the final sheen fits the slab.
What the job usually costs, how long it takes, and what affects both
Sealing control joints is usually priced by linear foot, by project minimum, or by the size of the driveway, but the exact cost depends on joint length, cleaning difficulty, and the sealant system used. A short, simple driveway is much faster than a long one with old filler, weeds, or many saw-cuts.
The time on site can be a few hours for cleaning and sealing, plus the cure window before vehicles return. The cure time is product-specific, so the package directions matter more than a generic promise. A driveway that needs old material removed and joints re-cut or widened will take longer.
What changes the price most? Joint condition, not just square footage. A joint that is full of sand or failing filler takes more labor than a clean saw-cut. The same is true if the contractor has to dry the joints, replace deteriorated backer rod, or work around tight edges near the garage slab.
If you are comparing bids, ask what is included. Does the quote cover cleaning, backer rod, masking, sealant, and cleanup? Does it include removal of old material? Does it use a self-leveling product made for horizontal joints, or a generic caulk? Those details change the result and the price.
A cheap bid can be the expensive one if it skips prep. Poor prep is what makes sealant peel away, crack at the edges, or sit too low in a season. The best quote is the one that clearly names the steps and the material, not the one with the shortest number.
What to ask before hiring someone
Ask whether the contractor will treat the joint as a control joint, not a crack. That is the first filter. The right answer should include movement, backer rod, joint width, and the plan for masking the slab edges.
Ask what sealant they use and whether it is self-leveling or tool-grade. Ask how they handle saw-cut joints that vary in width along the driveway. A careful contractor should be able to explain how they choose backer rod size and how they keep the bead from sinking or crowning.
Also ask about the cure window and traffic restrictions. On a concrete driveway, that is not a minor detail. If the sealant needs 24 hours or longer before vehicle traffic, you need to know before the work starts, especially if the driveway is the only access to the garage.
If the answer is vague, that is a warning sign. A proper control joint repair is a materials-and-prep job, not just a tube-and-go job. The difference shows up when the slab moves.
Key Takeaways
- Control joints are designed to move, so the seal has to flex with the slab instead of locking it rigidly.
- Clean the joint, set backer rod to the right depth, then place a concrete-rated self-leveling sealant.
- Saw-cut joints are not the same as random cracks, and they should not be repaired the same way.
- A finished joint should stay neat, slightly recessed or nearly flush, and free of loose debris.
- Prep quality changes both the price and the durability of the job more than the sealant label alone.
Should control joints be sealed?
Yes, in many driveways they should be sealed if you want to keep water, sand, and weeds out of the joint. The sealant should still allow movement, so the goal is not to make the joint rigid. If the driveway sees freeze-thaw cycles or heavy debris, sealing is usually more useful than leaving the saw-cut open.
Can you fill control joints flush?
Usually not fully flush, no. A control joint should keep enough room for movement, and a completely flush fill can be more likely to tear or stand proud of the slab. A slight recess is often safer on a concrete driveway, especially where tires, shovel blades, and temperature swings will work on the joint.
What sealant works best for driveway control joints?
A self-leveling sealant made for horizontal concrete joints is usually the best fit. Look for a product rated for concrete and joint movement, and pair it with properly sized backer rod. ASTM C920 and ASTM C1193 are useful references when comparing products, because they describe the performance and use of elastomeric joint sealants.
Drafted with AI; not yet reviewed by a person.

Related Posts
How to Seal Cracks in a Garage Floor Without Tracking Dirt
How to Seal Expansion Joints in Driveways and Sidewalks