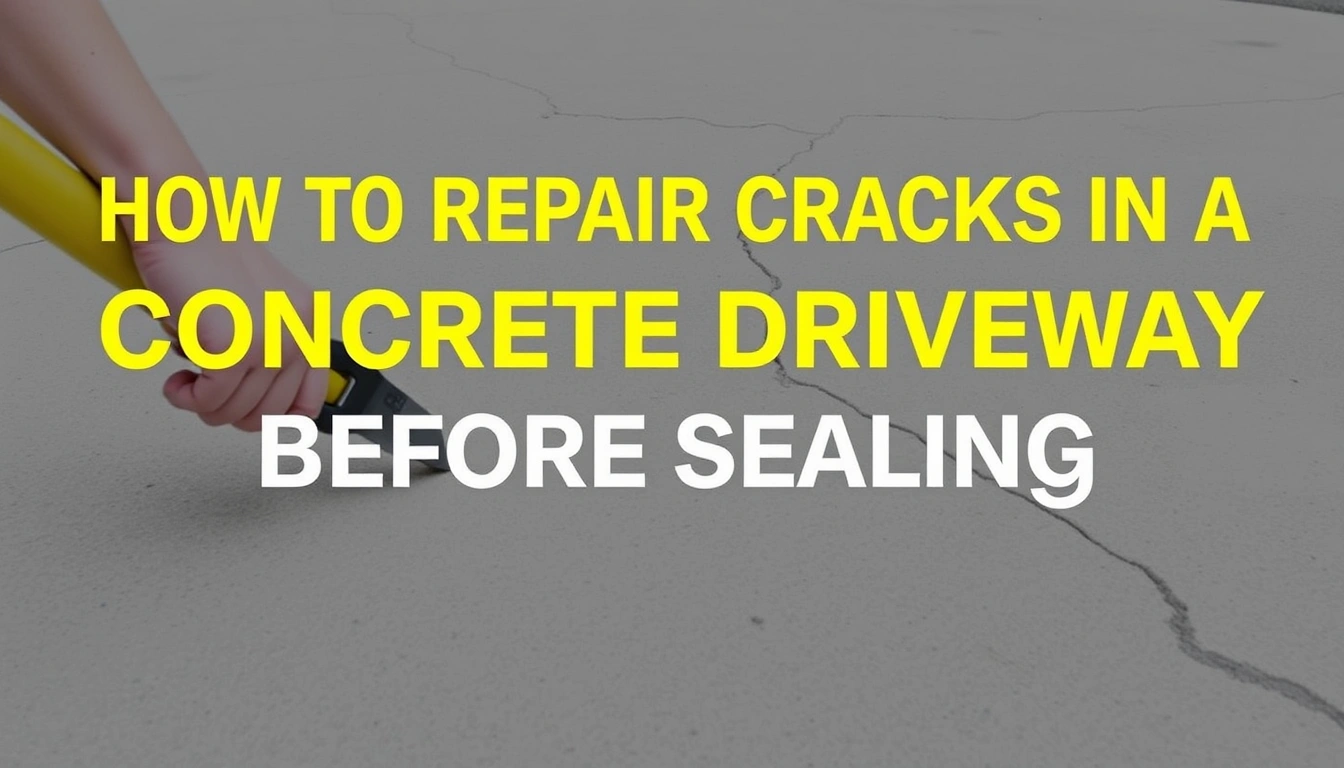
How to Repair Cracks in a Concrete Driveway Before Sealing
Last updated: September 10, 2026
Key Takeaways
- Some products are ready in a few hours; others need 24 to 72 hours before sealing.
- Many products need 24 hours or more before topcoating, and some epoxies need longer in cool weather.
- When the label gives a range, go with the slower end when temperatures are below 60°F.
- Sealer usually wants dry conditions and moderate temperatures, often around 50°F to 90°F, depending on the product.
A crack and a sealer are a bad match. If the line is moving, dirty, or hollow, the coating won’t disguise it — it just traps the trouble. So, how to repair cracks in a concrete driveway before sealing? Fix the crack first, let the repair cure, then seal it. I’d treat most driveway cracks under about 1/4 inch as a repair-and-seal job; wider ones, vertical displacement, or active heaving are another matter and may need concrete work before any sealer goes down. For sizing decisions, check manufacturer guidance such as Quikrete’s concrete crack repair instructions and, when movement or settlement is involved, consult a concrete professional.
Who this applies to — and who should do something else
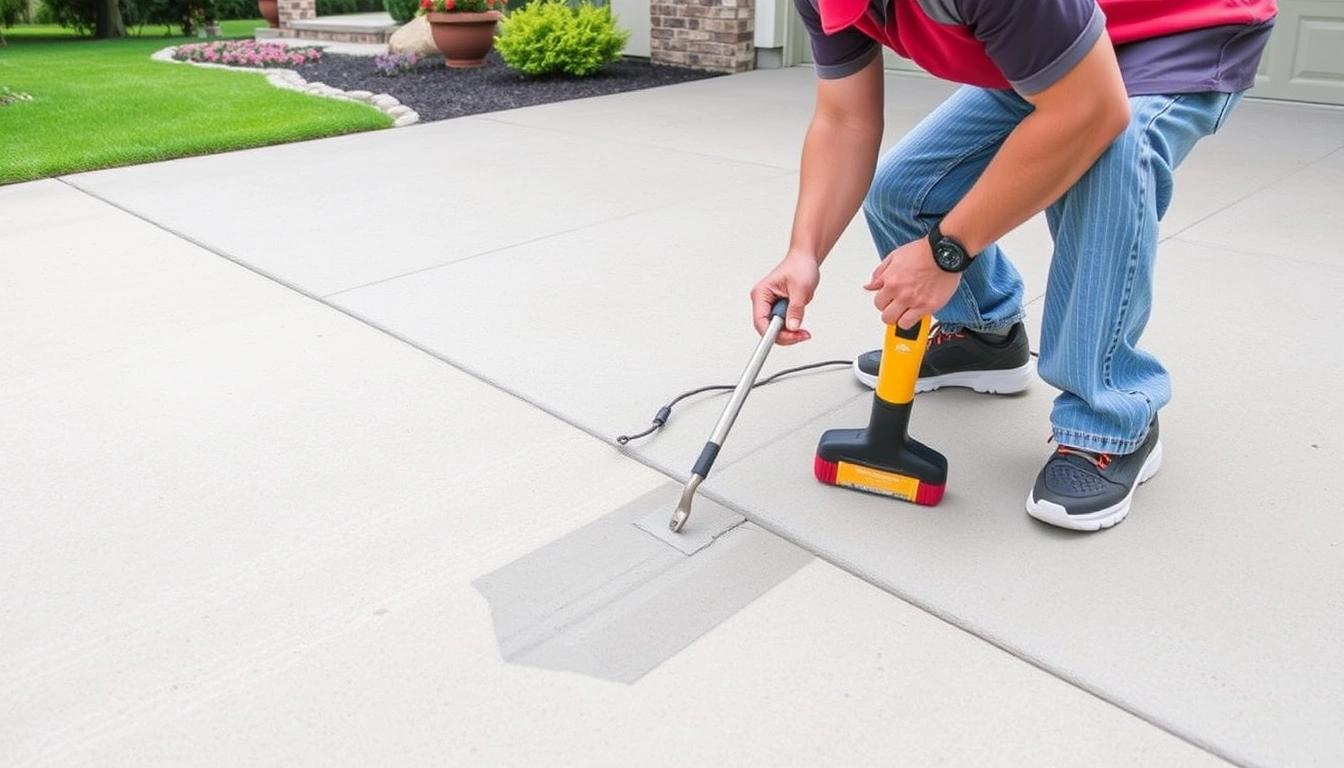
This is for a homeowner or property manager with a concrete driveway that has hairline cracks, tight shrinkage cracks, or a few open cracks that have not become broken slabs. It assumes you already know how to sweep, vacuum, and follow a label, and that you can keep the driveway dry long enough for patch materials and sealer to cure. For a do-it-yourself repair, that is usually enough; if the slab is unstable or the product choice feels murky, consult a concrete professional and follow the manufacturer’s instructions, such as those from Sakrete and the American Concrete Institute. And yes, it also assumes you plan to seal afterward, because crack repair materials and sealers do not all bond the same way.
I would not call this a cosmetic fix only. A crack is often the first visible sign of shrinkage, settlement, or freeze-thaw damage. Ragged edges? A lifted side? Water pooling through the line after rain? Then the repair needs more than a tube of filler and a bucket of sealer. In that case, patch, grind, or lift the slab first, then seal later.
For a straightforward driveway crack repair, the work is usually affordable compared with full replacement. Materials for a small repair may run from about $20 to $60 per crack using basic fillers and backer rod, while more involved epoxy or polyurethane repair kits can be higher. Labor from a contractor varies by region, crack width, and how much grinding or cleaning is needed, so I’d ask for an on-site estimate rather than guess from a phone quote.
Climate matters. In cold regions with freeze-thaw cycles, cracks that take on water can widen quickly if they are left open before sealing. In hot, dry areas, the bigger risk is dust, movement, and a weak surface bond. Either way, the repair has to be sound before a sealer can help. That part is non-negotiable.
What kind of crack can be repaired before sealing?
The answer is: repair cracks that are stable, dry enough to clean, and not structurally failing. A non-moving crack that is less than 1/4 inch wide is usually the easiest kind to treat before sealing, but a professional should assess anything that is wide, uneven, or keeps changing. A wider crack can still be repairable, but it often needs a two-step approach: fill deep sections, then top them cleanly so the sealer can bridge a smooth surface.
I use these terms the way a contractor would. A hairline crack is very narrow, often under 1/16 inch. A shrinkage crack is a common early crack caused by curing and drying, not by a base failure. A control joint is the saw-cut or formed groove designed to encourage the slab to crack in a planned line. A spall is a chipped or broken edge, usually where the top surface has broken away.
Movement is the real test. If a crack opens and closes with temperature changes but the slab stays level, it is a candidate for flexible repair material. If one side sits higher than the other by even 1/8 inch, that is a settlement or heave issue, not just a crack-filling issue. Sealing over that hides the line but not the problem.
I’d also look at the surface around the crack. Powdery concrete, scaling, or flaking in a 6- to 12-inch band around the crack means a filler alone is not enough. The weak surface has to be removed or stabilized, otherwise the new material fails at the edges. Ugly truth, really.
How do I repair a driveway crack before sealing?
The answer is to clean, shape, fill, cure, and then seal in that order, not the other way around. Skip the cleaning and shaping, and the repair may peel out in the first season. For how to repair cracks in a concrete driveway before sealing, a route-and-fill approach is usually the most reliable, but if the crack is active or the slab is damaged, consult a concrete professional.
- Open the crack enough for the repair material to sit in it. Use a crack chaser blade, angle grinder, or cold chisel to create a clean channel about 1/4 inch wide where needed, especially on ragged edges. Check that loose concrete is gone and the crack has a solid face. A problem is a dusty, crumbling edge that keeps breaking off as you work.
- Remove all debris and dust. Vacuum the crack thoroughly, then blow it out with compressed air or a leaf blower if the label allows. If oil, dirt, or mildew is present, clean it with a concrete cleaner and let it dry fully. Check that the crack is dry and free of loose grit. A problem is dark residue or fine powder still showing in the joint.
- Set backer rod in wider cracks. For cracks wider than about 1/4 inch, press foam backer rod into the crack so the filler does not sink too deep. Choose a rod slightly larger than the crack so it stays in place. Check that the rod sits below the surface, usually about 1/4 to 1/2 inch down. A problem is a rod that floats up or leaves no room for a top seal.
- Choose the repair material that matches the crack. Use a flexible polyurethane crack filler for active cracks, and an epoxy or repair mortar only where the crack is stable and the product is intended for concrete repair. Check that the label says it bonds to concrete and is suitable for exterior driveways. A problem is using a brittle filler on a crack that moves every season.
- Fill the crack in one controlled pass. Apply the filler with a caulk gun or squeeze bottle, forcing it to the bottom of the crack and slightly overfilling the surface by a thin bead. For deep cracks, fill in lifts if the product requires it. Check that no voids are visible and the crack is fully packed. A problem is trapped air or a low spot that will collect water.
- Tool the surface smooth before it skins over. Use a putty knife, trowel, or gloved finger to flatten the filler flush with the slab. Remove excess from the adjacent concrete. Check that the repair is nearly level with the driveway and has no sharp ridges. A problem is a raised bead that will be obvious after sealing.
- Let it cure for the full time on the label. Some products are ready in a few hours; others need 24 to 72 hours before sealing. Keep traffic off the area during this time, and if the label is unclear or temperatures are below 60°F, consult the manufacturer or a concrete professional before topcoating. Check that the filler is firm, not tacky, and has not shrunk away from the edges. A problem is sealing too soon and trapping solvents or moisture.
- Blend the patch if needed, then seal the driveway. Lightly scrape or sand any high spots, then apply the sealer in the recommended coverage rate. Check that the repaired crack does not telegraph sharply through the finish and that the sealer bonds evenly. A problem is sealing over a glossy, uncured, or dusty patch.
A good repair is not invisible from a foot away in every light, but it should be tight, flush, and stable. If the crack still opens after cure or the filler pulls away from one edge, the substrate is still moving or was not cleaned well enough.
What should I check before sealing over the repair?
The answer is whether the repaired crack is dry, bonded, and level enough to take sealer without failure. I’d check three things before sealing: adhesion, surface moisture, and profile. Miss any one of them, and the sealer becomes a short-term cover instead of a protective layer.
First, inspect the repair line in daylight. Run a fingertip across it. If it feels soft, oily, or rubbery when the product is supposed to be cured, wait longer. Many products need 24 hours or more before topcoating, and some epoxies need longer in cool weather. If the label gives a range, use the slower end when temperatures are below 60°F.
Second, look for shrinkage. Some fillers pull down as they cure, leaving a shallow trough. That trough does not just look bad; it can collect sealer and dirt. If the depression is more than a slight surface dip, add a compatible second pass before sealing.
Third, check the crack edges. If the concrete around the repair is powdering, the sealer will not save it. The weak material must be removed. That is the difference between sealing a repair and sealing a failure.
Weather comes next. Sealer usually wants dry conditions and moderate temperatures, often around 50°F to 90°F, depending on the product. Direct sun can flash-dry some coatings and leave lap marks. Cold concrete slows cure. Rain before cure can ruin both the crack repair and the sealer. For product-specific limits, see the American Concrete Institute guidance and the sealer manufacturer’s label.
When should you stop and call someone for the driveway instead?
The answer is when the crack is telling you the slab has a structural problem, not just a surface defect. That line matters because no sealer can fix settlement, heave, or a broken base.
One side of the crack is higher than the other by about 1/8 inch or more: The slab is moving vertically — grinding and filling will not hold long. You need a concrete repair contractor who can assess lift, slab replacement, or base correction.</nThe crack is wider than about 1/4 inch and keeps opening: The joint is active — a surface filler may fail seasonally. A pro can determine whether a flexible joint repair, route-and-seal treatment, or partial replacement makes sense.
There are multiple connected cracks across a panel: The panel is likely losing integrity — sealing one crack at a time is a short-term patch. Get an estimate for slab repair or replacement before spending money on sealer.
The concrete is spalling, scaling, or soft over a wide area: The surface paste is failing — a crack filler will not restore a weak slab. Surface preparation and repair strategy need to change, and a contractor may recommend resurfacing or replacement.
Water comes up through the crack or the driveway stays damp for long periods: Drainage or subgrade moisture is involved — sealing alone can trap moisture and worsen peeling. Fix drainage first, and have the slab evaluated if moisture is persistent.
The crack runs into a garage slab, foundation wall, or step: It may no longer be only a driveway issue — movement at a connected structure changes the risk. This is the point where qualified assessment matters before any sealing work starts.
If you are unsure, I’d stop at the point where the crack stops behaving like a line in the surface and starts acting like a movement joint. That is the difference between a DIY maintenance job and a repair that may need diagnostics.
The mistakes that ruin the repair
The answer is that most bad crack repairs fail because someone sealed dirt, movement, or wet concrete under a neat-looking top layer. I see the same errors over and over in the way people approach the job.
One common mistake is filling a dirty crack. The consequence is simple: the filler bonds to dust, not concrete, and peels out. The correct alternative is aggressive cleaning, vacuuming, and drying before any material goes in.
Another mistake is using the wrong filler for the crack type. A rigid epoxy in a moving crack can crack again within a season; a floppy caulk in a stable, wide void may slump or wear away under tires. The fix is to match the material to movement and width.
A third mistake is skipping backer rod in wider cracks. Without it, you waste material and create a deep, uneven fill that cures poorly. Backer rod sets the depth and helps the top bead shape correctly.
A fourth mistake is sealing too soon. If the crack repair has not cured, the sealer can trap solvent or moisture and turn cloudy, soft, or tacky. The alternative is waiting the full cure time, not the minimum handling time.
A fifth mistake is ignoring drainage. If downspouts dump water across the driveway or one edge holds puddles, the same crack may reopen. Repair plus sealing helps, but it does not fix bad water flow.
A sixth mistake is making the patch proud of the slab by 1/16 inch or more. Tires will catch it, the sealer will highlight it, and the area will collect dirt. Tool it flush while the material is still workable.
What changes in cold climates, old concrete, or decorative driveways?
The answer is that the standard method still works, but the material choice and timing change. Concrete in freeze-thaw country, older slabs, and decorative surfaces are less forgiving.
In cold climates, I would favor a flexible exterior crack filler that remains elastic after cure, because the crack may open and close through the year. If the driveway sees de-icing salts, the repair must resist both moisture and salt exposure. That is not a place for a brittle, interior-grade patch product.
For older concrete, especially slabs more than a couple of decades old, the surface may be harder to bond because of carbonation, dusting, or prior sealers. A hidden old sealer can block adhesion. If water beads on the surface before you start, there may already be a coating on the slab. That changes the prep entirely.
Decorative concrete, such as stamped or colored driveways, needs more care. A heavy patch can stand out badly. I would choose a repair method that can be tooled neatly and then test a small, inconspicuous area before sealing the whole slab. If the finish is integral color, any stain from the repair material will be visible.
If the driveway has expansion joints, do not bridge them with a rigid filler. Joints are supposed to move. A sealed crack is one thing; a movement joint is another. That distinction matters more than product brand.
How long does the job take, and what does a good result look like?
The answer is that a small driveway crack can often be repaired in under a day of active work, but the total time depends on cure times before sealing. Cleaning and filling a few cracks may take one to three hours, while the cure window before sealer can be 24 hours, 48 hours, or longer depending on the product and weather. On a hot, dry day, the work moves faster; in cool or humid conditions, the timeline stretches.
A good result has three features. The crack is filled to the right depth. The surface is flush enough that a tire or snow shovel will not catch it. The repair is sound enough that the sealer can do its job without highlighting a failed patch.
If you want to compare products before buying, use the table below as a quick guide. For the exact cure time, coverage rate, and recoat window, always check the label and the manufacturer’s technical data sheet.
| Product type | Typical price | Best for | Typical cure before sealing | Notes |
|---|---|---|---|---|
| Acrylic concrete crack filler | $10–$25 per tube | Hairline and tight cracks | 24 hours | Easy to apply; less flexible than polyurethane |
| Polyurethane crack filler | $15–$35 per tube | Active exterior cracks | 24–72 hours | Flexible and common for driveways |
| Epoxy repair kit | $25–$75 per kit | Stable cracks and structural bonding | 24–72+ hours | Strong bond; less forgiving with movement |
| Backer rod | $5–$15 per roll | Wider cracks over 1/4 inch | N/A | Helps control depth and material use |
| Penetrating sealer | $30–$80 per gallon | Sealing repaired driveway concrete | Same day to 48 hours after repair, per label | Check coverage and weather limits |
| Film-forming sealer | $35–$100+ per gallon | Decorative or enhanced finish | 24–72 hours after repair, per label | More visible finish; can highlight surface flaws |
For more product detail, see the sealer manufacturer’s technical sheet, the Quikrete repair guide, and the American Concrete Institute’s guidance on concrete repair and surface preparation.