Surface-Specific Crack Repair — The Complete Guide
Last updated: September 10, 2026
Key Takeaways
- If the crack changes over 2 to 4 weeks, treat it as active movement. Unsure whether it is structural? Consult a professional. See guidance on crack monitoring from the International Association of Certified Home Inspectors (InterNACHI) and the U.S. Department of Housing and Urban Development (HUD).
- Joint compound may be ready for light sanding in a few hours; sealants and deeper repair mortars can need 24 to 72 hours or longer.
- If you treat surface-specific crack repair the same across materials, the fix can fail early. So consult a professional when the crack involves load-bearing areas, moisture, or repeated reopening. Sources: U.S. Department of Housing and Urban Development (HUD) and InterNACHI.
- I’ll use the real terms where they matter.
Crack repair only works when the repair material matches the surface, the crack type, and the movement behind it. Not negotiable. In this surface-specific crack repair — complete guide, a hairline crack in painted drywall is a different job from a structural crack in concrete, a gap in tile grout, or a split in an exterior stucco wall. Treat them as if they’re the same, and the fix can fail early.
Table of Contents
- Who this guide is for, and what you should already know
- What kind of crack are you looking at?
- How do I repair a crack on this surface?
- Which crack repair material fits which surface?
- When should you stop and call in a qualified repair?
- The mistakes that make crack repairs fail
- What changes on exterior walls, tile, and concrete?
Who this guide is for, and what you should already know
This surface-specific crack repair guide is for a homeowner, facility manager, or hands-on renovator who needs to decide how to repair a crack on drywall, plaster, concrete, masonry, tile grout, or painted exterior surfaces. I’m assuming you can identify the surface, tell the difference between a crack and a joint, and use basic tools like a utility knife, putty knife, caulk gun, wire brush, and vacuum. I’m also assuming you know that “crack repair” is not one thing: a repair on flexible material has to allow movement, while a repair on rigid material has to restore continuity.
So ask the right question first. What is this surface supposed to do? A drywall seam moves a little; a concrete slab shifts with temperature and load; tile grout is not meant to bridge a widening gap; stucco can crack from shrinkage, settlement, or moisture. If the crack is active, meaning it keeps changing size or returns after repair, the fix has to address movement, not just the visible line.
I would treat this as a do-it-yourself job only when the crack is narrow, the surface around it is sound, and there is no sign of ongoing structural movement or moisture intrusion; if any of those conditions is uncertain, consult a professional. A crack wider than about 1/4 inch, a crack that runs diagonally from a door or window corner, a crack with vertical displacement, or a crack that comes with bulging, dampness, rust staining, or spalling needs qualified evaluation before you patch it. On concrete and masonry, that may mean a structural contractor; on tile, it may mean a tile setter or water-damage specialist; on plaster or drywall with repeated cracking, it may mean a professional who can find the cause before you close it up.
The rest of this guide is for the repair you can actually finish and expect to hold for more than a paint cycle. I’ll use the real terms where they matter. “Control joint” means a planned joint that lets a surface crack where the installer wants it to crack. “Backer rod” is foam rope placed in a gap so sealant has the right shape. “Feathering” means tapering compound into the surface so the repair disappears under paint. These terms matter because the wrong method on the wrong surface is how small cracks become permanent eyesores. Ugly little trap.
What kind of crack are you looking at?
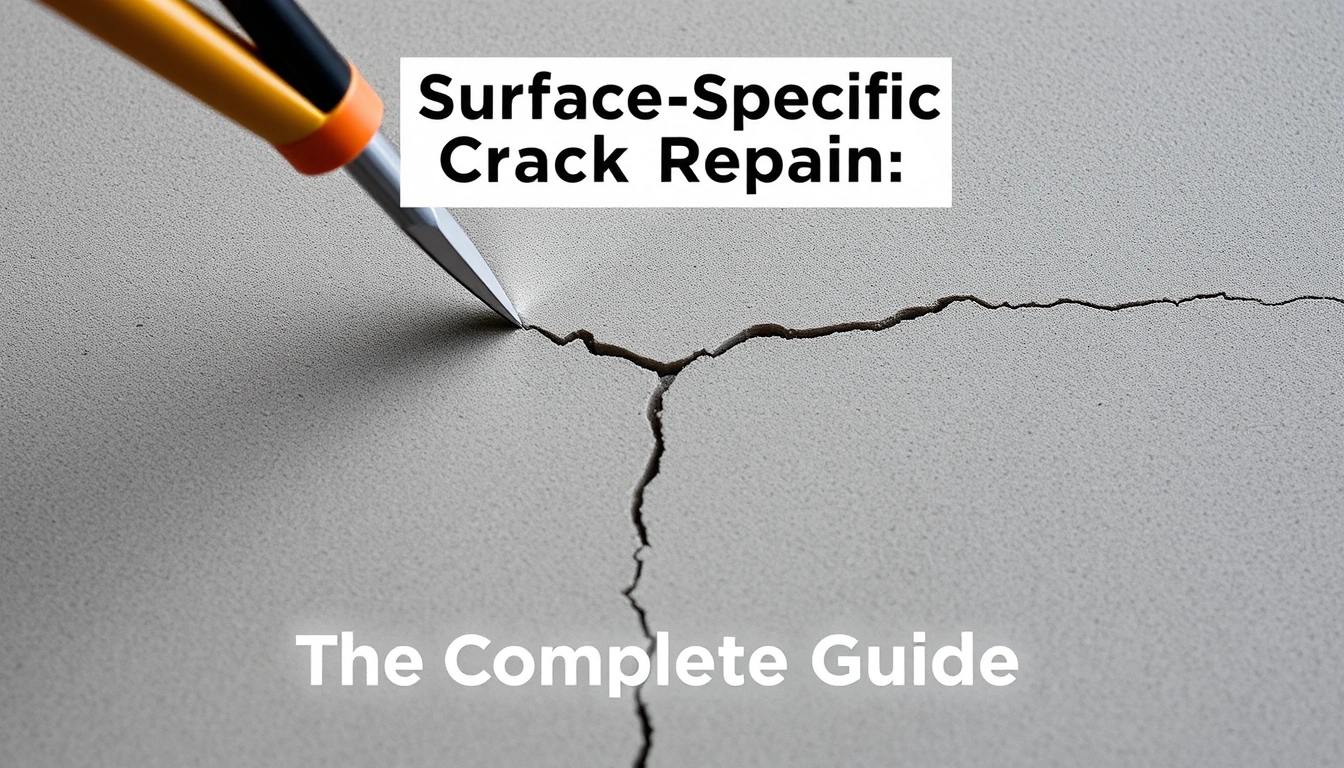
The right repair starts with the crack’s behavior, not its appearance. A 1 mm line in drywall and a 1 mm line in concrete do not mean the same thing. Before you touch filler, I would sort the crack into one of four jobs: cosmetic, movement-related, moisture-related, or structural. That classification tells you whether you need flexible sealant, patch compound, epoxy, mortar, grout, or a larger fix.
Cosmetic cracks are usually thin, stable, and isolated. They show up in paint, joint compound, hairline plaster, or surface-level concrete paste. A stable hairline crack may be only 0.5 mm wide, and if it does not widen over a few weeks, it often accepts a standard repair. Movement-related cracks are the ones that open and close with temperature, humidity, vibration, or settlement. Those are common at drywall seams, along trim, at slab edges, and in stucco. If the surface is moving, rigid patch material alone will usually split again.
Moisture-related cracks are a different problem. On painted walls, watch for staining, bubbling, soft spots, or peeling within 30 to 60 cm of the crack. On exterior masonry or concrete, look for efflorescence, the white salt deposits that appear when water moves through the material. A crack tied to water intrusion needs the source fixed first. Patching over active moisture is like repainting a leaking roof.
Structural cracks are the ones with displacement, widening, stair-step patterns in masonry, or a line that keeps changing. One side may sit higher than the other. A crack wider than about 6 mm, or any crack that shows measurable movement over time, moves past simple surface repair. On load-bearing walls, slabs, foundations, and retaining walls, the repair method has to follow the cause, and sometimes the correct answer is not a surface repair at all.
I also look at surface texture. Smooth surfaces show every edge and repair ridge. Rough surfaces like knockdown texture, stucco, or broom-finished concrete hide some patch marks but punish color mismatch and sheen mismatch. A small repair on a glossy painted wall can be more visible than a larger repair on flat paint. That matters when you choose the patch shape and finishing method.
The simplest test helps most: mark the crack ends with pencil, note the date, and measure width with a crack gauge or the edge of a ruler. If the crack changes over 2 to 4 weeks, treat it as active movement, but if the result is unclear, consult a professional before you patch it. One quick check. Saves a headache.
How do I repair a crack on this surface?
The correct repair is to open, clean, reinforce or fill, then finish in a way that matches the surface’s movement. The exact material changes by surface, but the sequence does not. Skipping prep can shorten the life of a repair when the surface cycles through heat, moisture, or vibration. Fast fixes love to fall apart later.
- Map the crack and mark its ends. Use painter’s tape or pencil to mark both ends, then measure the width at the widest point with a ruler or crack gauge; note whether it is straight, stepped, or branching. Verify: the crack is not widening over a few days and there is no bulge, softness, or dampness. Problem sign: any change in width, fresh dusting, or a hollow sound nearby suggests movement or hidden damage.
- Clean the surface 5 to 10 cm on both sides. Vacuum loose dust, then wipe nonporous surfaces with a damp cloth and let them dry fully; for greasy spots, use a mild cleaner appropriate to the surface. Verify: no powder comes off on your finger and the repair area is dry. Problem sign: chalky residue, wetness, or contamination means filler and sealant will not bond properly.
- Open the crack only as much as the material requires. On drywall or plaster, widen a hairline crack into a shallow V with a utility knife; on concrete or masonry, remove loose edges and undercut slightly where appropriate; on tile grout, rake out damaged grout to full depth. Verify: the repair material will have clean edges to grip and the crack is not fraying at the margins. Problem sign: crumbly sides, voids, or a crack that keeps shedding material means the substrate is failing.
- Add reinforcement where movement is likely. For drywall seams or plaster hairlines, use paper tape or fiberglass mesh embedded in joint compound; for wider exterior joints, insert backer rod sized so it compresses 25% to 50% of the gap depth. Verify: reinforcement is centered and covered without telegraphing through the finish. Problem sign: tape wrinkles, exposed mesh, or backer rod that sits too deep or too shallow will cause cracking or poor sealant shape.
- Choose the filler that matches the surface. Use joint compound for interior drywall, plaster repair material for plaster, polymer-modified repair mortar or epoxy for concrete and masonry depending on depth and movement, flexible sealant for moving exterior gaps, and grout that matches the original joint for tile. Verify: the material’s movement rating and cure time fit the job; for sealants, a 2:1 width-to-depth ratio is a common target. Problem sign: a rigid patch in a moving joint, or a flexible sealant on a surface that needs shape restoration, will fail early.
- Apply in thin layers rather than one heavy pass. Fill shallow cracks in 2 to 3 coats for drywall or plaster, allowing each layer to set per the product directions; for deeper concrete cracks, place repair material in lifts if the product requires it. Verify: each layer bonds without sagging, pinholes, or shrinkage. Problem sign: sink marks after cure, trapped air, or cracking at the edges means the repair was overfilled or applied too wet.
- Tool the surface while the material is still workable. Feather drywall compound 15 to 20 cm beyond the crack; smooth sealant with a compatible tool and remove excess immediately; strike mortar or grout flush with the surrounding finish. Verify: the transition is flat or intentionally textured to match the surface. Problem sign: a ridge, hollow spot, or shiny smear will show through paint and collect dirt.
- Allow full cure before sanding, painting, or sealing. Joint compound may be ready for light sanding in a few hours; sealants and deeper repair mortars can need 24 to 72 hours or longer. Follow the product schedule and manufacturer directions, because cure times vary by thickness, humidity, and temperature. Verify: the repair is hard, dry, and stable under light pressure. Problem sign: softness, tackiness, or color change indicates incomplete cure and a high chance of failure under finish coats.
- Finish to match the surrounding surface. Sand drywall repairs with 120- to 220-grit paper, retexture if needed, prime patched areas, then paint; on concrete or masonry, use an appropriate sealer or coating; on tile, grout haze removal and sealing may be needed depending on grout type. Verify: the sheen, color, and texture blend under angled light. Problem sign: flashing, patch outlines, or hairline reappearance after paint means either shrinkage or movement is still present.
The sequence above is the same, but the materials are not interchangeable. Drywall wants low-shrink compound and tape. Plaster wants compatible plaster repair material, not generic spackle for a deep void. Concrete often wants a polymer-modified repair mortar, an epoxy injection for dormant structural cracks, or a flexible sealant at joints. Tile grout needs depth and compression control; you do not smear caulk over a failed joint and call it fixed. Exterior stucco often needs a crack filler rated for masonry and a finish coat that matches the texture.
A good repair disappears in ordinary light and stays put through a season of movement. A bad one leaves a ridge, opens at the edge, or comes back as a ghost line through paint. If it looks like a line drawn on top of the wall, it was repaired like one.
Which crack repair material fits which surface?
The repair material has to match both the surface and the crack’s job. That is the part many generic guides miss. They treat “filler” as one category. It is not. Drywall joint compound, acrylic caulk, polyurethane sealant, epoxy injection resin, patching plaster, repair mortar, and grout all do different things.
For drywall, I favor joint compound for internal, nonmoving cracks because it sands well and disappears under primer. Paper tape beats mesh tape at seams that may move a little, because paper creates a stronger joint when embedded properly. Mesh tape is easier for beginners but more prone to visible ridging if you do not cover it fully. For corner cracks or trim gaps, paintable acrylic-latex caulk can work when the gap is small and movement is limited. It is wrong for wide gaps or places that need a crisp edge under bright light.
For plaster, use plaster-compatible patch material. Old lime plaster behaves differently from modern gypsum plaster. A quick-setting patch compound may be fine for a small, shallow defect, but deep cracking or lath-related failure needs a repair that matches the substrate. If the plaster is loose from the lath, surface filler alone will not hold it down.
For concrete and masonry, choose based on whether the crack is dormant or active. A dormant crack is one that has stopped moving. That may accept epoxy injection or a rigid repair mortar. A crack that is still moving needs a flexible sealant or a joint design that allows movement. If the crack passes through a slab or foundation wall and shows displacement, a surface patch is not the answer; you need diagnosis, not camouflage. For shallow surface cracks in a patio or driveway, a polymer-modified repair compound can work if the slab is stable and drainage is decent.
For exterior stucco, use a crack filler or elastomeric sealant designed for masonry and stucco, then finish to match the texture. Stucco cracks often return if the underlying lath, control joint, or movement issue is ignored. A finish coat alone is rarely enough on a crack that follows framing movement.
For tile grout, replace the failed grout rather than covering it. Where the joint is a true movement joint, use a flexible sealant that matches the surrounding finish. Tile assemblies move in a way grout cannot tolerate. That is not a defect of grout; it is the wrong material for movement.
The price of getting this wrong is not just visual. A rigid patch in a moving joint can crack adjacent material. A flexible sealant in a place that needs structural continuity can hide a problem and delay the real repair. I would rather leave a crack visible for a week than trap a bad choice under paint or tile.
When should you stop and call in a qualified repair?
You should stop when the crack suggests movement, water, or structural damage rather than a simple surface defect. On a surface-specific crack repair, that is the cleanest boundary in this whole subject. A surface repair can hide a symptom, but it cannot fix a foundation, a slab that heaves, or a wall that keeps taking water.
Crack wider than about 6 mm: The gap is beyond a normal cosmetic patch and may need staged repair or structural evaluation — Stop and get the surface assessed before filling it.
Vertical displacement or one side higher than the other: The material has moved, not just split — Do not bridge it with filler; use a qualified repair method after the cause is checked.
Repeated reopening after repair: The crack is active, so rigid patching will keep failing — Switch to a movement-tolerant solution or get the underlying cause diagnosed.
Signs of moisture, staining, or mold near the crack: Water is likely driving the damage — Fix the water source first, because patching over it traps the problem behind the surface.
Stair-step cracks in brick, block, or masonry: This often tracks settlement or movement in the wall system — Stop surface patching and have the wall evaluated.
Bulging, sagging, or hollow-sounding areas around the crack: The substrate may be detached or damaged beyond the face layer — The right fix may involve removal and rebuild, not filler.
Cracks at foundations, load-bearing walls, or slab edges that keep growing: These can affect the structure’s performance — Surface sealants are the wrong tool.
Cracks after impact, fire, freeze-thaw, or pipe leaks: The crack may be one symptom of broader damage — Repair the cause and inspect the surrounding area before closing it up.
The consequence of ignoring these signs is simple: you spend time and money on a patch that hides the damage, then spend again when it reappears. On masonry and concrete, repeated failed patches also make later repairs harder because you have to remove incompatible materials first. I would not keep going once the crack stops behaving like a surface defect. Stop there.
The mistakes that make crack repairs fail
The most common failure is not using the wrong brand; it is using the wrong method. I see the same errors over and over because people focus on the crack line and not the surface system around it.
One mistake is skipping the crack-opening step on a hairline joint. If you smear compound into a line that is still sealed by dust or loose paint, the patch bonds to debris instead of the surface. The consequence is flaking at the edges. The better move is to clean, open slightly, and give the patch something sound to grip.
Another mistake is using a rigid patch on a moving joint. That happens on drywall seams, stucco cracks, and slab joints. The consequence is a fresh crack beside the old one, often within one heating and cooling cycle. The correct alternative is a flexible sealant or reinforced joint