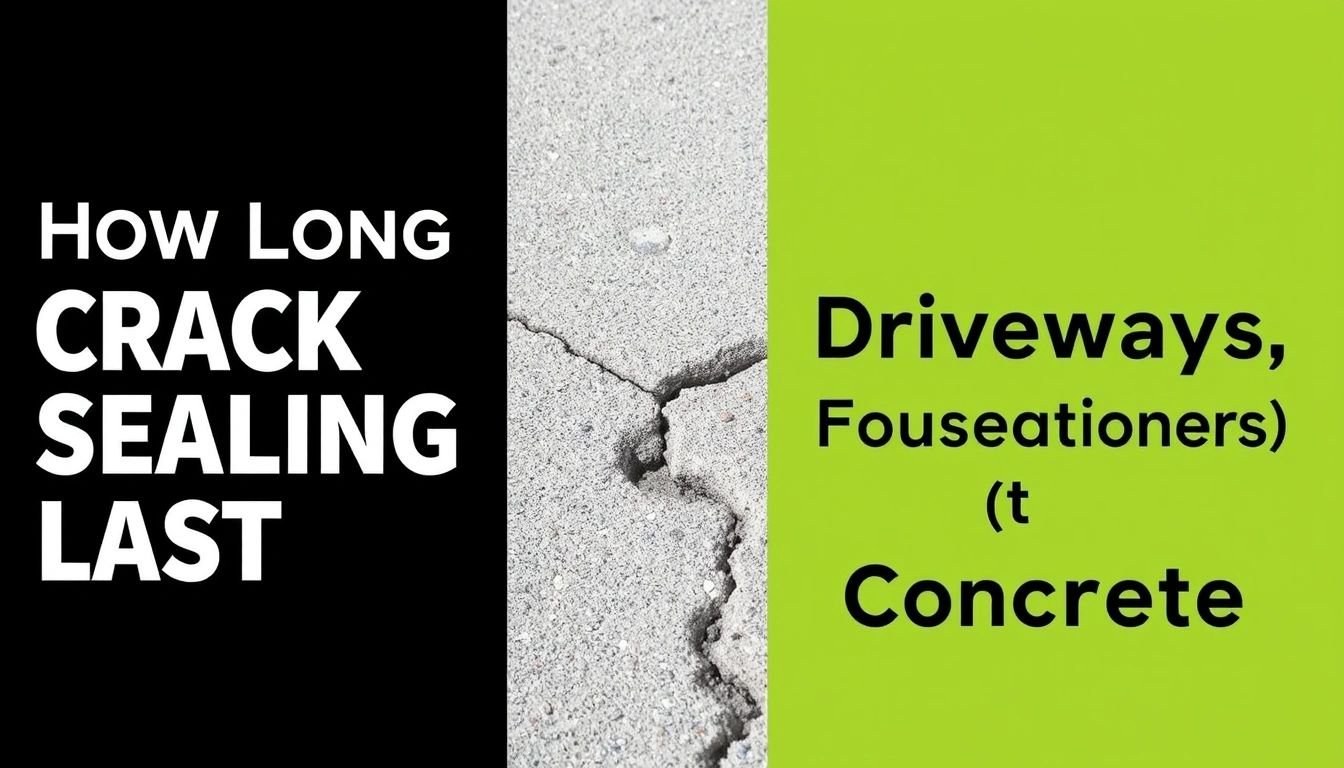
How Long Does Crack Sealing Last on Driveways, Foundations, and Concrete?
Last updated: September 10, 2026
Key Takeaways
- On a driveway, a good seal over a dry, stable crack may last 3 to 7 years.
- Keep vehicles, foot traffic, and water off it for the full cure time listed by the manufacturer, often 24 to 48 hours for many products.
- This applies to homeowners deciding whether to seal a crack now, patch it, or call a contractor.
- On a foundation, the same-looking crack may need inspection first if it is widening, leaking, or stair-stepping.
Table of Contents
- Who this applies to, and what it assumes
- How long does crack sealing last on driveways, foundations, and concrete?
- What affects how long the repair lasts?
- How do I seal a concrete crack so it lasts?
- What are the signs the seal is failing?
- When should I stop sealing and call someone else?
- The mistakes that shorten crack-sealing life
- What should a homeowner ask before hiring a contractor?
Crack sealing on concrete usually lasts 1 to 10 years, and this guide answers how long does crack sealing last on driveways, foundations, and concrete? The honest answer depends on where the crack is, what caused it, and whether the concrete is still moving. A driveway seal can hold through several seasons. A foundation crack that keeps opening? Different story. If you want the short version of how long does crack sealing last on driveways, foundations, and concrete?: stable, dry cracks last longer; active, wet, or poorly prepped cracks do not.
Who this applies to, and what it assumes
This applies to homeowners deciding whether to seal a crack now, patch it, or call a contractor. I’m assuming you can see the crack, can reach it, and are not staring at a collapsed slab or a wall that is badly bowed. I’m also assuming you want to judge the work before you pay for it, not just read a label and hope for the best.
What matters here is not “What sealant is best?” It’s “How long will this crack stay closed before I’m back at it again?” The answer shifts by location. On a driveway, a good seal over a dry, stable crack may last 3 to 7 years. On a foundation, the same-looking crack may need inspection first if it is widening, leaking, or stair-stepping. Interior floors and slabs usually give the repair a quieter life because UV, tire load, and freeze-thaw cycles are not chewing on it.
I would not treat this as a DIY fix if the crack is wider than about 1/4 inch, if one side sits higher than the other by more than a few millimeters, if water is getting in, or if you see rust stains, soft spots, or repeated movement. Those are signs that the crack is a symptom, not just a surface issue. For those cases, a general contractor, foundation repair specialist, or concrete repair contractor is the right call; the Concrete Network notes that wider or moving cracks often need a professional evaluation.
For simple, non-structural cracks, a careful homeowner can do the sealing. But the material is only part of it; the prep matters just as much, especially cleaning and drying. A polyurethane sealant, for example, stays flexible and works well where the crack may move a little; an epoxy is harder and better for certain structural repairs, though it is less forgiving if movement continues. Pick wrong, and the clock starts ticking.
How long does crack sealing last on driveways, foundations, and concrete?
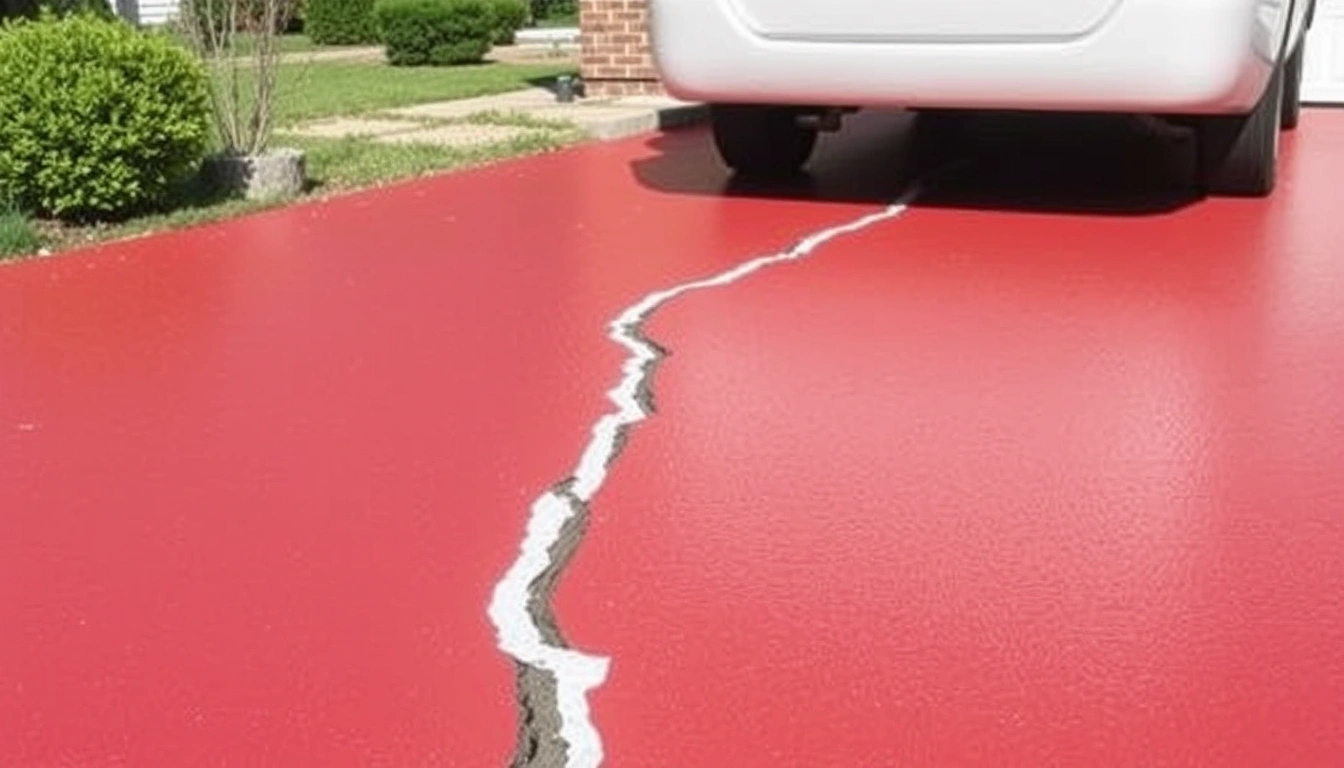
Crack sealing lasts longest when the crack is stable and the repair matches the job. In a mild climate, I’d expect a basic driveway crack seal to last 2 to 5 years; freeze-thaw cycles, de-icing salts, and heavy vehicles cut that down. A properly sealed dormant foundation crack can last many years, yet if the wall is still moving, the seal may fail in months. Interior slabs or garage floors often do better because sunlight and water are not beating on them.
The type of crack matters more than the surface it sits on. A dormant crack has stopped moving. An active crack keeps opening, closing, or shifting. Sealant can handle small movement; it cannot keep up with a slab that is still settling. So yes, a homeowner can do everything “right” and still end up with a short lifespan if the structure itself is changing.
Climate changes the equation. In cold areas, water enters the crack, freezes, expands, and pries the seal apart. In hot, sunny places, ultraviolet light and thermal cycling dry some materials out and make them brittle. Driveways take tire turning and snowplow scraping; foundations usually fight water pressure, soil movement, or poor drainage instead of traffic.
A seal that only lasts 1 to 2 years is not always a bad product. Often, it is a clue — the crack is active, the prep was weak, or the surrounding concrete is deteriorating. The good outcome usually comes from a handful of disciplined steps, not some miracle goo.
What affects how long the repair lasts?
Movement is the big one. If the crack moves less than the sealant can stretch, the repair can hold for a long time. If it moves more, the seal splits. Surface condition comes next: dust, laitance (the weak, powdery top layer of cement paste), oil, algae, and moisture all get in the way of adhesion. Put sealant over dirty concrete and it may look fine for a week — then fail the first time the slab flexes.
Width matters too. A hairline crack may be easy to seal, but a crack around 1/4 inch or wider often needs backer rod, a joint-specific filler, or a repair method that accounts for movement. Deep cracks need more than a skin-deep cap. A seal that bridges only the top 1/8 inch can peel if the crack opens below it.
The substrate matters. Plain poured concrete behaves differently from stamped concrete, broom-finished driveway slabs, garage slabs, cinder block foundation walls, or precast panels. A foundation crack in a poured wall may be sealed differently than a crack in a mortar joint or block face. Match the repair to the material, not just the line you can see.
Drainage changes the math. If downspouts dump water beside the foundation or the driveway sheds water toward the crack, the seal is fighting wet conditions all the time. In that setup, the visible crack may be a symptom of a larger problem, and sealing alone is just a short-term patch.
I’d be suspicious if a contractor never mentions the cause of the crack and only talks about color-matching the filler. Cosmetic thinking. Not repair thinking. A durable seal starts with figuring out whether the crack is dormant, active, dry, or leaking.
How do I seal a concrete crack so it lasts?
A long-lasting repair starts with prep, depth control, and cure time, not with squeezing material into a line. For a straightforward, non-structural crack, here is the order I’d expect; for wider or moving cracks, consult a professional and follow the manufacturer’s instructions.
- Inspect the crack and measure it. Check width with a ruler or crack gauge, note whether it is hairline, under 1/8 inch, or closer to 1/4 inch, and look for height difference between the two sides. Verify that the crack is dry and stable. A problem sign is widening, displacement, or water staining; if the crack is changing, consult a professional.
- Clean out loose material. Use a wire brush, vacuum, or compressed air to remove dust, sand, and weak debris at least 1/2 inch into the crack if possible. Verify the edges are firm and not chalky. If the surface powders under the brush, adhesion will be poor, and a contractor should evaluate whether the concrete itself is weak.
- Dry the crack thoroughly. Let surface moisture leave before sealing; in cool or damp weather, that can take a full day or longer. Verify no dark damp band remains in the crack. A problem sign is seepage, condensation, or trapped water after rain; persistent moisture is a reason to consult a professional before sealing.
- Choose the right filler for the movement level. Use a flexible polyurethane or similar elastomeric sealant for cracks that may move a little; use an epoxy system only where movement is minimal and bonding strength matters. Verify the product is rated for the specific surface and joint width. A problem sign is using a rigid filler on a moving crack, in which case a professional repair may be more appropriate.
- Control the depth with backer rod when needed. For wider cracks, press in foam backer rod so the sealant depth is roughly half the width of the joint, not a deep overfill. Verify the sealant will bond to the sides, not the bottom. A problem sign is a deep void filled entirely with sealant, which wastes material and increases failure risk; consult a professional if the crack is too wide to control cleanly.
- Apply the sealant continuously. Gun or pour it in one uninterrupted pass, pushing it into the crack rather than laying it on top. Aim for slight overfill, then tool it smooth. Verify there are no voids, bubbles, or dry gaps. A problem sign is pinholes or sections that sink after a few minutes, which may mean the crack or product needs professional attention.
- Tool the surface and protect the cure. Smooth the sealant so it sheds water and does not leave a lip that will catch traffic or trip feet. Keep vehicles, foot traffic, and water off it for the full cure time listed by the manufacturer, often 24 to 48 hours for many products. Verify the surface skins over evenly. A problem sign is dust sticking to wet material or tire marks during cure; if that happens, consult a professional or follow the product instructions for rework.
- Check the repair after curing and after the next rain. Look for edge lift, cracking, or seepage around the patch. Verify the seal remains bonded to both sides of the crack. A problem sign is a split line within the patch or water appearing at the same spot, and repeated failure should be reviewed by a professional.
If you want a long life, prep matters more than the brand name on the tube. Honestly, I’d take a plain sealant on a properly cleaned crack over a premium material shoved into damp dust.
What are the signs the seal is failing?
A repair that is going bad usually shows it early, before it falls out completely. Edge lifting means the sealant is separating from one side of the crack, which often happens when the joint moves more than expected or the surface was dirty. Hairline splitting through the patch means the material is too brittle for the movement level. Discoloration and chalking often point to UV exposure, especially on sunny driveways. Persistent dampness near a foundation crack means water is still coming through, so the seal is only cosmetic.
A good repair should look simple: one continuous bead, no gaps, no shrinkage trench in the middle, and no crumbly edges. On a driveway, it should survive the first few rain cycles without opening at the borders. On a foundation, it should stay dry through a storm if the crack is dormant and the drainage is reasonable. If the same crack comes back in the same shape after a season, the repair missed the cause.
A lot of bad work is obvious once you know the tells. If the sealant sits proud by a half-inch ridge, it will catch dirt and take damage. If it is recessed too deeply, water will sit in the joint. If the crack was never cleaned, you may see a neat-looking line that peels away with a fingernail. Ugly little trap. That’s how it goes.
When should I stop sealing and call someone else?
Stop treating it as a sealing job when the crack is acting like a structural or drainage problem. Here is when the standard approach is the wrong tool.
The crack is wider than about 1/4 inch: That usually means more movement or a larger opening than a simple surface seal should handle — get an evaluation and ask about repair methods that address the cause.
One side of the slab sits higher than the other: That is vertical displacement, not just cracking — sealing the line will not fix the step and may fail quickly.
The foundation crack leaks during rain or snowmelt: Water entry means the issue involves drainage or wall movement — ask for a foundation repair or waterproofing assessment.
The crack keeps opening after it has been sealed: Active movement is overpowering the repair — stop resealing the same line and look for settling, frost heave, or soil problems.
The concrete is spalling, flaking, or breaking at the edges: Surface loss means the surrounding material is too weak for a simple seal — a patch or partial replacement may be needed.
There are multiple cracks in a pattern, such as stairs in block or map cracking in a slab: A pattern suggests a broader condition, not one bad line — sealing each crack separately is usually wasted effort.
On a driveway, repeated failure can also mean the slab joints are not draining or the slab design is too stressed. On a foundation, repeated failure can signal hydrostatic pressure or settlement. Either way, resealing the same crack every season is paying for the symptom instead of the cause.
The mistakes that shorten crack-sealing life
The first mistake is sealing over dirt or moisture. The result is early edge failure, often after the first freeze-thaw cycle or hard rain. The alternative is to clean, dry, and recheck the crack before applying anything.
The second mistake is using the wrong material for the movement. A rigid epoxy on a live driveway crack may bond strongly and still split. The alternative is a flexible sealant for moving joints and a stronger structural product only where movement is minimal.
The third mistake is ignoring the crack width and depth. A tiny surface bead over a wide void will tear away as the slab flexes. The alternative is backer rod, joint control, or a repair system sized to the opening.
The fourth mistake is skipping drainage fixes. If downspouts, grading, or pooling water keep soaking the area, even a correct seal will have a short life. The alternative is to move water away from the slab or wall first.
The fifth mistake is thinking a nice color match means durability. A neat-looking repair with no bond underneath is still weak. The alternative is to judge the job by adhesion, continuity, and cure, not by appearance alone.
The sixth mistake is resealing over an active crack again and again. The result is wasted money and a false sense of security. The alternative is to identify movement, settlement, or structural loading and deal with that issue directly.
What should a homeowner ask before hiring a contractor?
Ask three things: what caused the crack, what material will you use, and how long should this repair reasonably last in my conditions. If the answer is vague, the contractor is selling a patch, not a solution. I’d also ask whether the repair is meant for a dormant crack, an active crack, or a leak, because those are different jobs.
For a driveway, ask whether they will cut out and clean the joint, use backer rod where needed, and protect the repair from traffic for the full cure period. For a foundation, ask whether they are addressing drainage, settlement, or wall movement instead of just hiding the line. For interior concrete, ask how they will prepare the crack and whether the product is meant for the expected movement.
I’d compare the estimate to the situation, too. A simple dormant crack should not be priced like a structural repair, but a leaking or widening foundation crack should not be treated like a quick cosmetic fix. The better the diagnosis, the easier it is to estimate how long how long does crack sealing last on driveways, foundations, and concrete? in your specific case. For more general guidance on crack repair and sealing, the Concrete Network and the Portland Cement Association both offer practical reference material.