How to Seal Asphalt Driveway Cracks Step by Step
Last updated: September 10, 2026
Key Takeaways
- Dry weather for 24 hours is a good target, and some products need longer.
- Sweep or blow away grit and loose stones at least 12 inches on both sides of the crack.
- Most driveway crack fillers specify application above roughly 50°F; cold material is harder to work into the crack, and damp surfaces keep it from bonding well.
- The actual filling may take 10 to 20 minutes for a small section, but prep takes longer than the application.
Clean it, dry it, fill it, then leave it alone. That’s the whole job, really. If you want to know how to seal asphalt driveway cracks step by step, the short answer is simple: get the crack clean, keep moisture out, pick the right filler, and give it enough cure time. This is basic driveway maintenance, not a cure for every kind of pavement failure; it works best on small, isolated cracks before they widen into potholes or alligator cracking.
Who this applies to, and what I’m assuming you already have
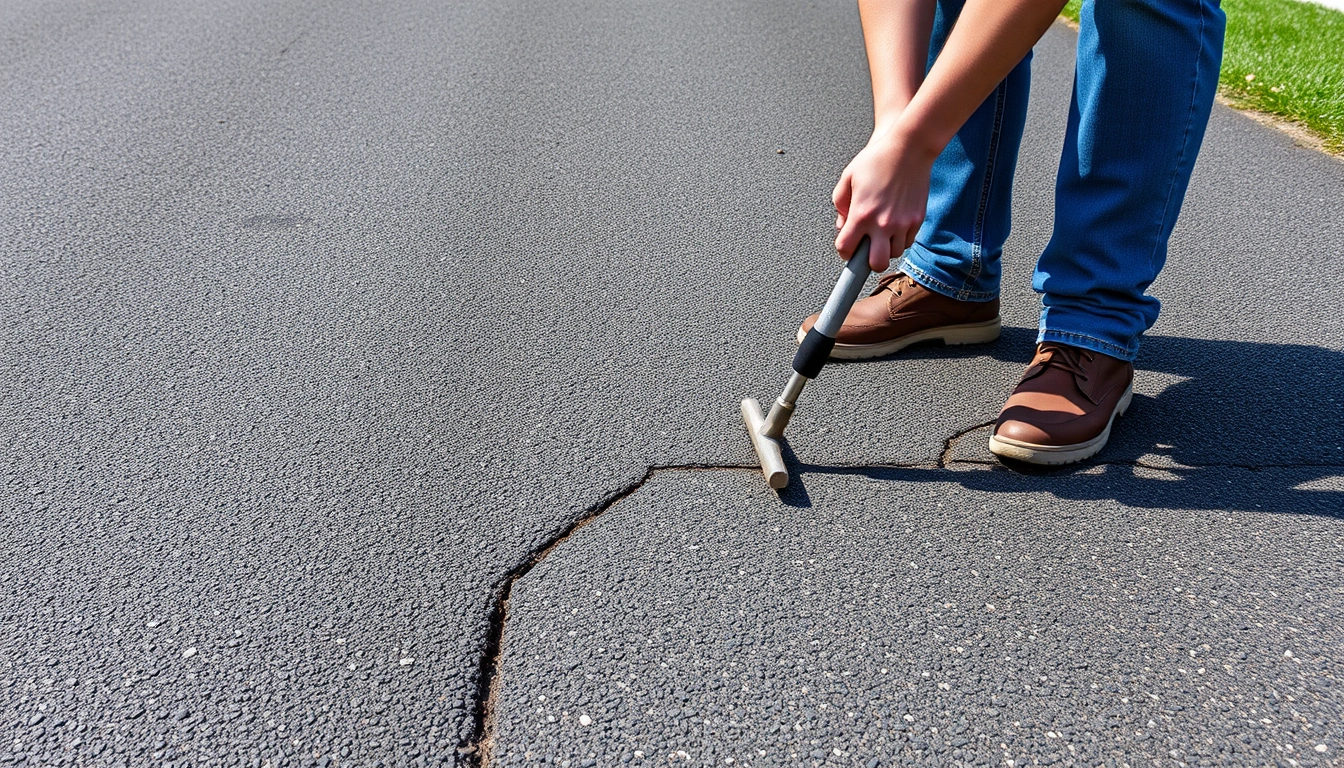
This applies to an asphalt driveway with isolated cracks, usually hairline openings up to about 1/2 inch wide, where the surrounding pavement is still sound. I’m assuming you already have a broom, a stiff brush, a putty knife or caulk gun depending on the filler type, a garden hose or leaf blower, and a dry day with temperatures in the range the product label allows. Most driveway crack fillers specify application above roughly 50°F; cold material is harder to work into the crack, and damp surfaces keep it from bonding well.
This is the right job if the crack is letting in water but the slab is not heaving, sinking, or breaking into loose pieces. It also fits if you want to slow edge erosion before winter freeze-thaw cycles make the crack worse. Smart, not glamorous.
Not for structural movement, though. If the driveway has a vertical offset of more than about 1/4 inch, long connected “alligator” cracks, or a base that feels soft underfoot, sealant will not fix the cause. That is patch-and-rebuild territory, not crack sealing.
I’m also assuming you want a practical method, not a product pitch. The main decision is the filler type: pourable crack filler for narrow, irregular cracks; asphalt crack sealant in a cartridge or pour bottle for small repairs; and hot-pour rubberized sealant for larger or more permanent work. The last one is usually a contractor-grade method because it needs heating equipment and more control over the joint.
What do I need before I start?
You need the crack clean, dry, and open enough for the filler to sit in the joint instead of riding on top. So the prep matters more than most people think. I’d take a plain, careful repair over an expensive product smeared across dust any day.
Start by checking the crack width. A crack under 1/4 inch often takes a liquid filler. A crack closer to 1/2 inch usually needs a thicker product or a backer material if the filler is deep. Past 1/2 inch, or if one edge sits higher than the other, the job stops being a simple seal and becomes a patching job.
You also need weather that gives the filler time to cure. Dry weather for 24 hours is a good target, and some products need longer. Read the label for cure time and temperature range before you begin; if the forecast is borderline, ask a local pro or follow the manufacturer’s guidance. Rain in the forecast? Stop. Wait.
For tools, keep it simple:
– broom or leaf blower
– wire brush or crack cleaning tool
– shop vacuum if you have one
– gloves and eye protection
– filler product matched to the crack width
– trowel, squeegee, or caulk gun as needed
– sand for top dressing if the label calls for it
The goal is not a full paving setup. It’s removing anything that blocks adhesion, following the product label and, if needed, a professional’s advice. Dirt, moss, loose gravel, and damp debris all keep sealant from reaching the asphalt walls of the crack. And if you scrape material out and fresh bits keep coming loose, that’s a clue the driveway needs more than sealing.
How to seal asphalt driveway cracks step by step
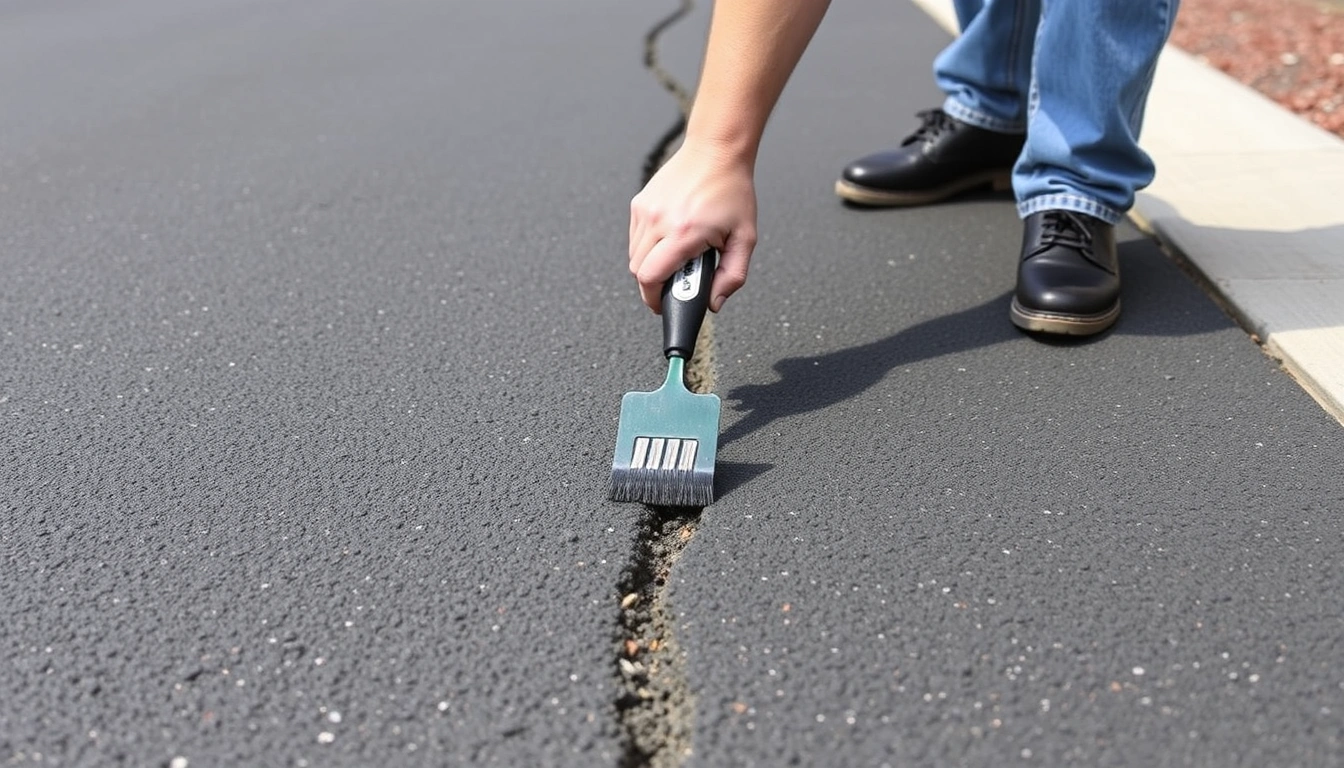
Here’s how to seal asphalt driveway cracks step by step: clean the crack, dry it, fill it from the bottom up, and let it cure without traffic. Straightforward enough. But only if you respect the prep and the cure time, and if the label or a professional says the crack is suitable for sealing.
- Clear the driveway surface around the crack. Sweep or blow away grit and loose stones at least 12 inches on both sides of the crack. Verify that the crack line is fully visible and free of debris. If dust keeps blowing back into the joint, the surface is still too dirty to seal.
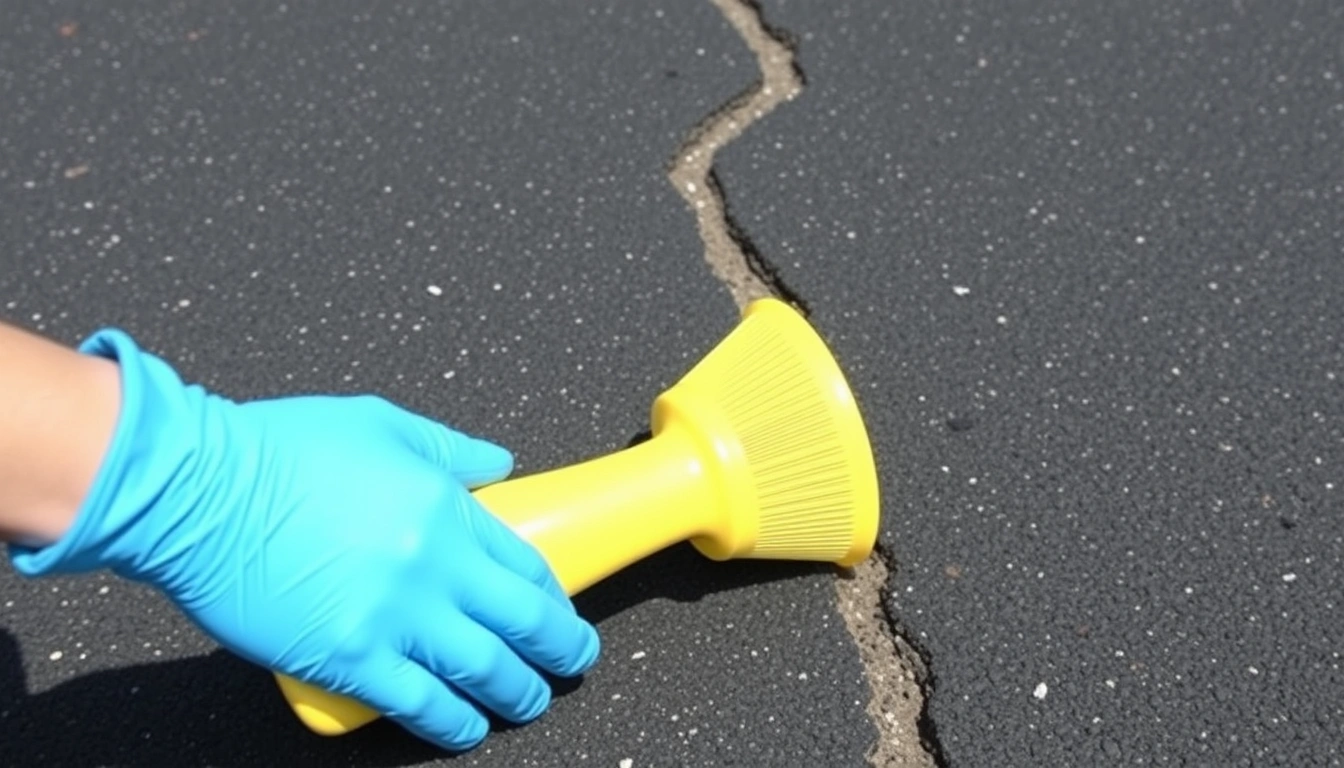
- Remove vegetation and loose material from the crack. Pull out weeds, roots, and crumbling asphalt with a screwdriver, crack tool, or stiff wire brush. Open the crack enough to expose solid edges, not to widen it dramatically. Verify that the filler will contact firm asphalt walls. If the edges crumble into powder, the crack is deteriorating and a simple seal may fail quickly.
- Dry the crack completely. Let it dry after washing, or use a leaf blower on a warm day to drive out moisture. A crack that looks dark and damp is still wet inside. Verify dryness by pressing a dry paper towel or rag at the opening; it should come away dry. If water seeps back in from below, stop and wait for better conditions.
- Choose the right filler for the crack width. Use a pourable crack filler for fine cracks and a thicker asphalt sealant for wider ones. If the crack is deeper than about 1/2 inch, some products need a backer rod or sand to reduce fill depth. Verify the product label matches asphalt and the crack size. If the label is for concrete only, do not use it.
- Load the filler and start at one end. Shake the bottle if directed, or cut the nozzle on a caulk tube at a small opening, usually about 1/8 to 1/4 inch for narrow cracks. Fill from one end of the crack to the other in a steady pass. Verify that the material settles into the joint instead of skimming over it. If it bridges across the top without sinking, the crack still has loose debris or is too cold.
- Fill slightly proud of the surface when the label calls for it. Many products should sit a little above the asphalt, then level as they cure, or be squeegeed flush after placement. Verify the top is continuous with no gaps or pinholes. If the filler sinks sharply, the crack may need a second pass after the first layer sets.
- Tool the surface if needed. Use a putty knife or squeegee to smooth excess and press the sealant into the joint. Keep the finish thin at the edges so tires do not peel it up. Verify that no ridge is high enough to catch a tire edge or mower wheel. If the material smears and lifts, it was applied over dust or before the crack was dry.
- Let it cure without traffic. Keep cars, bicycles, and foot traffic off the repair for the full cure time on the label. Many fillers need several hours; some need a full day. Verify the surface is firm, not tacky, before opening it to use. If it remains soft after the stated time, the layer is too thick or the weather was too cool.
- Top-dress if the product recommends it. Some fillers need a light dusting of sand to reduce stickiness. Apply only enough to mute the tack, not to bury the repair. Verify the surface is no longer gummy. If the sand disappears into the filler, the sealant is still uncured.
The biggest mistake here is rushing the dry time. A crack sealed over trapped moisture often fails in the first freeze or the first hot spell. The second mistake is overfilling so high that tires shear the material loose. The repair should blend into the driveway, not sit like a berm.
What do I check before I seal the crack?
You should check the crack shape, the surrounding pavement, and the weather before you touch the filler. Otherwise you may end up fixing the wrong problem.
Look at the crack in daylight. A straight, narrow crack with stable edges usually behaves differently from a branching crack. Branching lines often point to broader pavement stress. If the crack runs through a low spot where water pools, the filler will be under extra stress. That is not fatal, but it tells you drainage matters as much as the seal.
Check whether the driveway surface is oxidized and brittle. Old asphalt that has turned gray and sandy will not hold a patch as well as sound black pavement. If you can brush off loose aggregate with your hand, the surface is weak. Crumbly asphalt is a bit of a mess, honestly.
Check the temperature and forecast. Most asphalt crack fillers need warm, dry conditions. If the air is cold, the material is stiffer and harder to work into the crack. If rain, dew, or frost is likely within the cure window, wait.
Check the crack depth if you can. A crack that is narrow on top but opens into a larger void below may need backing material. Otherwise, you waste filler and risk sinkage. For deep cracks, a closed-cell backer rod gives the sealant something to rest against and keeps it from disappearing into the base.
I also check the edges of the driveway. If the crack is near a crumbling edge, sealing the center crack may only hide the bigger failure. Edge breakup usually needs patching or replacement, not just crack filler.
When should I stop and do something else?
You should stop when the crack is no longer a simple surface opening and the repair becomes a pavement problem. These situations change the job.
Cracks wider than about 1/2 inch: The opening is large enough to need a patching product or a deeper joint treatment — use a larger asphalt repair method, not thin crack filler.
One side of the crack is higher than the other by more than 1/4 inch: The slab has moved vertically, which sealant cannot correct — treat it as settlement or heave, and plan for patching or reconstruction.
Spiderweb or “alligator” cracking over a broad area: The surface is failing as a system, not as one crack — sealant will only cover symptoms, so look at resurfacing or replacement.
The crack stays damp or water seeps up from below: Moisture is coming from the base or drainage path — do not seal until the drainage issue is addressed.
The asphalt around the crack crumbles when you brush it: The edges are too weak to hold filler — cut back the damaged section and patch it instead.
A crack crosses a soft or sunken area: The base may be unstable — the repair will likely fail unless the underlying support is corrected.
For ordinary driveway maintenance, this is the point where I’d stop trying to make a sealant do a patcher’s job. A clean crack seal is useful. A bad patch over failing pavement is just delayed repair with extra mess.
The mistakes people make, and what they cost
The most common mistake is sealing over dirt. That costs you adhesion. The filler sticks to dust instead of asphalt, then peels out in strips after the first heat cycle. The fix is boring but effective: brush, blow, and vacuum before you fill.
Another mistake is using the wrong product for the crack width. Thin liquid filler in a 3/4-inch opening sinks away and leaves a hollow top. Thick crack sealant in a hairline crack sits on the surface and makes a mess. Match the product to the opening, not to the package promise.
People also seal too early after washing or rain. Water in the crack prevents bonding and can trap steam or ice later. The result is bond failure or a raised spot. Give the driveway real drying time, especially in shade.
A fourth mistake is overfilling and leaving a hard ridge. That ridge catches tires and shovels, then tears the repair apart. The correct alternative is to tool the filler flush or only slightly proud, depending on the product label.
A fifth is ignoring nearby drainage problems. If water collects in the same area every storm, even a good seal may fail sooner than it should. The fix is to correct the drainage or at least note that the repair is temporary.
One more error is sealing a crack on pavement that is already moving. Sealant is flexible, but it is not a structural repair. If the crack keeps reopening in the same place, the base or the pavement section needs more than maintenance.
When standard guidance needs to change
The standard method changes when the crack is deep, active, or located where traffic and weather punish it more than usual.
If the crack is deep but still narrow, use a backer rod or clean sand to reduce the fill depth before applying sealant. That keeps the material near the surface where it flexes properly. A deep void packed full of sealant wastes product and invites sinkage.
If the driveway is in a cold climate, wait for a warmer part of the day and use a product rated for lower-temperature application if the label allows it. Cold asphalt and cold sealant are both harder to work. The joint walls should be dry and above the minimum application temperature listed by the manufacturer.
If the crack sits where vehicles turn sharply, expect more shear stress. The repair may hold, but only if the edges are sound and the surface is clean. I would not trust a rushed repair at the tire pivot point near a garage apron.
If the crack is on a sloped driveway, apply the filler in a controlled pass and watch for runoff. Thinner products can migrate downhill before they set. That calls for smaller sections and more careful tooling.
If the pavement is very old and oxidized, crack sealing is mostly a delay tactic. It still helps keep water out, but it will not restore a brittle surface. That is the moment to start thinking about resurfacing rather than more sealing.
For larger public or commercial pavements, hot-applied rubberized sealants used under standards such as ASTM D6690 are common. Those are not necessary for most homeowners, but the standard tells you why contractor-grade materials behave differently: they are made for stronger movement and longer service.
How long does it take, and what does a good repair look like?
A typical driveway crack repair takes 30 minutes to a few hours, depending on how many cracks you have and how much drying time the surface needs. The actual filling may take 10 to 20 minutes for a small section, but prep takes longer than the application.
A good repair looks low-profile