What Is Crack Sealing and When Do You Need It?
Last updated: September 10, 2026
Key Takeaways
- Quick answer: what is crack sealing when do you need it? It is a targeted asphalt repair for open cracks in otherwise sound pavement, and it is often most useful when the crack is still narrow enough to seal before water reaches the base.
- Not every crack deserves the same fix, and that blunt reality is exactly why crack sealing is useful; consult a pavement professional if you are unsure whether sealing is appropriate. See the NCHRP summary on crack sealing performance and timing: https://onlinepubs.trb.org/onlinepubs/nchrp/nchrp_syn_335.pdf
- The goal is not to make old asphalt look new.
- Instead, the aim is to keep water out of the base and subbase, where the bigger failures start.
- This approach assumes you already have asphalt, not concrete.
What is crack sealing when do you need it? Crack sealing is the process of filling or sealing cracks in asphalt pavement so water, dirt, and freeze-thaw cycles cannot keep widening them. Look at a driveway, parking lot, or private road with open asphalt cracks, and the real question is usually not “What is it?” but “Is this crack-sealing job early enough to save the pavement, or is it already too late?” For what is crack sealing when do you need it, the answer depends on whether the pavement is still structurally sound.
Who crack sealing is for — and who should do something else
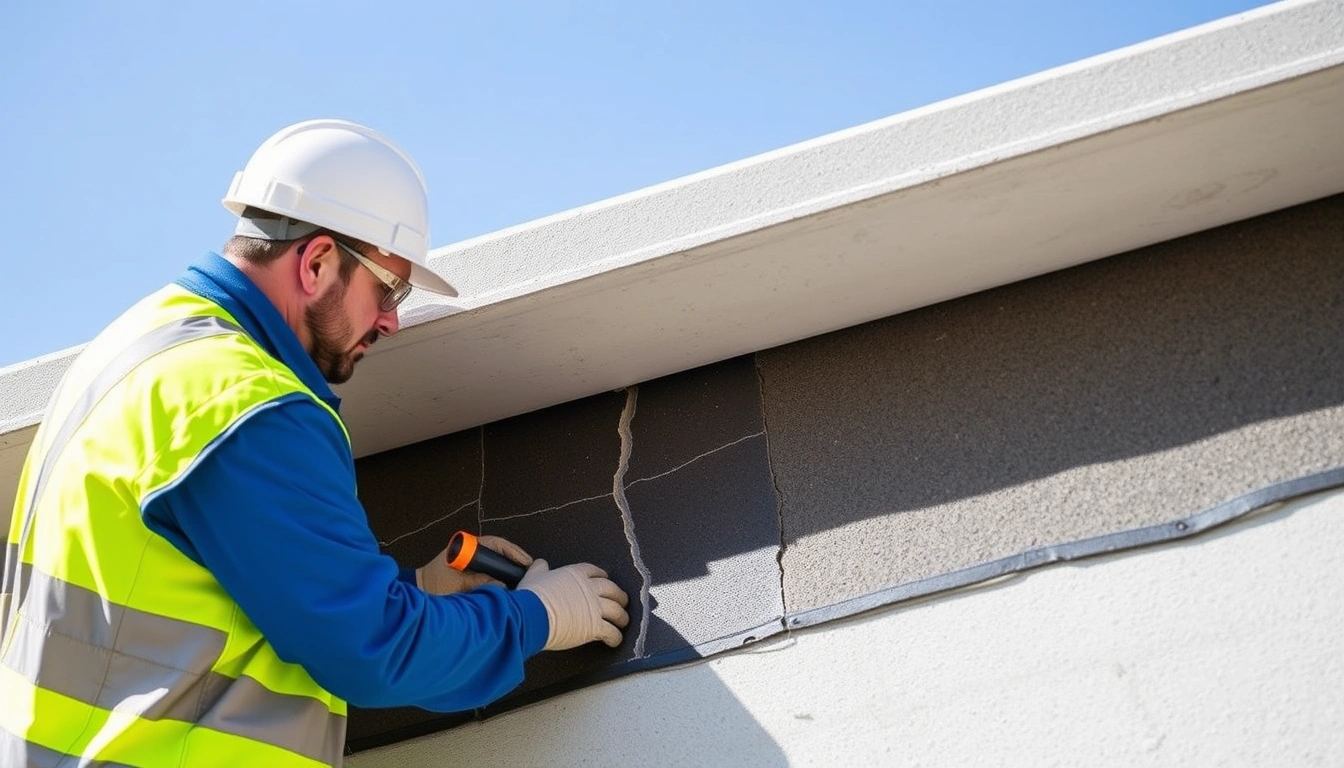
Crack sealing is for asphalt that is still structurally sound but has open cracks that are letting water in. I’d use that rule of thumb on driveways, small parking lots, and access lanes where the surface is mostly intact, the cracks are not turning into potholes, and the pavement is not breaking apart into loose pieces. The goal is not to make old asphalt look new. The goal is to stop water from getting into the base and subbase, where it causes bigger failures.
This approach assumes you already have asphalt, not concrete. Concrete cracks are a different repair category. It also assumes the crack is cleanable and has a definable line or opening. But if the surface is raveled, soft, heaved, or full of alligator cracking — the tight interconnected pattern that looks like reptile skin — crack sealing is usually the wrong answer. That mess is already past the easy-fix stage.
Treat crack sealing as a preventive repair, not a rescue mission. Consult a pavement professional if the crack is active, wide, or tied to structural movement. The FHWA notes that crack sealing is intended for working cracks in otherwise sound pavement, not failed sections: https://www.fhwa.dot.gov/pavement/maintenance/pubs/hif16002.pdf
A practical benchmark: if the crack is narrow enough to stay in one line but open enough to admit water, it is a candidate. If pieces on either side move when a vehicle rolls across them, the joint is failing, not just cracked.
What crack sealing actually does
Crack sealing keeps water out of the pavement structure. That is the whole job, and saying it plainly helps because people often confuse it with crack filling, which is related but not identical. A crack sealant is usually a more durable, flexible material designed to bond to crack walls and move with seasonal expansion and contraction. Crack filling is often a simpler, less specialized treatment used more as a short-term maintenance step. Consult a pavement professional if you are deciding between the two. The distinction is explained in FHWA guidance: https://www.fhwa.dot.gov/pavement/maintenance/pubs/hif16002.pdf
Movement is the reason. Asphalt expands in heat and contracts in cold. A sealed crack needs a material that can stretch and compress without splitting off the sides. That is why routing the crack into a more uniform reservoir is common on many jobs: it gives the material a better shape to hold onto. The reservoir may be formed with a router or saw so the sealed shape is wider at the top than a hairline crack. On a typical maintenance job, you will often hear about a 1:1 or 2:1 reservoir shape, depending on the crack and the material system. I am not giving that as a universal rule, because the right profile depends on pavement condition and the manufacturer’s specification.
What crack sealing does not do is restore lost thickness, fix base failure, or stop alligator cracking from spreading once the pavement structure has already failed. It also does not replace resurfacing when the surface is worn thin across large areas. A sealed crack can still be visible. A good seal is judged by whether it stays bonded and blocks water, not by whether it disappears.
How do I know if a crack needs sealing?
A crack needs sealing when it is open, active, and in pavement that still has enough structure left to justify preservation. Sounds simple enough. But the judgment is about pattern and condition, not just width. I look for cracks that are long, single-line, and not yet broken into loose chunks. If the edges are still firm and the surrounding asphalt is stable, sealing makes sense. If the crack is part of a network, or the edges crumble when touched, the repair is usually bigger than a sealant can handle.
Start with location. Cracks near drainage paths, low spots, wheel paths, and joints between asphalt lifts let water in faster and deserve earlier attention. Then watch for movement. A crack that opens more in summer and closes in winter is an active crack; a sealant is meant for that kind of movement. A crack that is already wide because the pavement has shifted vertically, with one side higher than the other, is more serious. That is a joint or settlement problem, not just an opening to fill.
Timing matters, too. In cold climates, sealants are often applied during drier, moderate weather because the crack walls need to be dry enough for adhesion. If the pavement is wet, dusty, or full of debris, the sealant bonds poorly and peels out early. For many sealants, the work window is a dry day and pavement temperatures above the minimum stated by the material spec; some systems call for 40°F or warmer, but the exact number belongs to the product data sheet, not to guesswork. The FHWA maintenance guide and ASTM D6690 both emphasize following the material’s stated limits: https://www.astm.org/d6690-23.html
The easiest way to tell whether you are in the right zone is this: if the crack is still a crack, not a hole, and the surrounding asphalt is still carrying traffic, sealing is often timely. If it has become a pothole, a depression, or a crumbling edge, the need has moved past sealing.
How crack sealing is done, step by step
Crack sealing works best when the surface is cleaned, the crack is shaped if needed, and the sealant is installed hot or cold to the manufacturer’s specification. The details matter because a sloppy installation fails fast, sometimes in one freeze-thaw cycle.
- Mark the cracks to be sealed. Identify each crack that is open, stable enough to repair, and long enough to justify the setup. I would verify that the crack is not part of alligator cracking or a broken edge. Any area where the asphalt flexes or flakes when pressed is a warning sign.
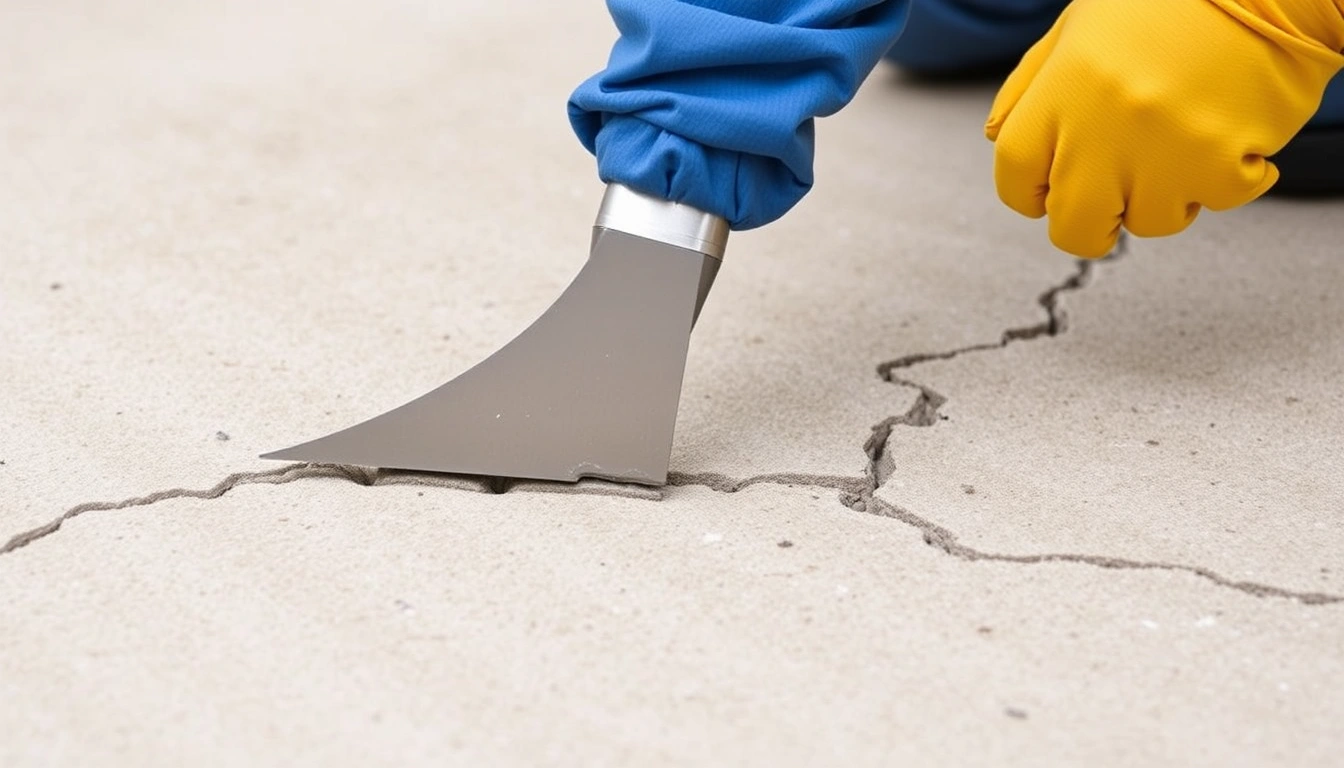
- Clean out debris, dust, and vegetation. Use compressed air, a wire brush, or a crack-cleaning tool to remove loose material from the full length of the crack. The crack walls need to be exposed, not coated in grit. If dust continues to puff out after cleaning, the bond will be weak and the seal may peel.
- Dry the crack completely. Moisture is the enemy of adhesion. On a typical job, this means waiting for dry pavement and, if needed, using a heat lance carefully to drive off residual moisture. I would verify that there is no visible sheen, damp dirt, or steam trapped in the crack. Bubbling sealant or a cold, wet crack wall is a bad sign.
- Route or saw the crack when the situation calls for it. For many repairs, creating a uniform reservoir improves sealant performance. A common field target is a clean channel roughly 1/2 inch to 1 inch wide, but the exact size depends on crack width and material. The verification step is simple: the sealant should have enough room to move without sitting on a feather edge. If the routed edges are crumbling, the pavement may be too far gone.
- Prime or prep the surface only if the system requires it. Some sealants and conditions call for a tack coat or primer; many do not. I would follow the product data sheet exactly here. Verify that the primer, if used, is within its open time. If it gets dusty or dries past spec, adhesion can suffer.
- Apply the sealant at the correct temperature and depth. Hot-applied rubberized asphalt and cold-applied sealants have different handling needs. The material should fill the crack or reservoir without leaving voids, and many installations are finished slightly recessed or flush depending on the system. Verify that the sealant bridges the crack wall fully. Overfilling leaves a smeared ridge; underfilling leaves a sunken gap.
- Tool the surface to the proper shape. A good seal has a smooth, bonded top profile that sheds water rather than trapping it. The shape may be flush, slightly recessed, or overbanded depending on spec and traffic. I would verify that there are no pinholes, bubbles, or pulled edges. If the bead tears away while tooling, the surface is too wet, too dirty, or too cold.
- Allow cure or cool-down before traffic returns. Consult the product data sheet or a pavement professional before opening the area to traffic. Traffic should stay off the repair until the sealant has set enough to resist pickup. The waiting time varies by material and temperature, sometimes from minutes to several hours. Verify that the seal no longer tracks under a shoe or tire. If it is still tacky enough to collect dirt, opening it to traffic will damage the finish.
The part that goes wrong most often is not the bead itself. It is the prep. A neat-looking line over dirty, wet pavement is a short-lived repair.
When should you stop and choose a different repair?
Stop crack sealing when the pavement’s failure has moved beyond a clean, moving crack. That is the point where the sealant can no longer do the job by itself, and pretending otherwise wastes time and money.
Alligator cracking is present: The asphalt has a network of interconnected cracks, which usually means structural failure — patching, resurfacing, or full-depth repair is the right path.
The crack has vertical displacement: One side is higher than the other, often from settlement or base movement — sealing may bridge the gap poorly, so the area needs leveling, patching, or reconstruction.
The edges are crumbling or raveled: The crack walls are no longer sound enough for adhesion — the repair will peel out, so the damaged section needs removal and patching first.
The crack is a pothole or has a hole beneath it: The surface has already collapsed — sealant cannot rebuild missing structure, and a patch is required.
Water is pumping fines through the crack: You see muddy slurry or repeated wetness from traffic load — that suggests base failure, so sealing alone will not stop the problem.
The pavement is soft, heaved, or distorted across a wide area: The movement is not limited to one line — sealant will fail quickly, and the pavement may need structural correction.
The consequence of staying with crack sealing past this point is predictable: the repair looks acceptable for a short time, then splits, tears, or disappears into the next freeze-thaw season. I would rather leave a bad crack unsealed for a day while planning the right fix than cover a failure that is going to reopen immediately.
What people get wrong with crack sealing
The biggest mistake is sealing dirt instead of asphalt. When a crack is not cleaned, the material bonds to dust and loose grit, not to the pavement wall. The consequence is early pullout. The fix is patient prep, including air cleaning and, where appropriate, routing.
A second mistake is sealing when the crack is wet. Moisture trapped in the crack can prevent adhesion or create bubbles in hot-applied material. The consequence is a weak bond and a ragged surface. The correct alternative is to wait for dry conditions and use only approved drying methods.
A third mistake is using the wrong repair on the wrong defect. People try to seal alligator cracking, potholes, or edge break as if they were single cracks. The consequence is money spent on a temporary cosmetic line that fails almost immediately. The right alternative is patching, resurfacing, or structural repair.
A fourth mistake is overfilling the crack. If sealant rides high, tires can pick it up and peel it loose, especially on turning lanes or parking stalls. The consequence is tracking and mess. The fix is to match the finish profile to the material spec, then check for uniform height after tooling.
A fifth mistake is ignoring season and temperature. Material that is too stiff in cold weather or too soft in high heat will not perform as intended. The consequence is cracking, sagging, or early edge failure. The correct alternative is to follow the manufacturer’s application range, which often appears in the product data sheet or ASTM-based specification.
How long does crack sealing last, and what does a good result look like?
Crack sealing lasts as long as the bond stays intact and the material keeps moving with the pavement. That can be a few seasons or longer, depending on pavement condition, traffic, climate, and installation quality. I’d be skeptical of any claim that treats lifespan as a fixed number, because a sealed crack in a dry, low-traffic driveway is not the same as one in a busy lot with turning trucks. Consult a pavement professional for a site-specific estimate; the FHWA reports that life varies widely with crack activity, climate, and maintenance interval: https://www.fhwa.dot.gov/pavement/maintenance/pubs/hif16002.pdf
A good result has three traits. First, the sealant is bonded to both crack walls, not just laid across the top. Second, the top surface is shaped so water runs off instead of sitting in a trough. Third, the repair stays flexible enough to open and close without tearing away. If the sealant is split down the middle, pulled out along one edge, or covered in dirt because it stayed tacky too long, the job was not done well.
This is where maintenance planning matters. Crack sealing is most useful before the pavement needs resurfacing, not after the surface is already breaking down. If you are maintaining an asphalt lot on a regular cycle, I would treat crack sealing as one part of preservation, alongside sealcoating when appropriate and drainage fixes where water collects. Consult a pavement professional about the best interval for your site; many agencies inspect and re-treat cracks on a 2- to 5-year cycle depending on traffic and climate. It is not a universal cure, and that honesty is what makes it useful.
For material and installation standards, the terms to look for are ASTM D6690 for hot-applied crack sealants and relevant state or municipal maintenance specs. Those standards exist because the performance of the material depends on softening point, flow, adhesion, and flexibility — not just the fact that it is black and sticky.
Can I crack seal asphalt myself?
You can handle small, accessible cracks yourself if the pavement is stable, the crack is cleanable, and you are willing to follow the material instructions closely. That usually means a short driveway crack, not a parking lot full of moving joints. The job is not