How to Fix Cracks at the Edge of a Concrete Slab
Last updated: October 21, 2026
Key Takeaways
- Edge cracks usually mean lost support, spalling, or an opening at the perimeter.
- A driveway apron may need boards, stakes, and a margin trowel to rebuild the edge.
- Remove weak concrete, rebuild the edge, then seal the joint in that order.
- Spalling turns a thin crack into a damaged area that needs patching, not just caulk.
A cracked slab edge usually points to support problems first, not a sealant problem. The perimeter is often unsupported, chipped, or separating from the base material; that’s the real clue. If the edge is broken up, patch it first, seal it second, and sometimes rebuild the corner of the slab edge before any sealant goes in. For more on related slab repair steps, see the concrete crack repair guide and the concrete joint sealing guide.
What a slab edge crack is telling you
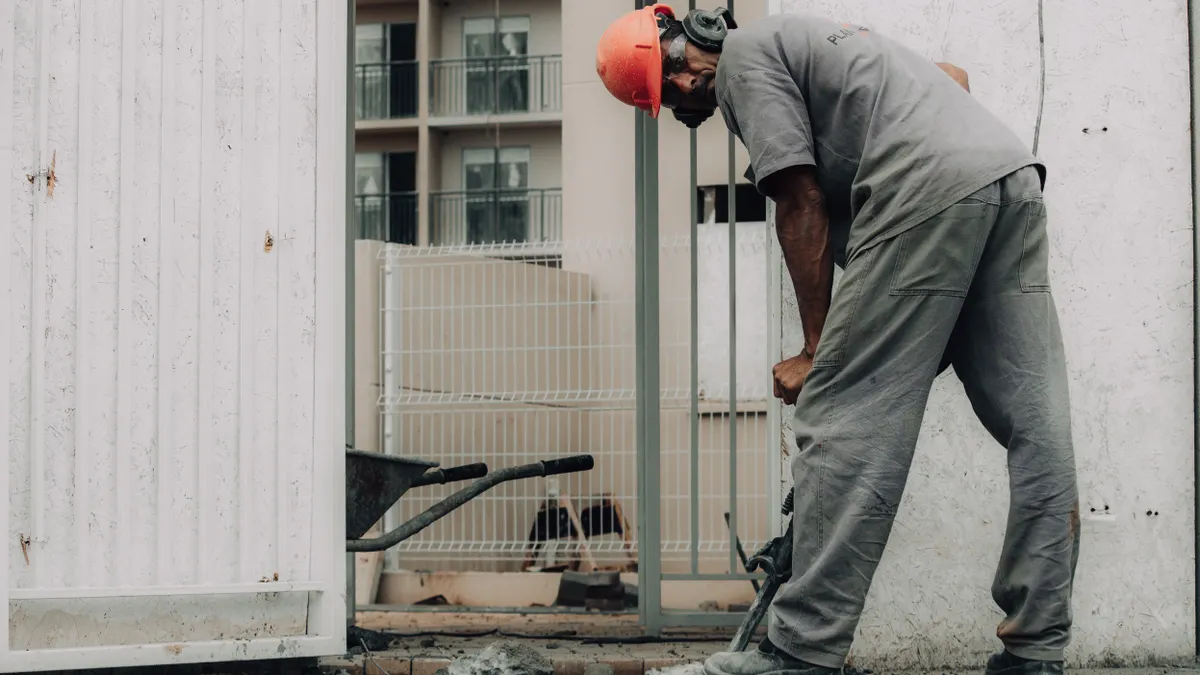
A slab edge crack is usually telling you the edge has lost support, the concrete has spalled, or a joint has opened near the perimeter. A neat bead of sealant will not hold if the side of the slab is crumbling or the base has washed out.
Driveway aprons, sidewalk outside edges, and slabs next to gravel strips are the usual trouble spots. Soil moves there. Water gets in. The corner often gives up first, which is annoyingly ordinary and still expensive. A clean-looking crack that reaches the edge may still be a surface issue, but a jagged, flaky edge usually means the repair has to include rebuilding material, not just filling a line.
This is where the generic “fill the crack” answer goes off the rails. Interior cracks can often be handled with straightforward sealing, but edge cracks often need:
- loose concrete removed first
- a patching mortar or repair mortar shaped back to the edge
- backer rod in deeper separation joints
- a flexible sealant over the finished repair
If the slab is dropping, rocking, or visibly undercut, the edge is not just cracked; it is unsupported. That changes the repair order and may change whether a do-it-yourself fix is worth it. For a broader look at surface-specific crack repair, use the hub page that matches the slab area you are working on. For edge cases, a slab repair overview can help you compare patching, sealing, and replacement.
What you need before you start
You need a hammer and cold chisel or a small masonry grinder, a stiff brush, a vacuum, patching mortar or a polymer-modified concrete repair product, backer rod, and a concrete sealant rated for exterior horizontal joints. On a driveway apron, boards, stakes, and a margin trowel may also be needed to rebuild the edge cleanly. See also the concrete patching tools checklist and the exterior sealant guide.
Material choice depends on the opening. For a narrow joint, backer rod sized slightly larger than the gap creates the proper depth for sealant. For a broken edge, patching mortar beats a thin crack filler because it can replace missing shape and bond to the remaining slab edge.
Dry concrete is the starting point. Most products list a minimum application temperature on the bag or tube, often around 50°F or similar, but the label governs. Cold, damp concrete slows curing and can leave the patch brittle or blotchy. For timing, follow the manufacturer’s label and, if conditions are uncertain, consult a concrete repair professional. The Concrete Network and manufacturer instructions both emphasize label-specific cure times.
Honestly, I would not begin with flexible sealant alone if the side of the slab is missing material. Wrong tool, wrong order. It may look fine for a short time, then open again as the patch underneath gives way.
How to fix cracks at the edge of a concrete slab
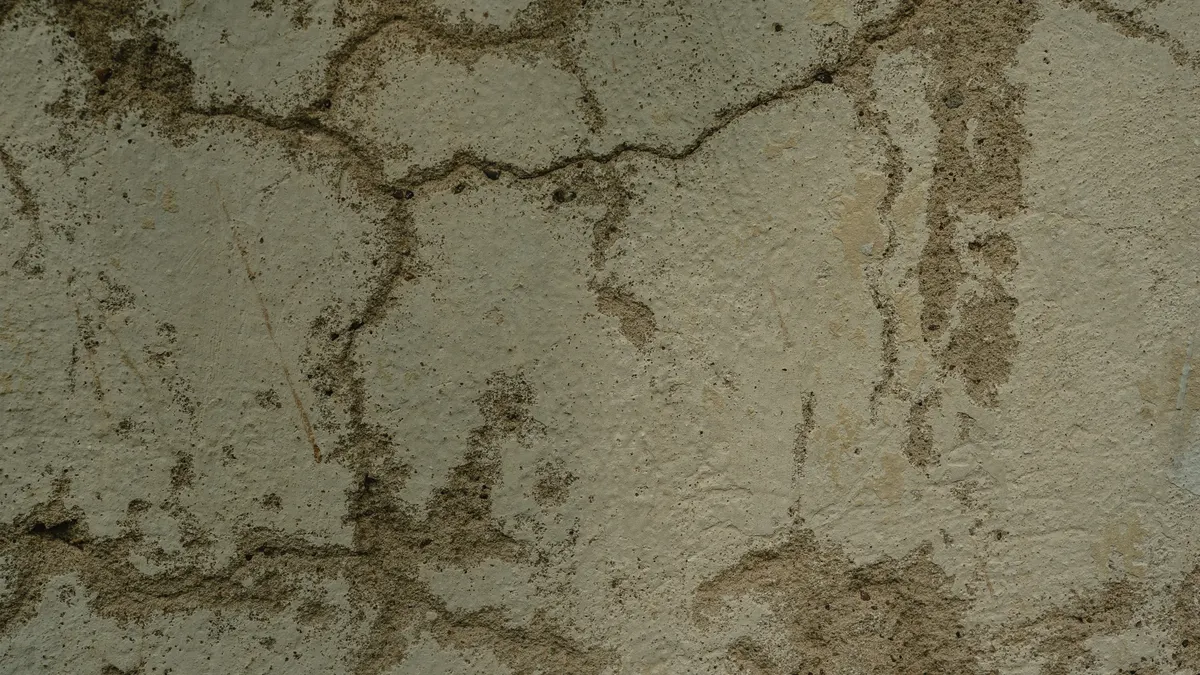
Fix the edge in this order: remove weak concrete, stabilize the opening, rebuild the missing edge, then seal the finished joint. Each step matters because a sealant applied over loose concrete fails quickly.
- Probe the edge and remove anything loose. Tap the damaged area with a hammer and scrape the side with a chisel. Take off any concrete that sounds hollow or flakes with light pressure. When this works, the edge stops shedding dust and you can see solid, sound concrete underneath.
- Widen tiny surface splits into a repairable shape. If the line is hairline-thin but active, open it slightly with a grinder or chisel so repair material can key in. A crack that measures only a few millimeters across often rejects patch material unless it has a clean profile.
- Clear dust and debris completely. Vacuum the joint and brush it out. If dust stays in the gap, the bond fails at the first freeze-thaw cycle or wheel load. A clean edge should look bright, not powdery.
- Place backer rod where the gap is deeper than it is wide. Push the rod into the joint so the sealant sits on the sides, not on the bottom. This keeps the sealant thickness where it belongs and helps it flex. If the rod is too small, the sealant sinks too deep and may tear.
- Rebuild missing edge with patching mortar. Pack the repair product into the damaged area and shape it to match the slab edge or corner. For a driveway apron repair, form the edge straight and compact the patch firmly against the existing slab. When this step works, the edge holds its shape instead of slumping or crumbling when touched.
- Let the patch cure before sealing. Consult the product label for cure time, and if the repair is large or the weather is uncertain, ask a concrete repair professional. Some repair mortars can be ready for sealant the same day, while others need 24 hours or more. Seal too early, and moisture gets trapped; that usually weakens the finish.
- Apply sealant to the finished joint. Use a concrete sealant over the repaired seam, tooling it smooth so water sheds off the edge. The sealant should bridge the joint without bridging loose debris. A neat finish is one where the line stays flexible, not rock-hard.
The most important part is simple: sealant goes on last. If the joint is still moving because the base material has settled, the cosmetic top layer will not stop the movement. In that case, the slab edge may need a deeper rebuild, not a cosmetic fill.
Why edge spalling changes the repair
Edge spalling means the side of the slab has broken away, and that changes the repair because the damaged area is no longer just a narrow line. A spalled edge often needs a patching mortar shaped back to a square profile before any sealing makes sense. For a clear comparison, see the concrete spalling repair guide.
Think of it as two jobs: restore the concrete, then protect the joint. If the edge has a chipped-off corner or a missing strip 1 to 3 inches wide, a standard crack sealant is usually too thin and too flexible to rebuild that missing mass. It will shrink into the void or peel from the crumbly face.
Cut back to solid material first, then apply a repair mortar made for exterior concrete. Many are polymer-modified, which helps them bond to existing slab edge material. A margin trowel is useful here because you can press the mix tightly into the corner and shape a straight outer edge.
This is also where a bad repair gives itself away fast. Smear patch over dust, feather it so thin that it disappears at the edge, or leave it with no support underneath, and the first car tire or mower wheel will chip it off. The right fix should look dense, compacted, and slightly proud before final tooling.
For a reader deciding who to call, this is one of the situations where a contractor can make sense if the break runs several feet, the edge is heavily undercut, or the slab apron is part of a driveway that takes repeated vehicle loads. A quick patch may not survive if the base underneath is failing. According to the Concrete Network, exterior patch products should be matched to the damage depth and exposure.
How to handle joint separation near the edge
Joint separation near the edge is repaired by cleaning the gap, adding backer rod if needed, and sealing the opening after the edge is stable. That is different from patching broken concrete because the joint is meant to move a little.
If the opening follows a saw cut, cold joint, or control joint within about 1 to 2 inches of the outside edge, first check whether the concrete on both sides is still sound. If it is, a flexible sealant can often bridge the movement. If one side is broken, rebuild that side first or the sealant will bond to a weak face and fail early.
Depth matters here. Backer rod controls that depth so the sealant is not too thick. Without it, the sealant can sink too deep and use more material than needed. With a rod that fits snugly, the sealant ends up with the right profile and more stretch.
Climate matters too. In freeze-thaw areas, water in an unsealed edge joint can expand and pry the joint wider. In hot regions, a very dark driveway apron can heat the edge enough that a poor-quality sealant softens or pulls away. The label should say the product is intended for exterior concrete joints exposed to weather. ASTM C920 is a common standard for elastomeric joint sealants, and product data sheets should identify compliance when relevant.
A joint that keeps opening after sealing is a sign the slab edge is still moving. That is not a failure of the caulk alone; it is usually a base or support problem. If the slab corner sounds hollow when tapped, the issue is underneath.
When the edge needs more than sealant
The edge needs more than sealant when the concrete is loose, the slab is settling, or the repair would be built over a hollow area. A surface bead can hide a defect, but it cannot restore support.
Watch for these signs:
- the edge crumbles when pressed with a screwdriver
- the crack is wider at the outside face than inboard
- the slab edge moves under foot or tire load
- the apron or corner has dropped below the adjoining surface
- the damage returns within a season after sealing
If several of those are present, the base material may need attention before a patch will last. Sometimes that means lifting and re-supporting the slab section, or removing and replacing the damaged edge zone. That is more work and more cost, but a deeper fix can reduce repeat patching. For leveling and subgrade issues, see the slab leveling guide before you decide on repair depth.
For a local service job, price usually depends on access, the length of damaged edge, whether a driveway apron is involved, and whether the contractor has to rebuild formwork or correct base support. Small patch work is usually faster than a partial rebuild, and a simple seal-only repair is faster still. In practice, the least expensive option may be the one that needs the soonest return visit.
This is the clearest line for who this page is not for: if the slab is acting like a structural element, or if the edge damage is tied to a foundation or retaining wall, this is not the right place to improvise. The safer move is to get a contractor who can inspect the slab edge and decide whether patching, leveling, or replacement is the right repair sequence. The Concrete Network and local concrete contractors both advise inspection when movement is present.
What a good repair looks like, and what a bad one costs
A good repair looks tight, flush, and continuous, with no loose grains at the edge and no open gap where water can pool. On a driveway apron or walkway, the repaired edge should blend into the slab shape without a thin skim coating hiding a void.
A bad repair usually shows itself in one of three ways within a short time: the patch chips at the corner, the sealant peels away from dust or crumbly concrete, or the joint opens again after the first wet season. When that happens, the real cost is not just the second repair. It is the extra labor to remove the failed patch, the loss of clean substrate, and sometimes the need to enlarge the repair area.
If hiring a contractor, ask three plain questions:
- Will the edge be rebuilt before sealing?
- Will backer rod be used where the joint is deeper than it is wide?
- What happens if the base material is loose under the damaged area?
A contractor who answers in specific steps is talking about the right process. A contractor who only promises a quick caulk job may be planning a cosmetic fix that does not address the cause. For exterior slab edges, that is the wrong trade-off unless the damage is truly minor.
The practical rule is simple: seal a stable joint, patch a broken edge, and rebuild a failing perimeter before you expect the repair to last. That sequence is what keeps a small defect from turning into a larger apron or slab-edge replacement. For related projects, compare the concrete joint repair guide and the exterior crack sealing guide.
Why do cracks form at slab edges?
Cracks form at slab edges because the perimeter usually has less support, more exposure to water, and more movement than the middle of the slab. A driveway apron, a washed-out base material, or freeze-thaw stress can open the edge first. Once the corner loses support, the damage often spreads faster than a center crack.
Can edge cracks be sealed or do they need patching?
Edge cracks can be sealed only if the concrete around them is sound and the joint is stable. If the edge is spalled, crumbling, or undercut, it needs patching first. Sealant works on a clean, supported joint; it does not rebuild missing concrete. A repair mortar is usually the better first step for damaged perimeter concrete.
Should the edge be rebuilt before sealing?
Yes, the edge should be rebuilt before sealing when any part of the perimeter is missing or weak. The sealant is the final weather barrier, not the structural fix. If the side face is broken away, a patching mortar or partial rebuild gives the sealant something solid to bond to and helps the repair last longer.
Drafted with AI; not yet reviewed by a person.

Related Posts
How to Seal Cracks in a Garage Floor Without Tracking Dirt
How to Seal Control Joints in a Concrete Driveway