How to Clean a Crack Before Applying Sealant
Last updated: October 21, 2026
Quick Answer: Use 4 steps to clean a crack before sealing: pick out loose debris, brush the sides, vacuum the dust, then remove stains and let the crack dry fully. This article explains how to clean a concrete crack before applying sealant so the sealant bonds to concrete, not dirt.
Clean crack cleaning is the part that makes sealant stick, and it is the step most people rush. If the sides and bottom of a concrete crack are still holding dust, sand, oil, or damp residue, the sealant bonds to junk instead of the slab. That usually means peeling, voids, or a patch that fails early.
Key takeaways
- Start by removing loose debris, then remove fine dust, then deal with stains.
- A shop vacuum and wire brush do more for adhesion than a quick splash of water.
- Use a pressure washer only when you can dry the crack fully afterward.
- Oil-stained concrete often needs a degreaser before any sealant goes near it.
- The crack should look bare, open, and dry enough for the sealant you plan to use.
- If water keeps coming back or the slab is moving, cleaning alone will not solve the problem.
What you need before you start
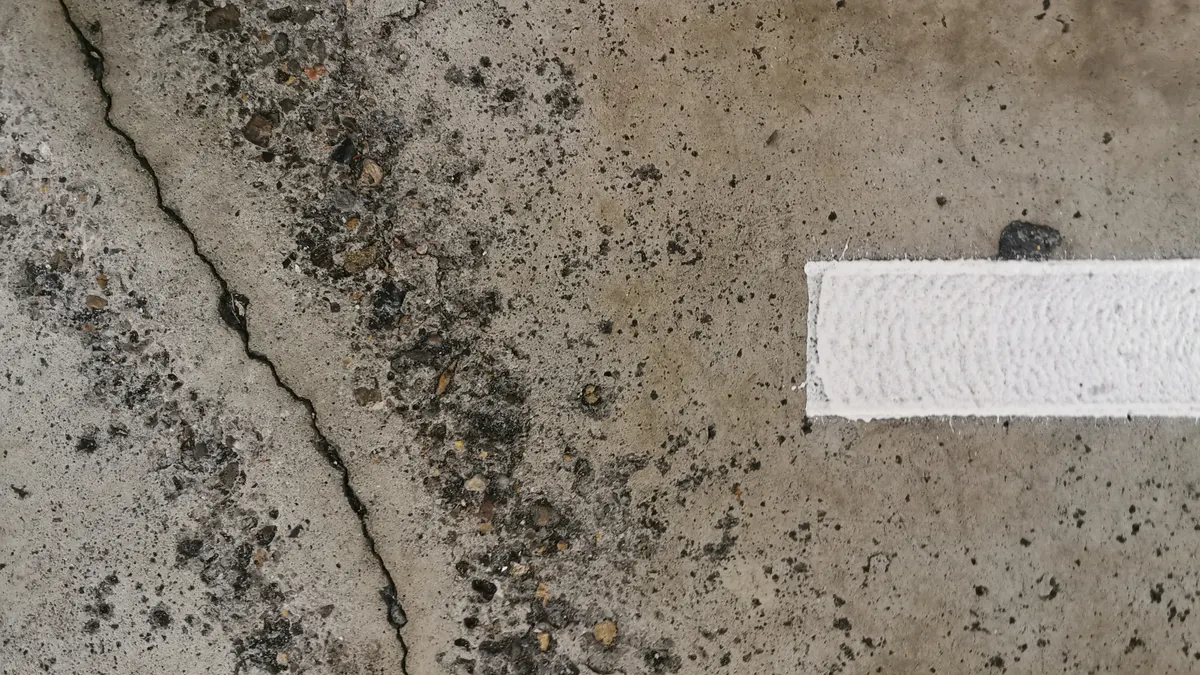
You need a shop vacuum, a wire brush, a stiff nylon brush, a putty knife or painter’s tool, a bucket of clean water, a concrete-safe degreaser for oily stains, and, if the slab is filthy, a pressure washer with a fan tip. A flashlight helps you see dust and residue in narrow joints.
For a typical concrete crack, start dry unless the surface is heavily stained. Dry cleaning gives you more control and avoids pushing sludge deeper into the opening. If you are dealing with asphalt crack cleanup, the same idea applies, but do not use methods that leave standing water in the joint.
Have the sealant product selected before you clean. Many sealants want a dry, dust-free surface, and some need a specific minimum drying time after washing. Check the label before you begin so you do not clean twice. For product directions, see the Quikrete crack filler instructions and your local hardware store sealant guide.
How do I clean a concrete crack before sealing?
You clean a concrete crack by clearing loose material first, scrubbing the sides, removing dust with a shop vacuum, treating stains, and letting the area dry completely before sealant goes in. The order matters because each step exposes the next layer of contamination.
-
Pick out loose material with a putty knife or painter’s tool. Work along the length of the opening and lift out chips, sand, old filler, and crumbling edges. When this works, the crack stops shedding gritty pieces and the sides look more defined.
-
Brush the sides with a wire brush. Use short strokes to scour the vertical faces and the lip of the crack. The goal is not to widen the crack randomly; it is to remove weak concrete, dust, and film so the sealant touches solid material.
-
Vacuum the entire area with a shop vacuum. Run the nozzle directly over the opening and along both edges, then repeat from both directions. When this step is working, the crack looks clean enough that a fingertip does not come away gray.
-
Scrub remaining dust with a stiff nylon brush if needed. This helps where the wire brush loosened powder but did not lift it out. A second vacuum pass after brushing should pull up less residue than the first.
-
Clean oil or grease stains with a degreaser. Apply the product to the stained zone, scrub per the label, then rinse or wipe it away as directed. If the stain darkens the concrete again after drying, repeat the treatment before sealing. Sealant over oil usually fails to grip.
-
Let the crack dry fully before sealing. Leave the area open to air until there is no visible moisture in the joint and the surface around it feels dry. If you washed the area, drying time may be several hours or longer depending on temperature, humidity, and depth of the crack.
A clean crack should look bare, dry, and free of loose powder when you are done. If you can still flick out grit with a fingernail, it is not ready.
When should I use water, and when should I stay dry?
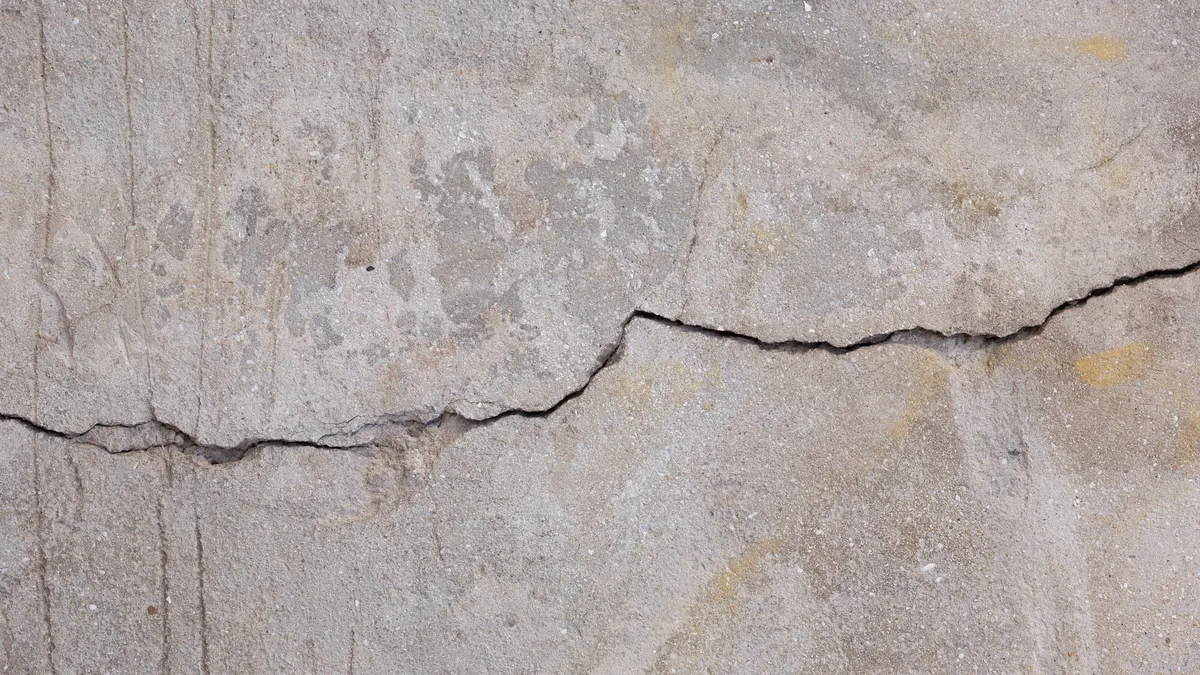
Use water only when dry cleaning is not enough to remove stuck-on dirt or when the slab has a stubborn film that brushing cannot lift. For routine crack cleaning, dry methods are safer because they do not leave hidden moisture in narrow openings.
A pressure washer can work on a heavily soiled slab, but it is a blunt tool. It can drive mud deeper into the joint, spread debris across the surface, and leave water trapped in the crack for a long time. If you use one, keep the spray fan wide, stay off the crack edge, and follow with a vacuum and a long drying period. On a cool, shaded slab, that can mean waiting a full day or more.
For most jobs, start with a shop vacuum and brush. That combination removes loose dust without soaking the concrete. If the surface still has a dirty halo after vacuuming, wipe it with a damp cloth or spot-treat with a degreaser rather than washing the whole slab. If the halo persists after that, consult the sealant label or a concrete professional before sealing.
The dry approach is also better when the crack is narrow, deep, or part of a repaired area that should not be flooded. If water sits in the opening after cleaning, sealant can skin over on top and trap dampness below. That leads to poor adhesion and a weak repair.
How do I handle oil, grease, and stained concrete?
You clean stained concrete around a crack with a degreaser, scrubbing, and rinse control, because sealant will not bond well to oil residue. The stain does not have to disappear perfectly, but the surface has to be free of the slippery film that blocks adhesion.
Start by vacuuming out loose dirt so the cleaner contacts the stain, not the dust. Apply a concrete-safe degreaser according to the label and scrub with a nylon brush. A wire brush can help on rough slabs, but it can also leave visible marks if you bear down hard. After scrubbing, remove the residue completely. Some products call for a water rinse; others call for wiping and repeat applications. Follow the product instructions closely. For stain removal details, see This Old House on cleaning concrete stains and the concrete cleaning guide.
If the stain is old and dark, expect one pass to be enough only for the surface film. Deep oil can keep bleeding up from porous concrete. In that case, repeat the cleaning until the area dries without a fresh greasy sheen. If the stain keeps reappearing after two or three treatments, consult a concrete pro; sealant may still struggle to hold. That is the point where a different repair approach may be smarter than forcing a cosmetic fix.
Do not seal over a shiny, slick spot and hope the caulk will grab. It will usually fail at the stain boundary first, where the bond is weakest.
How dry does the crack need to be before sealant goes in?
The crack needs to be visibly dry and free of trapped moisture before sealant goes in, and some products need even drier conditions than that. The safe rule is simple: if the crack darkens the concrete, beads water, or feels cool and damp, wait.
Drying time depends on how you cleaned. A dry brush-and-vacuum job may let you seal the same day. A washed or pressure-washed crack may need several hours to a full day, sometimes longer if the slab is shaded, cool, or humid. Deeper cracks dry slower than shallow surface joints because they hold water below the visible opening.
Look for three signs before moving on: no sheen, no standing drops, and no loose dust reappearing from the bottom when you touch it. A flashlight held at a low angle helps you see moisture in the joint. If you want a better check, tape a small piece of plastic over the cleaned area for a few hours; condensation underneath means the slab is still releasing moisture. For moisture guidance, see EPA mold and moisture basics and Sika’s sealant prep advice.
This is the step that most people underestimate. Sealant applied too early often looks fine on top and fails underneath. Waiting an extra few hours is cheaper than redoing the work.
Common cleaning mistakes that cost adhesion
The biggest mistake is leaving dust behind because the crack looks “close enough.” Fine powder is hard to see, but it sits between the sealant and the concrete like talc. That weakens the bond and shortens the life of the repair. A second vacuum pass is usually cheaper than a failed fill.
Another mistake is overusing water. A hose or washer may make the slab look cleaner, yet it can leave muddy slurry in the bottom of the joint. That sludge dries into a weak layer. If water is necessary, follow with brushing and vacuuming, then give the concrete time to dry.
People also skip the edges. The top lip of the crack matters just as much as the bottom. If the sides are dusty or crumbly, the sealant has nothing solid to grab. A wire brush should leave the edge firm and open, not fuzzy.
A fourth mistake is cleaning one day and sealing the next without checking for new dust or moisture. Wind, foot traffic, and overnight dampness can undo the prep. Right before sealing, look at the crack again with a light and touch the surface. If you can still collect residue on your finger, clean it once more.
This is also why crack cleaning is not the right fix for a moving slab or an active water leak. If the opening keeps shedding material or pulling apart, cleaning alone will not make sealant hold. In that case, the surface prep is only one part of a larger repair plan.
Before you seal, do one last inspection
You are ready when the crack is open, clean, and dry, with no loose grit and no oily film left behind. Run a final vacuum pass, shine a light across the line, and check the sides with your finger. If the result is a bare, stable joint, sealant has a fair surface to bond to.
That last check is not cosmetic. It is the difference between sealant sticking to the slab and sealant sticking to contamination. If you are moving on to the next repair step, the hub page on crack sealing basics covers the larger sequence without repeating the prep work here.
Do cracks need to be completely dry before sealing?
Yes, they should be dry enough that no visible moisture is left in the joint.
If the crack was washed or pressure-washed, give it time to dry fully before sealing. The exact wait depends on depth, temperature, shade, and humidity. A damp crack can trap water under the sealant and weaken adhesion, especially in narrow or deep openings.
Can you seal over dust or debris?
No, not if you want the sealant to bond properly.
Dust, grit, and loose chips act like a release layer between the concrete and the sealant. Even a thin film can reduce adhesion. Vacuum the opening after brushing it, then check again with a light and your fingertip before you apply anything.
Should I wash a crack before filling it?
Only if dry cleaning will not remove the dirt, stain, or film.
For most concrete cracks, a shop vacuum and wire brush are better first steps because they do not add moisture. Wash only when you need to remove stubborn contamination, and then allow full drying time before sealing. Water is useful; trapped water is not.
Drafted with AI; not yet reviewed by a person.

Related Posts
How to Seal Cracks in a Garage Floor Without Tracking Dirt
How to Seal Control Joints in a Concrete Driveway