How to Seal Expansion Joints in Driveways and Sidewalks
Last updated: October 24, 2026
Key Takeaways
- Clean the joint, size it with backer rod, and use a flexible concrete-joint sealant.
- Match the sealant depth to the joint width and the joint’s exposure.
- Prep the walls well so the sealant bonds instead of peeling.
- Set backer rod deep enough to support the bead without deforming the joint.
Expansion joints in a concrete driveway or sidewalk are sealed so the slab can move without pumping water and grit into the joint. In How to Seal Expansion Joints in Driveways and Sidewalks, the right method is to clean the joint, size the joint with backer rod, and place a flexible polyurethane sealant or self-leveling sealant that bonds to the sides and stretches as the concrete moves.
What you need before you start
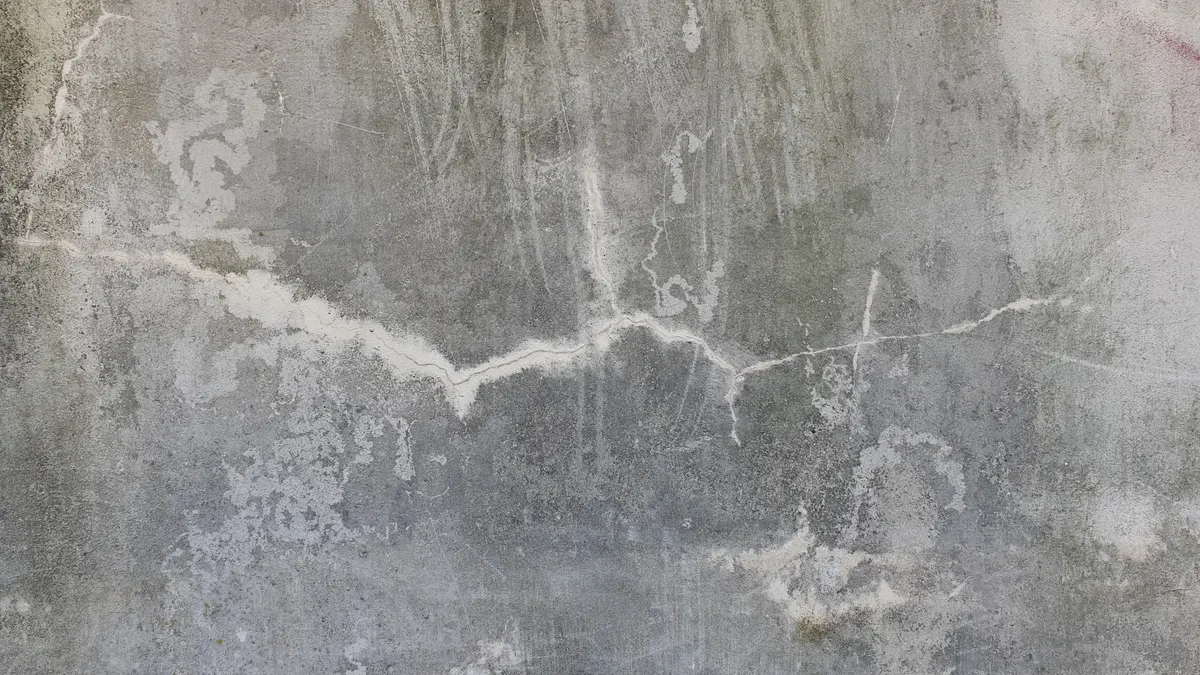
You need a dry joint, a way to clean it out, a backer rod sized to the joint width, and a flexible sealant made for concrete joints. For most driveway and sidewalk joints, that means a foam backer rod, a polyurethane sealant in a caulk tube or sausage pack, a caulk gun, a utility knife, a stiff brush, a vacuum, and a joint cleaner tool or screwdriver for stubborn debris.
The joint matters more than the brand on the tube. Expansion joints are not cracks to be packed solid; they are movement joints. If the joint is 1/4 inch wide, 1/2 inch wide, or wider, the seal has to be set up so it can move. A good rule of thumb for many joint sealants is to aim for a sealant depth that is about half the joint width, with a backer rod controlling the depth so the sealant does not stick to the bottom.
This page is about sealing movement joints only. If the joint is actually a cracked slab problem, that is a different job and belongs on the crack-sealing guide in the hub on crack sealing basics.
How do I seal expansion joints in concrete?
Seal expansion joints in concrete by cleaning the joint, setting backer rod to the right depth, and applying a flexible sealant that matches the joint’s width and exposure. The sequence matters because sealant only works when it bonds to the two sidewalls, not the bottom.
-
Open and inspect the joint. Use a putty knife, joint cleaner tool, or screwdriver to probe the joint for hardened filler, dirt, vegetation, and loose sand. You want a continuous gap with sound concrete edges, not a packed slot. If the sides crumble easily for more than a few inches, the joint may need repair before sealing.
-
Remove all loose material. Sweep, vacuum, then scrape again until the joint looks clean at least 1/2 inch down. A shop vacuum with a crevice tool helps pull out fines that a brush leaves behind. When this step worked, the sides of the joint look bare and the sealant will touch concrete instead of dust.
-
Let the joint dry fully. Moisture trapped in the joint can interfere with adhesion, especially with polyurethane sealant. After rain, washing, or power cleaning, give the joint enough dry time for the concrete inside the gap to look and feel dry. On a shaded sidewalk joint, that may take longer than on a hot driveway edge.
-
Choose the sealant for the location. Use a polyurethane sealant for most driveway and sidewalk joints because it handles movement well and adheres to concrete. For horizontal joints where a self-leveling product is allowed by the manufacturer, self-leveling sealant can make a smoother finish. Do not use rigid mortar or concrete patch in a movement joint; it will crack out when the slab moves.
-
Set backer rod to the correct depth. Press backer rod into the joint so the sealant depth ends up about half the width of the joint. For example, a 1/2 inch joint often wants roughly 1/4 inch of sealant depth over the rod. The rod should sit low enough that the sealant can form a concave or slightly recessed surface, not a deep void.
-
Cut the nozzle and apply the sealant in one pass. Cut the caulk tube nozzle to match the joint width, then run a steady bead from one end to the other. Keep the tip in the joint and move at a pace that fills the void without trapping air. When it worked, the joint is filled evenly and the sealant wets both sidewalls.
-
Tool the surface only if the product calls for it. Some polyurethane sealants need a light tool pass with a putty knife or caulk finishing tool to press the material into the sides. Self-leveling sealant should be left alone to flow on its own. Overworking the bead can pull sealant out of the joint and leave thin spots.
-
Protect the joint until cure time passes. Keep foot traffic, car tires, sprinklers, and washing off the area for the full cure time listed on the tube, and consult a professional if the joint will see unusual traffic or weather exposure. Cure times vary by product and weather, so the package instructions matter more than habit, and the product label should guide the job or a professional should. The seal is ready when it stays intact and springy instead of tacky or smeared.
A clean, properly sized joint usually seals better than a more expensive product placed badly. The biggest mistake is trying to bridge a wide, dirty joint with surface-only sealant. That gives a neat line for a week and a failed joint after the slab moves.
How do I prep the joint so sealant actually sticks?
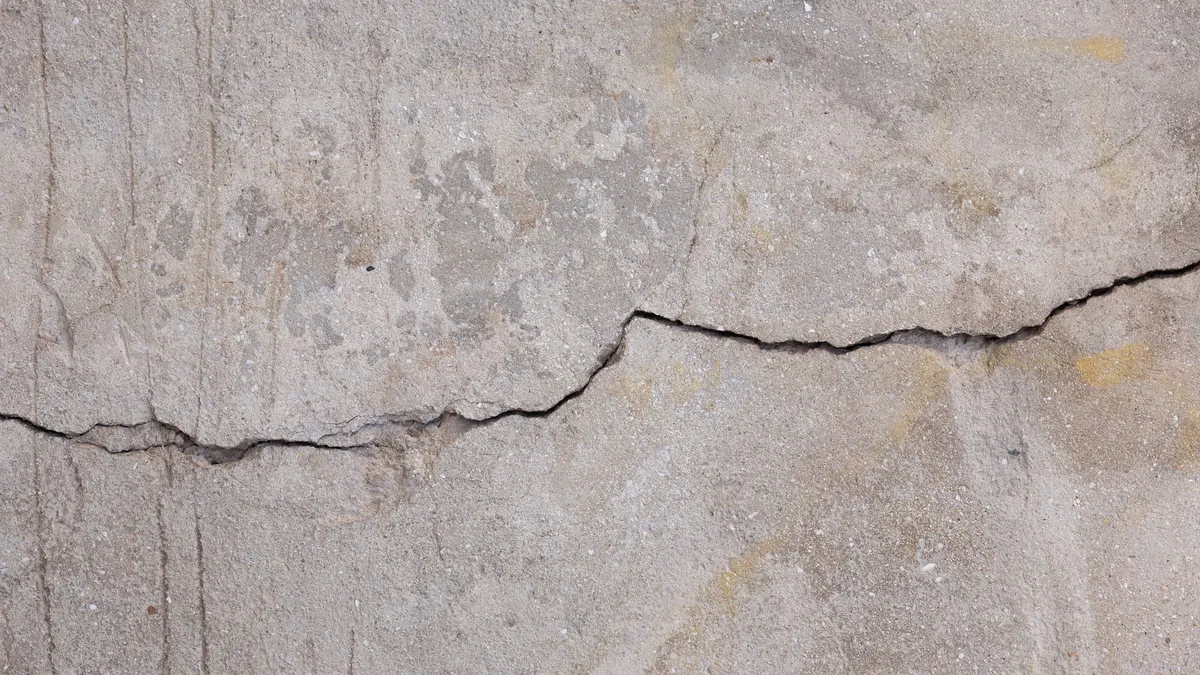
Surface prep is what makes the sealant bond to the joint walls instead of peeling off in strips. If the joint still has old filler, dust, algae, oil, or loose sand, the new seal is fighting contamination before it starts.
Start with dry debris. A stiff brush removes crumbs and sand, but it rarely clears the bottom by itself. A vacuum with a narrow hose attachment pulls out the fines that keep sealant from contacting bare concrete. For hardened material, use a joint cleaner tool, oscillating scraper, or hand chisel with care. The goal is a straight-sided joint with exposed concrete, not ragged edges.
Oil stains need extra attention. If a driveway joint has drips from a vehicle or sealer residue from an older product, scrape away as much as possible and clean according to the sealant manufacturer’s instructions. Many sealants dislike oily residue. A quick pass with a wet hose is not enough; the joint must be dry before sealing.
Look at the edges. A joint that has lost its crisp sides may still be sealable if the damage is minor, but a loose edge means the sealant can debond later. In that case, it is better to remove unsound material first than to trap it under a fresh bead.
The prep stage is where many jobs fail because the joint “looks clean” from above. If a fingertip comes away dusty after you vacuum, keep cleaning. The joint is ready when the walls are visible, the bottom is free of loose grit, and there is no damp sheen inside the gap.
Backer rod: how deep and how tight should it sit?
Backer rod should sit deep enough to control sealant depth, and tight enough to stay in place without deforming the joint. In most driveway and sidewalk joints, the sealant should not fill the full depth of the gap; it should form a flexible band over the rod.
Choose the rod diameter slightly larger than the joint width so it compresses. For example, a 3/8 inch joint typically takes a 1/2 inch rod, while a 1/2 inch joint often takes a 5/8 inch or 3/4 inch rod depending on the product shape. The point is a snug fit, not a loose tube rolling around at the bottom.
Set the rod with a blunt tool, not a sharp one. Press it down evenly so its top sits at the target depth. A common target is a sealant depth roughly half the joint width, though the sealant label may specify a different ratio. If the rod sits too high, the sealant layer becomes too thin and can tear. If it sits too low, you waste material and lose the support that helps the bead stretch.
There are two practical signs that the rod is right: it disappears below the surface without bouncing back out, and the finished sealant has enough thickness to flex. A rod that shows through the sealant surface means it was placed too high or the bead was too shallow. A joint packed solid with no rod at all often uses more sealant than necessary and still fails sooner.
Do not substitute foam packing rope with the wrong diameter if it is not made for joint sealing. The rod should be compatible with the sealant and easy to compress. Closed-cell backer rod is the usual choice because it does not absorb much moisture.
Which sealant should I use on driveway and sidewalk joints?
Use a flexible polyurethane sealant for most driveway and sidewalk joints, and use a self-leveling sealant only where the joint geometry and manufacturer directions call for it. The right product depends on whether the joint is horizontal, how wide it is, and how much movement the slab needs.
Polyurethane sealant is the safer all-around choice for vertical or slightly sloped edges because it stays where you place it and can be tooled by hand. It is a good fit for driveway joints that need a durable bead along the slab edge. Self-leveling sealant is useful in flat horizontal joints because it flows into the gap and settles smooth on its own, but it can run out of a steep joint or a joint with broken edges.
Read the tube before buying. Some products are formulated for concrete joints, some for masonry, and some for traffic exposure. The label tells you whether the sealant is meant for movement joints, the temperature range for application, and the cure time. Those details matter more than a general “concrete” claim on the shelf, and a professional should be consulted if the label is unclear for your specific joint.
A common mistake is using a hard patch material because it looks stronger. That can work on static surface blemishes, but not on an expansion joint that opens and closes with temperature. The result is usually a split line or a popped-out strip. A flexible product is the correct tool for a moving joint.
If the sidewalk joint is narrow and sheltered, a standard polyurethane bead is often enough. If the driveway joint is broad and flat, self-leveling sealant can save time and create a cleaner finish. The trade-off is control: self-leveling products are easier to place on level surfaces but less forgiving on slopes.
For general background on related seal-work decisions, the hub article on crack sealing basics is the right place to start.
Common mistakes that shorten the life of the repair
The most common mistake is sealing over dirt, and it usually costs the whole job. Dust and grit prevent adhesion, so the bead peels or lets water through. The fix is simple but slow: clean the joint again until the walls are bare.
The second mistake is filling the joint solid. A movement joint needs space to move, which is why backer rod matters. Without that space, the sealant stretches too far and tears. A joint that is 1/4 inch deep all the way down is not a better seal; it is a failure waiting for the first hot day or cold snap.
The third mistake is using the wrong product for the slope. Self-leveling sealant can leave a neat surface on a flat sidewalk panel, but it can also sag out of a sloped driveway joint. If the joint is not nearly level, a non-sag polyurethane sealant is usually the better choice.
The fourth mistake is sealing when the joint is wet. That often traps moisture below the bead, which weakens bond and can make the seal look cloudy or lifted. If rain is in the forecast within the product’s cure window, wait, and consult a professional if weather timing is uncertain.
The fifth mistake is ignoring damaged edges. A joint with spalled sides may take sealant poorly until the loose concrete is removed. Sealing over weak edges hides the problem for a short time and creates a weak line that fails first.
How long will a sealed joint last, and when should it be redone?
A sealed joint lasts until movement, weather, and traffic wear it down enough to open gaps or lose adhesion. There is no honest one-size-fits-all lifespan because sun, water, slab movement, and product choice all affect it.
The practical check is visual and tactile. If the bead has pulled away from one side, split down the middle, turned brittle, or gone soft and tacky, it is time to replace it. If the surface is still continuous but the sealant no longer bridges the joint cleanly, the joint is no longer doing its job.
Sidewalk joints often fail first where snow shovels, lawn tools, or freeze-thaw cycles attack the edges. Driveway joints may fail sooner where tires turn sharply or where water sits after rain. A joint that was installed with the right depth, backer rod, and clean sides usually lasts longer than one that was simply smeared over the top.
If you need a rule for maintenance, inspect the joints at least once a season and after any harsh winter. That does not mean re-sealing every season. It means catching a split or a gap before water and grit widen the problem. A small repair now is easier than removing hardened sealant from a joint that has failed all the way through.
Can you seal expansion joints without removing old filler?
Only if the old filler is sound, clean, and compatible with the new sealant. If the old material is loose, brittle, or sticky with dirt, it should come out first. New sealant bonds best to clean concrete sidewalls, not to a weak layer that is already separating.
Do expansion joints need backer rod?
Usually, yes. Backer rod sets the sealant depth and helps the bead move without tearing. It also prevents the sealant from bonding to the bottom of the joint, which is what you want in a movement joint, and a professional can confirm the right setup for an unusual joint shape. A few products are designed for special joint shapes, but backer rod is the standard solution for most driveway and sidewalk joints.
What is the difference between a crack and an expansion joint?
A crack is an unintended break in the concrete, while an expansion joint is a planned gap that lets the slab move. The repair method changes because the purpose changes. A crack may need a crack-specific repair approach, but a movement joint needs flexible sealant and room to expand and contract.
Drafted with AI; not yet reviewed by a person.

Related Posts
How to Seal Cracks in a Garage Floor Without Tracking Dirt
How to Seal Control Joints in a Concrete Driveway