Crack Sealing Basics — The Complete Guide
Last updated: September 10, 2026
Key Takeaways
- Crack sealing is for asphalt or concrete pavement that has isolated cracks, not widespread structural failure.
- I would sort this by crack type, too.
- A narrow, single crack in otherwise healthy asphalt is a good candidate.
- So is a crack that keeps pumping mud after rain or shows soft edges when you probe it.
Quick Answer: crack sealing basics — complete guide usually begins with a blunt rule: if the pavement is still sound, crack sealing can be a low-cost repair, often roughly $1 to $3 per linear foot for material-only DIY work and commonly about $2 to $6 per linear foot when installed by a contractor, depending on crack width, prep, and access. Crack sealing basics — complete guide also means knowing where the line is; wide movement, soft edges, or base failure usually call for more than sealant.
Crack sealing basics — complete guide is the right first repair for many pavement cracks, but only when the crack is clean, reasonably stable, and the surrounding surface is still worth saving. Wide open? Moving a lot? Tied to base failure? Then sealing alone will not hold. I’m going to show you when crack sealing makes sense, how the job is actually done, what materials and tools matter, and where the line is between a repair you can do and one that needs a paving contractor.
Who crack sealing basics — complete guide is for — and who should do something else
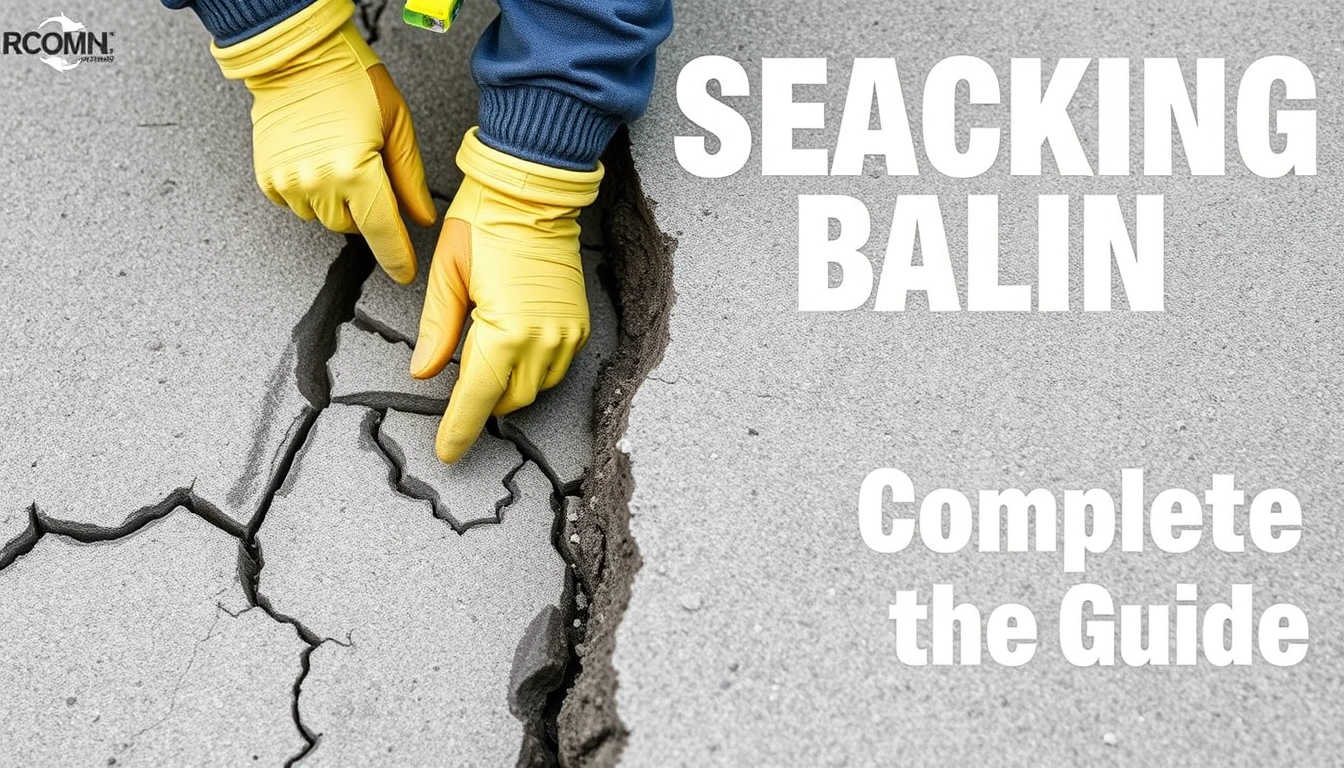
Crack sealing is for asphalt or concrete pavement that has isolated cracks, not widespread structural failure. Think driveways, parking lots, private lanes, and other paved surfaces where the crack is the main problem and the slab or asphalt mat around it still has enough life left to justify repair. Keep water out, and you slow the damage — freeze, pumping fines, widening edges. On a sound surface, that matters more than a pretty finish.
I’m assuming you already know the difference between a surface crack and a pothole, and that you can tell a crack from a joint. That distinction matters because a working joint in concrete is not the same thing as a random crack, and asphalt cracks do not all behave the same way either. A sealant needs room to stretch and recover. But if the pavement is rutted, broken, or alligator-cracked — that fish-scale pattern that screams structural fatigue — crack sealing is the wrong tool.
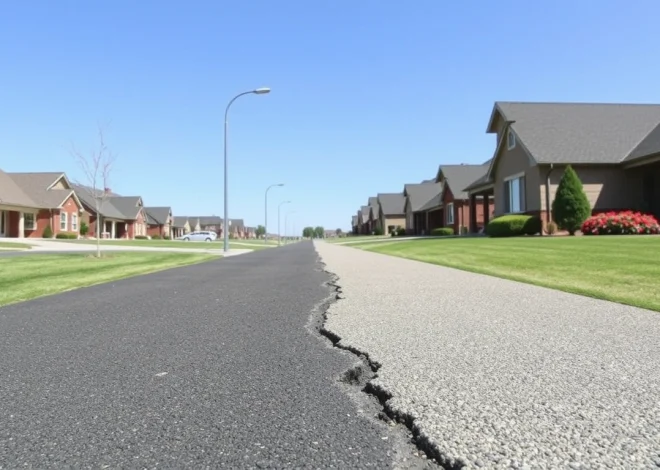
I’d also split this by crack type. A narrow, single crack in otherwise healthy asphalt is a good candidate. A reflective crack over a concrete joint can also be sealed, but the joint movement needs to be respected. A crack with a lot of vertical displacement, meaning one side sits higher than the other, is a warning sign. So is a crack that keeps pumping mud after rain or shows soft edges when you probe it. Those conditions tell you the issue is not just water entry; the base may already be failing.
For a homeowner or property manager, this is mostly a decision and prep job, not a heavy construction job. Cleaning, drying, routing, and applying a joint sealant are within reach if the area is small and the weather cooperates. I would not treat this as a do-it-yourself job when the cracks are extensive, the pavement is already failing over a large area, or the surface needs milling, patching, or replacement; in those cases, consulting a paving professional is the safer move. According to the Federal Highway Administration, crack sealing is most effective when the crack is clean, dry, and the surrounding pavement is still structurally sound.
A useful benchmark: if the pavement surface around the crack still feels firm underfoot, the edges are intact, and the crack is the main defect, crack sealing is worth considering. If the surface flexes, crumbles, or breaks apart around the crack, stop there and think in terms of repair or replacement instead.
What crack sealing actually does, and what it does not do
Crack sealing keeps water out of a crack; it does not rebuild the pavement. That one idea saves people a lot of disappointment. The sealant’s job is to form a flexible barrier across an opening that moves with heat and cold, traffic, and seasonal shift. It can slow oxidation at the crack edge, reduce raveling, and protect the base from moisture. It cannot restore lost asphalt, lift a settled slab, or stop a crack caused by settlement from reopening elsewhere.
The field term you need here is working crack. A working crack moves enough with temperature or load that a rigid filler will fail quickly. A nonworking crack moves very little. Crack sealing uses elastic materials on working cracks; crack filling is sometimes used on nonworking cracks with less movement. People use those terms loosely, but the distinction matters because the wrong material gives the wrong result. A hard filler in a moving crack tends to split. A very soft sealant in a crack that never moves much can track dirt and look messy without adding much value.
A good seal must bond to sound crack walls, bridge the opening, and stay flexible across a temperature swing. Exact movement depends on climate and pavement geometry, which is why a standard caulk tube is not the whole answer. The usual materials for pavement crack sealing include hot-applied rubberized sealants and certain cold-applied products designed for asphalt or concrete cracks. I am not naming a brand because the chemistry matters more than the label: you want a product intended for pavement, not a generic building sealant.
A generic article often gets this wrong by treating crack sealing as a cosmetic black line. That misses the function. A visible bead can actually be acceptable if it remains adhered and bridges the crack. At the same time, a neat-looking seam can still be a failure if the bond is weak or the crack walls were dirty, damp, or too narrow for proper contact. The real question is not “Does it look smooth?” but “Will it keep water out through heat, cold, and traffic for more than one season?” According to ASTM D6690, pavement joint and crack sealants are classified by performance and use, not appearance alone.
There is also a practical limit. On heavily trafficked roads, airports, or large commercial lots, crack sealing is often part of a broader maintenance program that follows agency standards such as ASTM D6690 for joint and crack sealants in pavement. On a driveway, the same physics apply, but the scale is smaller and the tolerance for imperfect appearance is higher. The seal still needs to be installed correctly.
How do you seal pavement cracks the right way?
You seal pavement cracks by cleaning them, making the crack walls sound and dry, choosing the right sealant shape, and applying the material so it bonds to both sides instead of sitting on top like paint. The process is straightforward, but the details decide whether it lasts a year or several seasons.
- Inspect the crack and measure its movement potential. Check width, length, and whether the crack has vertical displacement greater than about 1/4 inch. Confirm that the surrounding pavement is firm and not soft or shattered. If the crack edges crumble when probed with a screwdriver, the crack is not ready for sealing and may need patching first.
- Remove loose debris and vegetation. Sweep, scrape, and pull out roots, weeds, sand, and old failed sealant for at least 1/2 inch below the surface where possible. Make sure the opening is clean enough that you can see the sidewalls. If dirt keeps falling back in or moisture is trapped below the debris, stop and dry it before proceeding.
- Clean the crack with compressed air or a hot-air lance if available. Blow the crack free of dust and fines, working along the full length. On oily or dusty surfaces, a hot-air lance can help dry and clean at the same time, but it must not scorch the pavement. Check that dust stops blowing out and the crack interior looks dry. If the walls still look gray with powder or damp sheen, adhesion will be weak.
- Route the crack if the job calls for a uniform seal reservoir. For many sealant systems, a routed reservoir around 3/8 to 1/2 inch wide and deep enough to create a proper seal profile is preferred, especially on irregular cracks. Check that the cut is even and does not undercut the edges. If routing opens up soft pavement or causes the edges to break away, the surrounding material is too weak for a simple seal.
- Dry the crack completely before heating or filling. Sealant does not bond well to standing moisture. Give the pavement time to dry after rain, or use heat only as allowed by the material and job conditions. A quick finger check helps: the walls should feel dry, not cool and damp. If condensation keeps forming in the crack, wait longer or choose another day.
- Apply the sealant at the correct temperature and fill level. Follow the product’s technical data sheet; hot-applied sealants are commonly placed at elevated temperatures specified by the manufacturer, while cold-applied products have their own application range. Fill the crack or reservoir so the finished seal ends slightly recessed or flush, depending on the system, not domed high above the pavement. Confirm that the material wets the sides and does not trap air. If it skins over, pulls away, or refuses to bond, the crack is still dirty, wet, or outside the product’s temperature range.
- Tool or strike off the surface if the product requires it. Use a squeegee, strike-off blade, or compatible tool to shape the bead and remove excess. Look for a continuous seal with no skips, pinholes, or voids. If you see gaps, the material will admit water at the weak spot and fail there first.
- Protect the repair until it cures or cools. Keep traffic off the area for the time stated by the manufacturer — often measured in hours, not minutes — and block it if needed. Protecting the repair until it cures or cools is safest when you follow the product label or consult a pavement professional. Make sure the seal no longer tracks under a fingertip and has set enough to resist pickup from tires. If it tears, sticks, or sinks when lightly touched, it is not ready for traffic.
The most useful thing to watch during the job is the bond line, not the top surface. A continuous top bead means little if the sealant never adhered to the sidewalls. On a clean, dry crack, you should see the material seat into the opening and stay there without slumping away. On a poor job, the material bridges the top while leaving a hollow below, or it pulls free at the edge after cooling.
A good result is not a perfect invisible line. It is a continuous, flexible barrier with sound adhesion and no obvious path for water. The seal should tolerate seasonal movement without splitting. If the crack is still active and you are using the right sealant, some surface distortion near the seal is normal. What is not normal is separation, curling edges, or shiny spots where the sealant never really stuck.
What should you check before you start?
Check pavement condition, weather, crack width, and product compatibility before you open the first crack. Skipping this part is how people waste a day and a bucket of sealant. A crack seal job can fail for reasons that have nothing to do with the sealant itself.
First, look at the pavement. If the crack sits inside a larger pattern of alligator cracking, edge breakup, or depression, the surface is telling you the base has likely lost support. Sealing that crack is like taping a split in a wet cardboard box. The tape may hold for a moment, but the structure keeps collapsing. Look for pumping, soft spots, or areas that sink under tire paths. Those conditions often mean patching or replacement, not sealing.
Next comes weather. Dry conditions matter more than people think. On a hot-applied system, pavement temperature and ambient conditions affect how the material wets and bonds. On cold-applied systems, moisture can ruin adhesion. If rain is expected within the cure window, the job is at risk, so it is wise to consult the product data sheet or a paving professional before proceeding. In practice, a 24-hour dry window is a useful planning target for many repairs, but some products and conditions require more or less time.
Then check the geometry. A hairline crack may be too narrow to accept sealant without routing or widening. A crack wider than roughly 1/2 inch may need a reservoir or a different repair approach because the sealant volume increases and the edges are more prone to movement and contamination. If the crack has severe offset, you may be trying to seal a joint that is no longer behaving like a joint.
Compatibility is next. Asphalt and concrete do not always accept the same product in the same way, so check the product data sheet before you buy. Some sealants are made for asphalt cracks only; others are designed for concrete joints and cracks. The phrase to look for is pavement crack and joint sealant, with the relevant standard or manufacturer specification. If the product data sheet is vague, I would pass on it. The U.S. Federal Highway Administration recommends matching sealant type to crack condition and pavement movement.
One more practical check: count the linear feet. A few driveway cracks can be handled with handheld tools. Once the repair becomes long, repetitive, or labor-intensive, hot-applied equipment and a more disciplined workflow may be worth the extra setup. That is where many people decide whether the job is still a small maintenance task or has become a contractor-level operation.
When should you stop and not seal the crack?
Stop when the crack is really a structural problem, a moisture problem, or a movement problem that sealant cannot control. Crack sealing works best on isolated, stable defects; it works poorly when the pavement is actively failing.
Alligator cracking is present: This means the asphalt surface is fatigued across a wider area, not just split in one line — do not seal it as a standalone repair. You need patching, overlay planning, or replacement in the affected area.
The crack has more than about 1/4 inch of vertical displacement: One side is higher than the other, which usually means settlement or base movement — sealing the top will not correct the step, and traffic will keep beating the edge apart. The better move is to address the underlying grade or structural issue first.
The crack keeps pumping water or fines after rain: That means the base may be saturated or unstable — sealant over a wet, moving base tends to fail early and can hide a drainage problem. Improve drainage and repair the support before sealing.
Edges crumble when you probe them: The crack walls are no longer sound enough for adhesion — the sealant will bond to loose material and fail with it. Cut out the damaged area or patch it before any sealing work.
The pavement is too contaminated with oil, fuel, or curing residue: These contaminants prevent bond — sealing over them gives the appearance of repair without the performance. Clean aggressively if possible; if contamination is widespread, full repair may be the only honest choice.
The crack is in a joint that is actively moving more than the sealant can tolerate: This is common in concrete slabs and at transitions — the joint may need a specific joint seal system or a structural repair rather than a generic crack product. Match the repair to the movement, not to the convenience.
In plain terms: if the pavement is still structurally sound and the crack is the main issue, seal it. If the pavement is failing, sealing is only a temporary cosmetic move. I would rather leave a problem visible than bury it under a line of material that cannot survive the load.
The mistakes people make with crack sealing
The biggest mistakes are bad cleaning, wrong product choice, poor timing, and sealing the wrong defect. These errors are easy to make because the work looks simple from a distance. The failure usually shows up later as peeling edges, reopened cracks, or dirt-packed seams that stopped functioning almost immediately.
-
Sealing over dust and loose grit. The consequence is poor adhesion; the sealant sticks to the dirt, not the pavement. The right alternative is to clean until the crack walls are visibly sound and dry, then blow out the last fines before placement.
-
Using a generic caulk or hardware-store filler. The consequence is premature cracking or softening, especially in heat or under vehicle tires. The right alternative is a pavement-rated crack or joint sealant intended for asphalt or concrete movement.
-
Skipping crack preparation because the opening “looks small.” The consequence is a seal that bridges the top but never bonds deep enough to hold. The right alternative is to size the crack or route it when the material system calls for a reservoir.
-
Working in damp weather or on a damp crack. The consequence is weak bond and early failure. The right alternative is to wait for a dry window and, if needed, dry the crack walls before application.
-
Filling the crack too high. The consequence is tire pickup, scuffing, and a dirt-catching ridge. The right alternative is to place the seal flush or slightly recessed according to the product’s installation guidance.
-
Sealing all cracks the same way. The consequence is that working cracks, joints, and structural breaks all get treated as if they behave the same. The right alternative is to match the repair to the crack type: seal stable cracks, patch failing areas, and use the right joint system where movement is significant.
A bad crack seal job usually fails at the edge first. The seal starts clean, then a thin gap opens along one side, water gets in, and the rest follows. When I see that pattern, I assume the prep was rushed, the crack was damp, or the product was wrong for the movement.
How long does crack sealing last, and what counts as a good result?
Crack sealing lasts as long as the crack stays within the movement range of the sealant and the pavement around it stays sound. That is the honest answer. A repaired crack can remain serviceable through several freeze-thaw cycles, but no one should treat it as permanent. The life of the repair depends on traffic, weather, material choice, and how well the crack was prepared.
A good result has four traits. First, the seal is continuous. No skips, no pinholes, no gaps where water can enter. Second, the seal is bonded to both sides of the crack, not just lying in the opening. Third, it has the right profile: flush or slightly recessed, not piled high. Fourth, the surrounding pavement still looks stable. If the pavement next to the repair is raveling or breaking away, the seal may be fine while the base problem grows.
People often ask for a simple rule, and honestly, there isn’t a magical one. If the crack keeps moving beyond what the sealant can handle