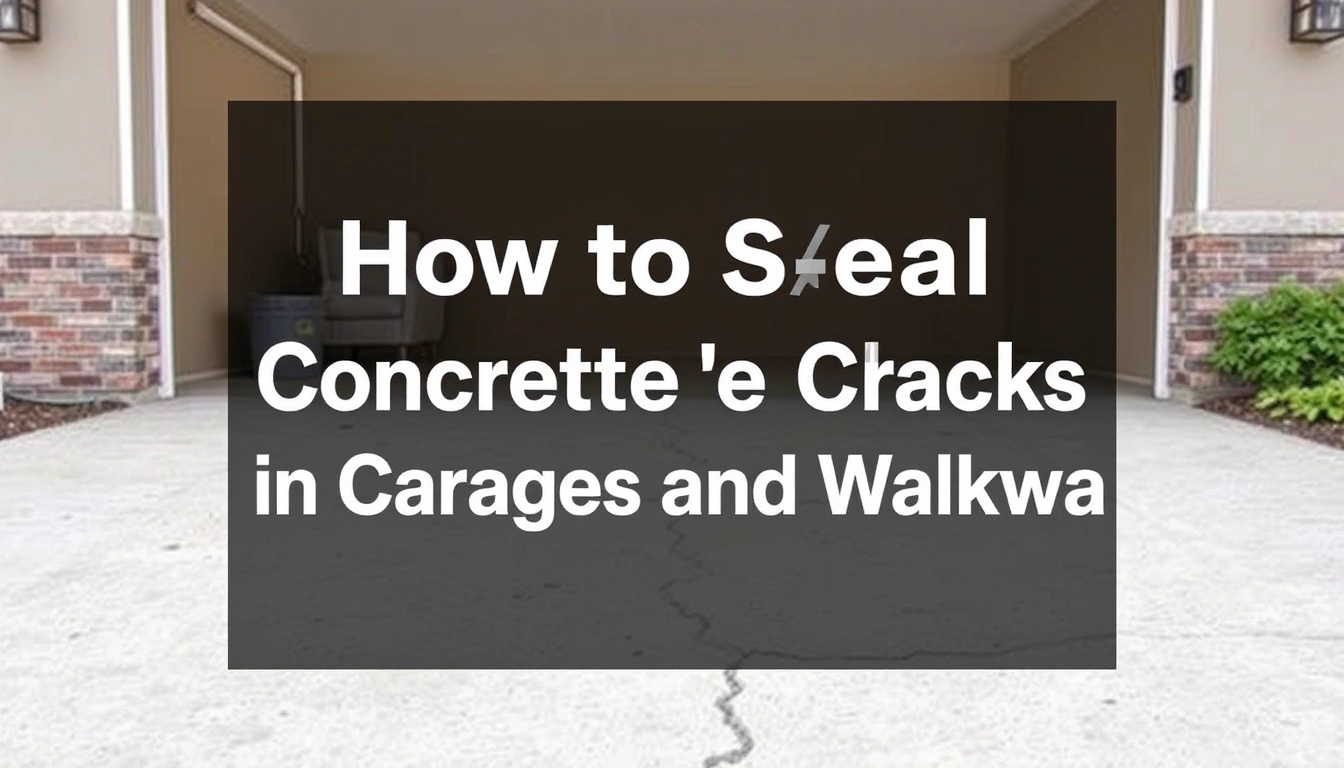
How to Seal Concrete Slab Cracks in Garages and Walkways
Last updated: September 10, 2026
Key Takeaways
- Follow the label for cure time; many sealants need at least 24 hours before foot traffic and longer before vehicle traffic, and if the label is unclear, consult a professional and check the manufacturer’s technical data sheet.
- Respect the product label’s cure time; that usually means at least 24 hours before foot traffic and more time for vehicles. If the directions are murky, consult a professional and review the product data sheet.
- When a crack is narrow, dry, and barely moving, I’d seal it instead of pretending it will sort itself out. But active movement or moisture? Consult a professional.
- The material you choose depends on location.
When a crack is narrow, dry, and barely moving, I’d seal it rather than ignore it. For how to seal concrete slab cracks in garages and walkways, the work is usually a straightforward crack-filling task for hairline to moderate slab cracks in garages and walkways, but it stops being a simple sealant job when the slab is still shifting, the crack has vertical offset, or water keeps forcing its way through. Uncertain? Consult a professional.
Who this applies to, and what I’m assuming
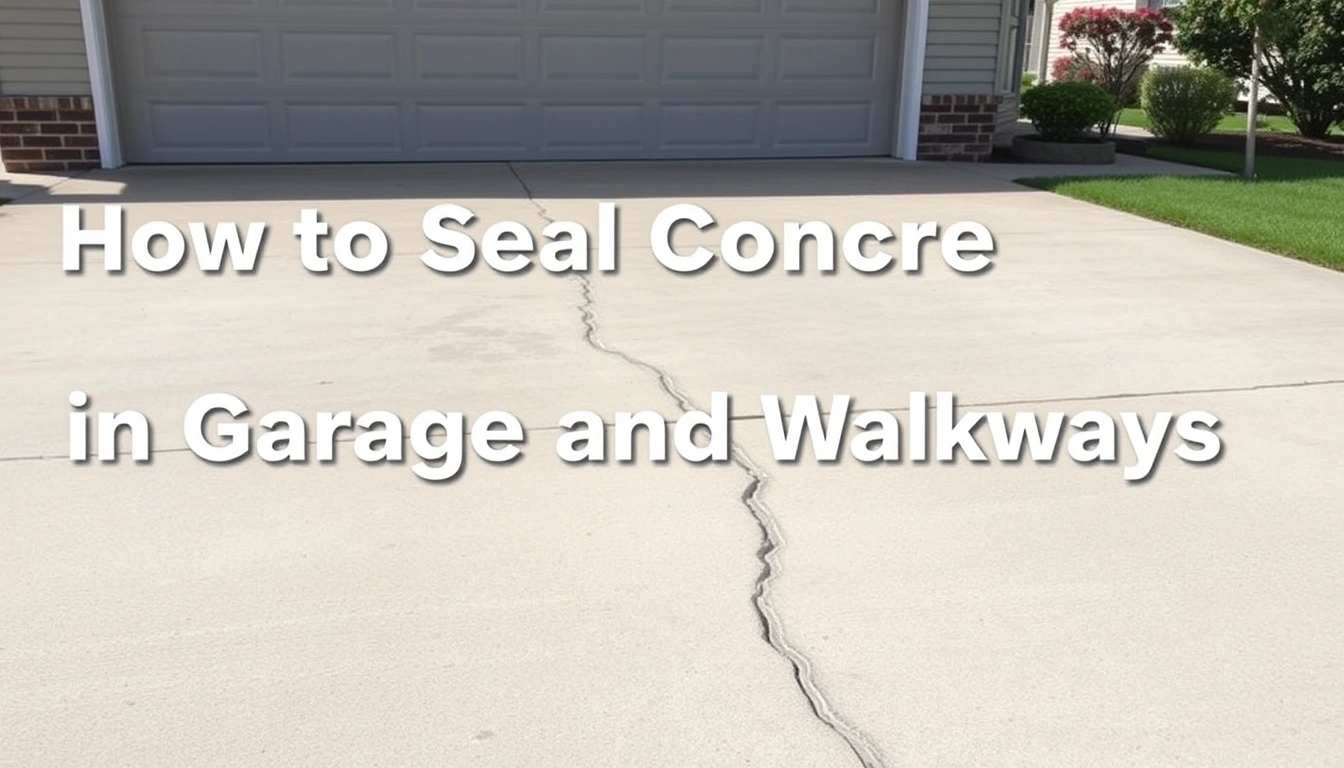
This applies to concrete slabs in a garage floor or exterior walkway where the crack is not part of a structural failure. I’m assuming you want to keep water out, cut down on dirt intrusion, and stop the crack from widening at the surface, not rebuild the slab. Basic hand tools are assumed too — and the patience to wait out cure time; if not, consult a professional. For background on concrete repair basics, see the Portland Cement Association’s guidance on concrete cracks and the Federal Highway Administration’s concrete durability resources.
A typical homeowner can usually handle cracks in the rough 1/8 inch to 1/2 inch range, with some products accepting slightly wider joints if you insert foam backer rod first. Under 1/8 inch, sealing may still be needed, but prep matters more than product choice. Once a crack goes wider than 1/2 inch, shows one side higher than the other, or runs in a pattern that points to heaving or settling, I’d stop treating it like a simple seal job and consult a professional.
The material you choose depends on location. Garages usually do well with a flexible polyurethane sealant because tires, temperature swings, and the occasional splash of moisture demand movement. Walkways need that same flexibility, plus UV resistance and freeze-thaw tolerance in cold climates. In places where freeze-thaw cycles keep showing up, a rigid patch fails early; water gets in, freezes, expands, and the bond gives up. Ugly but true.
This is a DIY-appropriate job when the slab is stable, the crack edges are intact, and you can keep the area dry long enough for cure. Otherwise, consult a professional. It is not the right task when the crack is active, the slab is lifting, or the concrete is spalling across a broad area. Those cases need a structural diagnosis, not a surface seal.
How do I seal a concrete crack without making it worse?
Clean it out first, give the sealant something solid to grab, and leave room for movement. That sounds plain because it is. The main failure mode is not the sealant itself; it is dirt, dust, moisture, or a crack that keeps opening and closing beyond what the repair can handle. For specific prep and sealant guidance, see Sika’s concrete crack repair guidance and the Concrete Network’s concrete crack repair overview.
- Measure the crack width and check for movement. Use a tape measure or crack gauge and note whether the crack is about 1/16 inch, 1/8 inch, 1/4 inch, or wider. Press along both sides and look for height difference. What to verify: the crack is mostly level and not growing wider each week. Problem sign: one edge is higher by more than about 1/4 inch, or the crack has fresh, sharp edges that keep shedding dust.
- Clean the crack mechanically. Scrape out loose debris with a putty knife, screwdriver, or crack-chasing blade, then vacuum it with a shop vacuum. A wire brush helps on rough edges. What to verify: the crack is free of sand, paint flakes, curing compound, and crumbly concrete. Problem sign: dust keeps falling out after vacuuming; that usually means the crack is not ready yet.
- Open the crack slightly if needed. For a hairline crack, a grinder with a crack-chasing diamond blade can widen the top to about 1/4 inch so sealant can reach depth and bond to sound concrete. Do not chase a crack just to make it look bigger. What to verify: the sides are clean, not undercut, and the profile is consistent. Problem sign: the concrete crumbles as you grind, which suggests weak edges or a larger repair is needed.
- Dry the repair area fully. Moisture blocks adhesion. In a garage, leave the slab dry for at least 24 hours if possible; on an exterior walkway, choose a dry window and wait until morning dew is gone. What to verify: the crack feels dry and there is no dark damp line inside it. Problem sign: the crack darkens again within minutes after drying, which means moisture is still migrating through the slab.
- Insert backer rod when the crack is wider than about 1/4 inch. Backer rod is closed-cell foam rope that controls sealant depth. Push it in so the sealant depth is about half the crack width, or roughly 1/4 inch deep for many small joints. What to verify: the rod sits below the surface and does not float up. Problem sign: the rod keeps popping out or the crack is too narrow to accept it.
- Mask the edges for a clean line. Tape both sides of the crack if the surface will be visible, especially on a walkway. What to verify: the tape edge is straight and does not bridge the crack. Problem sign: tape overlaps loose concrete, which will lift and ruin the edge when removed.
- Apply a flexible sealant and tool it in. Use a polyurethane or similar concrete crack sealant made for movement. Cut the nozzle to match the crack, usually a small bead about 1/4 inch wide, then fill from one end to the other. Tool it with a putty knife so it contacts both sides. What to verify: the sealant is continuous, slightly proud of the surface, and not starved at the bottom. Problem sign: voids, bubbles, or thin spots that leave exposed concrete.
- Let it cure before traffic or washing. Follow the label for cure time, and if the product guidance is unclear, consult a professional or the manufacturer; many sealants need at least 24 hours before foot traffic and longer before vehicle traffic. What to verify: the surface firms up and no longer prints under a thumb lightly touched at the edge. Problem sign: it stays gummy or pulls away from the sides, which usually means moisture, contamination, or too-thick application.
A good repair should look like a deliberate joint, not a blob. On a walkway, the line should shed water instead of trapping it. In a garage, it should survive a tire rolling across it without peeling at the edges. If the crack still telegraphs through slightly, that is normal; the goal is sealing and flexibility, not making the slab disappear.
What should I use on a garage floor versus a walkway?
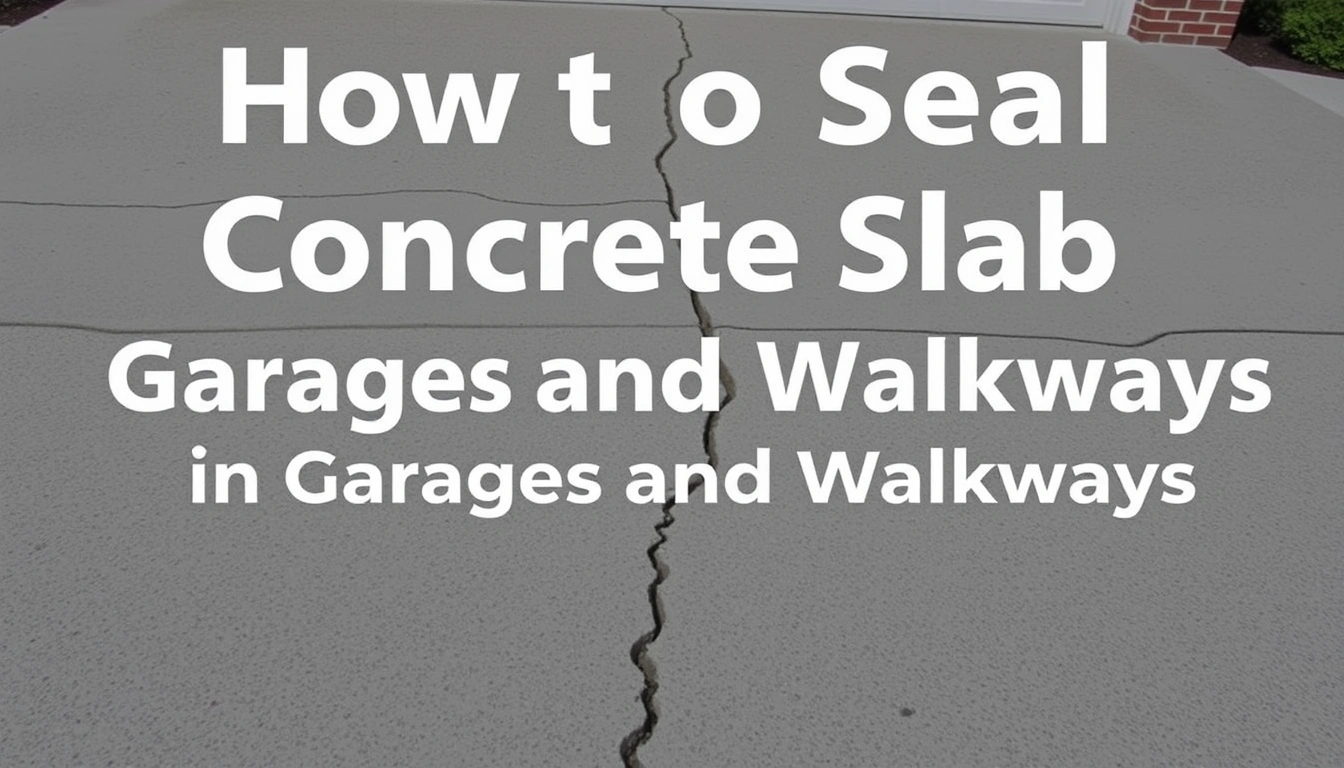
I’d use a flexible concrete sealant in both spots, but I’d be stricter outdoors about UV and water exposure. Garages usually get less sun yet more abrasion from tires, sand, and turning wheels. Walkways take sunlight, rain, ice melt, and temperature swings, so the repair has to handle more movement and weathering. For product types and movement-joint performance, see the U.S. General Services Administration’s concrete joint guidance and the Portland Cement Association’s repair references.
For garage slabs, a polyurethane joint sealant is often the practical choice because it stays flexible and bonds well to concrete after proper cleaning. Exterior walkways need that same trait and, if possible, freeze-thaw resistance too. Acrylic caulk is easier to handle but usually less durable in a moving concrete crack. Rigid patch compounds are the wrong choice for active cracks; they may look tidy for a week and then split again along the same line. Classic short-term fix. Not a cure.
If the crack is less than 1/8 inch wide, some sealants can still work, but you need excellent prep because there is little room for material to key into the sides. At 1/4 inch to 1/2 inch wide, the repair is more forgiving, especially with backer rod. Beyond that, the question shifts: is this really just a sealing job, or is the slab showing a larger issue?
For a walkway, I’d also think about color and texture. A repair that is flush but glossy may catch your eye every time you walk past it. If appearance matters, a lightly textured finish usually looks less obvious than a slick bead. In a garage, looks matter less than toughness, but a ridge can become a trip point or a tire scuff point.
One more trade-off: flexible sealants are not a substitute for resurfacing. If the surrounding concrete is scaled, pitted, or crumbling over a broad area, a crack seal alone will not make the slab healthy. It only isolates the crack line.
What are the mistakes people actually make?
The usual mistakes are simple, and they are the reason a 20-minute repair turns into a repeated mess.
-
Filling over dust or loose grit. The consequence is bond failure, often within the first seasonal movement. The correct alternative is mechanical cleaning plus vacuuming until the crack is truly empty.
-
Using rigid patch mortar in a moving crack. The consequence is a new crack right beside the old one. The correct alternative is a flexible sealant designed for concrete joints and cracks.
-
Skipping backer rod in wider cracks. The consequence is too much sealant depth, slow cure, and a soft center that can tear. The correct alternative is to use closed-cell backer rod when the crack is roughly 1/4 inch or wider.
-
Sealing an active wet crack. The consequence is poor adhesion and bubbling. The correct alternative is to wait for a dry weather window, or deal with the source of the moisture before sealing.
-
Leaving vertical displacement unaddressed. The consequence is a repair that may bridge the gap but still leaves a lip that catches shoes, snow shovels, or tires. The correct alternative is to treat level changes as a separate issue, not a sealing problem.
-
Driving or washing too soon. The consequence is surface tearing, tracking, or pullback from the edges. The correct alternative is to respect cure time on the product label, which is often at least 24 hours for foot traffic and longer for vehicles; if the product directions are unclear, consult a professional.
A bad job is easy to spot. The sealant sits on top like toothpaste, the edges peel up, the line traps dirt, or the crack still opens under seasonal movement. A good job disappears into the slab as a neat, flexible joint that keeps the crack sealed without making a hard ridge.
When should I stop and call the job something else?
Stop treating it as a simple seal when the crack tells you the slab is moving, not just leaking. That is the line between a maintenance fix and a repair that needs a structural answer.
The crack has one side higher than the other: this is vertical displacement, which means the slab has settled, lifted, or broken unevenly — do not fill it as if it were a normal joint; get a concrete contractor or structural concrete specialist to assess it.
The crack is wider than about 1/2 inch and keeps changing: this usually points to movement the sealant cannot accommodate — a flexible seal may hide it briefly, but the repair will likely fail, so have the slab evaluated before spending time on cosmetics.
There are multiple cracks radiating from one area: that pattern often means a point load, subgrade problem, or shrinkage issue — sealing each line separately will not fix the underlying cause, so look for a broader repair strategy.
The crack is wet from below or darkens again after drying: this suggests moisture transmission through the slab — sealing the top alone may trap the problem, so identify drainage, runoff, or groundwater issues first.
The surrounding concrete is scaling, powdering, or spalling: the surface has lost sound material — a crack seal can’t bond properly to weak concrete, so the damaged area may need patching or replacement.
The crack is in a control joint that has failed across its full depth: control joints are intentional score lines, and if the joint is no longer doing its job, a standard caulk bead may not be enough — you may need a proper joint repair approach sized to the movement. For joint repair methods, the ACI and FHWA materials on concrete joints are useful references.
These are the points where I’d stop the DIY plan and choose a more qualified assessment. The cost of guessing wrong is not just a wasted tube of sealant; it is repeat failure, water intrusion, and a slab that keeps telling you the problem was bigger all along.
How long does the repair take, and what does a good result look like?
A typical crack seal in a garage or walkway takes about 1 to 3 hours of hands-on work for a small number of cracks, plus cure time. If the crack needs grinding, backer rod, masking, and several separate runs, plan on a half day. Damp slab? Bad weather? The schedule stretches, because drying matters more than speed.
Cost depends mostly on crack length, prep work, access, and whether the slab needs grinding or joint rebuilding. A small DIY repair is usually the least expensive route because the material list is limited to cleaner, sealant, and maybe backer rod. A contractor price will vary by region and by whether the job is billed as a minimum service call or as linear footage. I’d expect a contractor to price a visible, stable crack differently from one that needs grinding, routing, or drainage troubleshooting. If someone quotes a low flat price without asking about width, movement, or moisture, that’s a warning sign that the job is being treated too casually.
A good result has three traits. First, the sealant stays bonded at both edges after cure. Second, it flexes slightly when the slab changes temperature, rather than splitting. Third, it does not create a ridge that catches a tire, boot, or broom. On a walkway, water should not sit in the repair line after rain. In a garage, the bead should tolerate rolling traffic without peeling.
If you want the repair to last, I’d put prep ahead of cosmetics. The sealed crack should look neat, but the real measure is whether it keeps dirt and water out through a hot summer and a cold winter. A clean-looking line that fails in the first season is not a success.
How do I keep the crack from coming back?
Keep water away from the slab edge, protect the joint from debris, and watch for movement after the first freeze or heavy rain. That makes the repair less likely to fail for the same reasons that opened the crack in the first place. For drainage and slab-protection guidance, the American Concrete Institute and the FHWA both stress water control and joint maintenance.
Keep downspouts, sprinkler spray, and runoff from dumping water at the edge of the slab. In a garage, sweep grit out of the crack line before it gets ground into the sealant. On a walkway, avoid de-icing products that can speed up surface damage if they are used too heavily. If you see the crack opening again, or a new crack forming nearby, the problem may be movement rather than the seal itself.
The most durable approach is simple: seal the concrete slab crack, protect the surrounding concrete, and monitor it seasonally. If the slab stays stable, that repair can last a long time. If it does not, the crack was probably telling you about a bigger issue from the start.