How to Prevent New Cracks in Concrete, Asphalt, and Foundation Walls
Last updated: September 10, 2026
Key Takeaways
- Verify whether the crack is stable over 30 days.
- Clean the crack and the surrounding surface 2 to 4 inches wide.
- Redirect downspouts at least 5 to 10 feet away.
- It also assumes you can measure width with a ruler or crack gauge and notice whether the crack changes over 30 to 90 days.
Table of Contents
- What kind of cracks are we trying to prevent?
- How do I prevent new cracks in concrete?
- What keeps asphalt from cracking again?
- How do I keep foundation walls from cracking?
- When should I stop and call a contractor?
- What mistakes make new cracks show up again?
- What if the crack is in a cold climate, clay soil, or a new pour?
- How long does prevention take?
A hairline crack today can become a bigger headache by next season. That’s the blunt truth. To stop new cracks in concrete, asphalt, and foundation walls, you have to manage water, movement, and weak fixes before they start spreading again. The fix is not identical for each surface, though; a driveway, a slab, and a basement wall do not fail the same way. I’m aiming this at a homeowner or property manager who wants to deal with seasonal shifting, repeat patch failures, or those thin lines that keep coming back. What actually prevents the next crack? What can wait until Saturday? And when is it time to stop patching and call for structural repair? For concrete, asphalt, and foundation walls, the job starts with drainage, support, and the right repair material.
What kind of cracks are we trying to prevent?
Are you dealing with surface cracking, joint failure, or movement in the structure itself? That answer changes everything for concrete, asphalt, and foundation walls. In concrete, the usual suspects are shrinkage cracks, settlement cracks, and freeze-thaw damage. Asphalt tends to fail because the pavement oxidizes, water gets inside, or the base gives way. Foundation walls are different again — hydrostatic pressure pushes from the outside, and differential settlement means one part of the footing moves more than another.
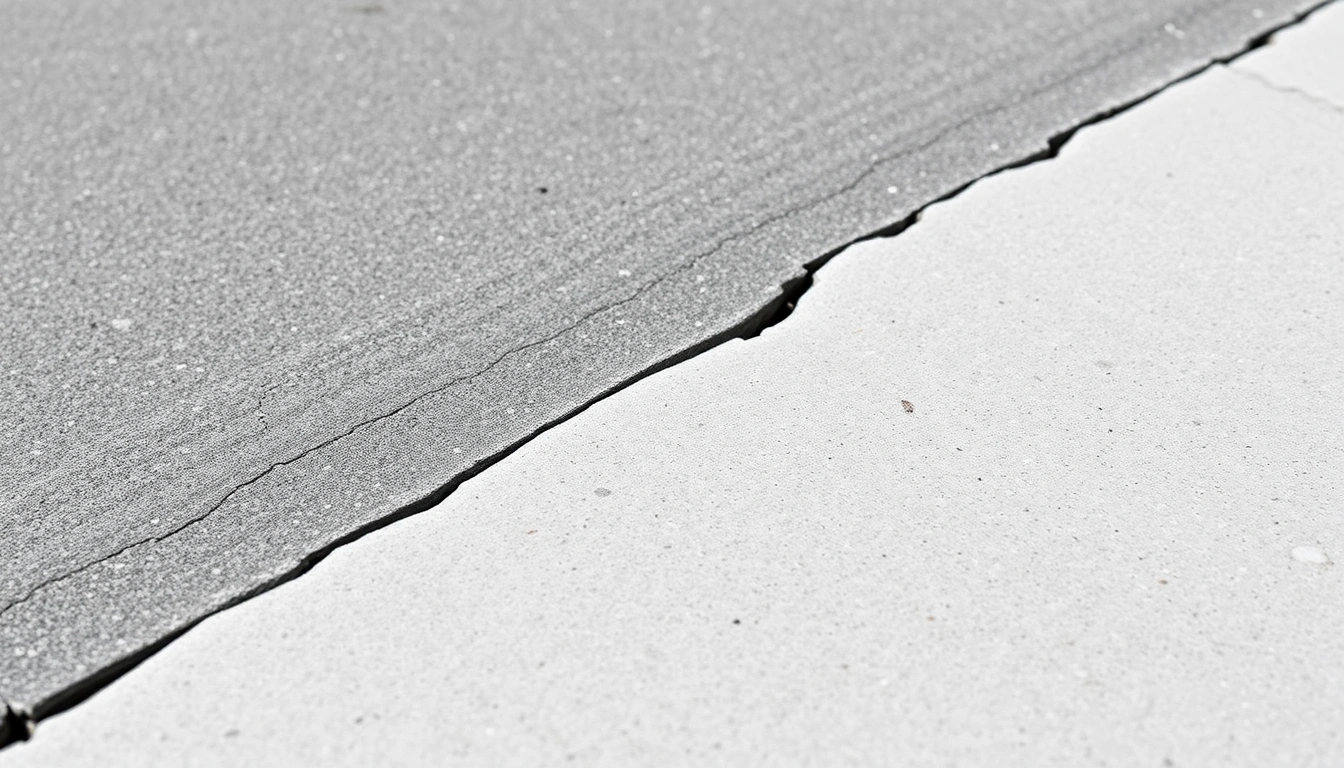
A 1/16-inch hairline crack in a slab is not the same animal as a diagonal crack that widens after every wet spell, and I would not treat them the same way. Still, if the pattern changes, I’d want a concrete or foundation professional involved. The first might just be shrinkage. The second is a clue that the ground or drainage is still active. “Seal everything” sounds tidy, but it usually misses the point. ACI 224R and the U.S. Department of Energy’s drainage guidance both point to the same idea: the cause matters more than the line you can see.
This article assumes you already see the crack, can inspect the area safely, and can do basic cleaning and sealing for concrete, asphalt, and foundation walls. It also assumes you can measure width with a ruler or crack gauge and notice whether the crack changes over 30 to 90 days. What you should not ignore? A wall that bows inward, a floor slope that gets worse, doors that suddenly stick, or a crack opening by more than about 1/8 inch over a short period. That’s not prevention territory anymore. It’s a structural evaluation problem, and a qualified contractor or engineer should look at it.
For context, the American Concrete Institute’s ACI 224R guide on cracking is the standard reference many pros use for concrete crack causes and control, and the National Park Service has clear guidance on controlling water around foundations and masonry. Two forces keep showing up: movement and moisture. That’s the whole ball of wax for how prevent new cracks concrete, asphalt, foundation walls.
How do I prevent new cracks in concrete?
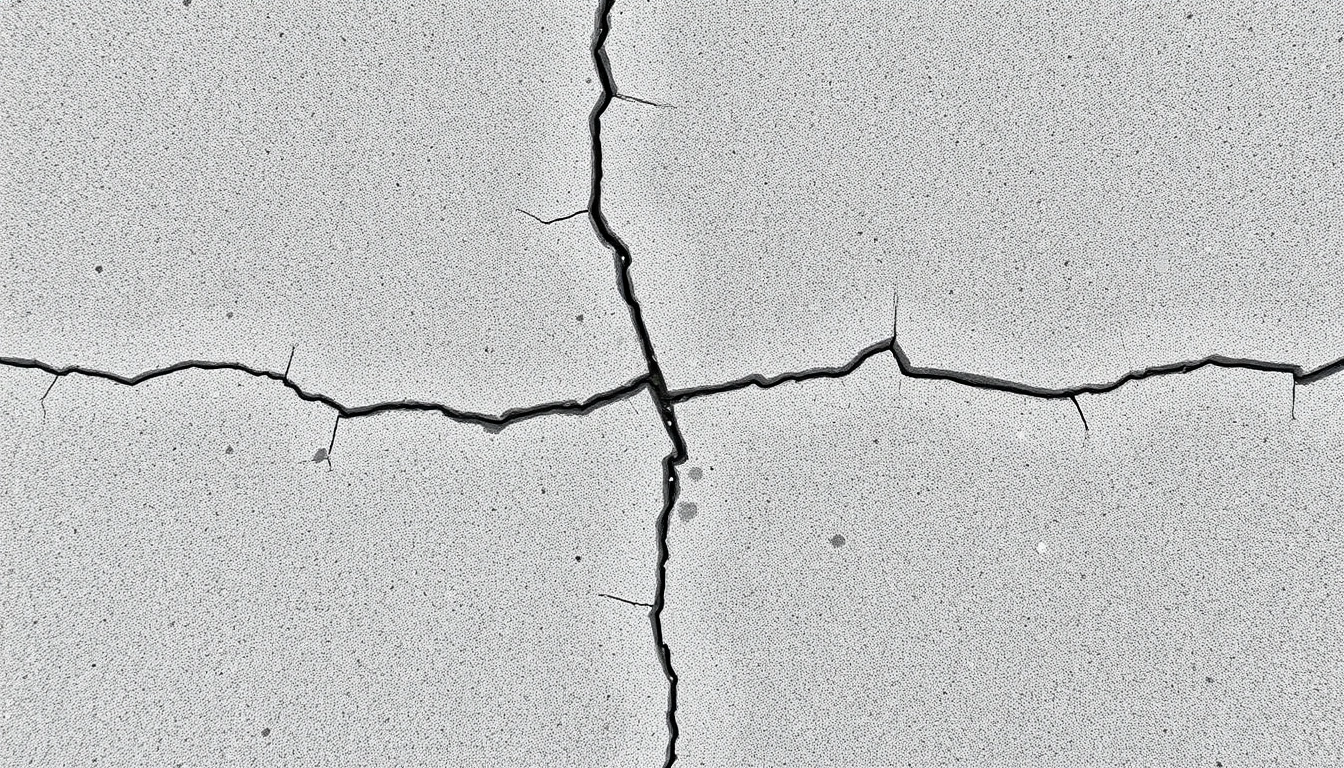
Keep the slab supported, limit shrinkage while it cures, seal joints, and stop water from sitting beside or under it. That’s the short version. The concrete itself is only one piece; the subbase, control joints, and drainage pull their weight too. If the slab is moving or the base is weak, consult a concrete contractor before treating the crack like a simple surface flaw.
Here is the order I would follow for how prevent new cracks concrete:
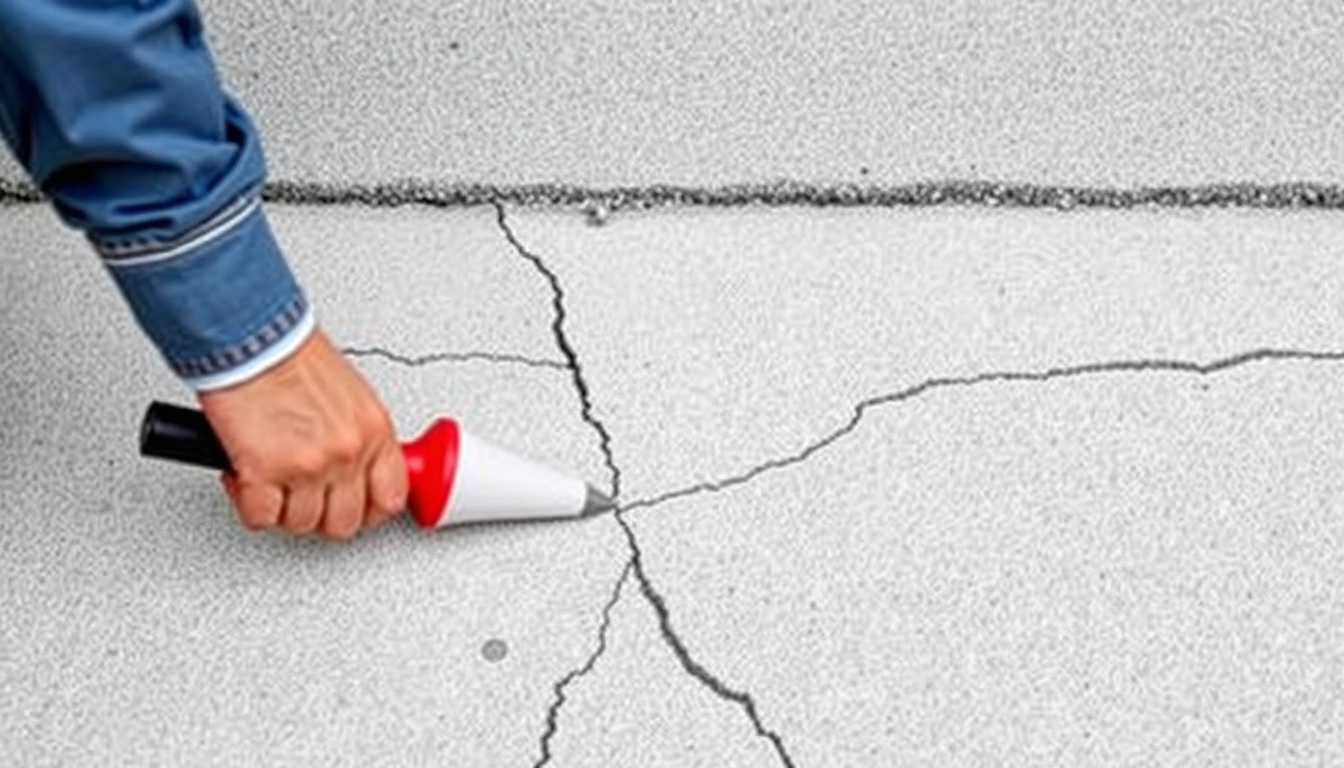
- Map the crack pattern and measure widths. Mark both ends with pencil and date the mark; measure width at 3 points with a ruler or crack gauge, ideally to the nearest 1/32 inch. Verify whether the crack is stable over 30 days. If the line opens, offsets, or branches into a spiderweb pattern, the issue is movement, not just surface checking.
- Clean the crack and the surrounding surface 2 to 4 inches wide. Strip out loose material so the repair can bond. Verify the crack is dry enough for the repair material you plan to use. If water keeps weeping in, sealing from the top will not hold.
- Repair only after the concrete is dry and stable. For nonmoving cracks in a slab, use a polyurethane or epoxy crack filler depending on whether flexibility or rigidity is needed, and consult a professional if you are unsure which is appropriate. For a moving joint, use a backer rod and a polyurethane joint sealant. Verify the product reaches the full depth it is meant to occupy. A skimmed-over top that leaves a hollow underneath will fail fast.
- Keep joints open where the slab is supposed to move. Control joints should not be packed full of hard mortar. Clean them out and reseal if needed with a flexible sealant. Verify there is room for expansion and contraction. If the joint is bridged with brittle material, the next crack often forms beside it.
- Improve drainage so water does not soak the base. Keep soil sloped away from the slab about 6 inches over the first 10 feet where site conditions allow. Redirect downspouts at least 5 to 10 feet away. Verify water does not pond against the slab after a 1-inch rain. If runoff pools at one corner, that corner will usually crack first.
- Limit rapid moisture loss on new concrete. Fresh concrete needs proper curing, not just drying. A curing compound or covered curing method helps retain moisture during the first 7 days, which is the critical window for shrinkage control in many mixes. Verify the surface is not drying patchy, chalky, or curling at the edges. Fast drying in wind or sun often leads to early checking.
- Protect against freeze-thaw and deicing damage. In cold climates, use a penetrating concrete sealer and avoid harsh deicing salts on new work for the first winter when possible. Verify the sealer is rated for exterior concrete and applied to a clean, dry surface. If the surface keeps scaling, the concrete is absorbing water and getting punished by freeze-thaw cycles.
- Watch the repaired area through one wet season. Recheck after heavy rain and after a freeze-thaw cycle. Verify the crack stayed the same width and did not telegraph through the repair. If it reappears beside the patch, the slab may have a base problem or ongoing settlement.
A bad concrete repair is usually obvious once you know the signs: the same line reopens, patch material sits proud and chips at the edges, or new cracks appear 6 to 18 inches away because the real issue was never addressed. That’s the tell. The repair hit the symptom, not the load path, and a professional review may be worth the money.
What keeps asphalt from cracking again?
Water in the base, oxidized pavement, and failing joints or edges. That’s what usually sends asphalt cracking again. The fix is mostly about sealing small defects early and keeping the structure dry, not slapping a thick black coat over the driveway every year. For how prevent new cracks concrete, asphalt, foundation walls, asphalt starts with drainage and edge support.
Asphalt does not behave like concrete. It flexes more, which helps, but heat softens it and age turns it brittle. A 1/8-inch crack that looks harmless in spring can open enough in winter to let water in, freeze, and widen the break. So yes, maintenance matters. Looks can fool you.
I would start at the edges and follow the drainage path, not the center of the driveway. Edges lose support first. If the shoulder crumbles or the pavement hangs over soft soil, the surface flexes and cracks near the margin. Restore support, compact the edge material, and keep water from running along the pavement line.
For narrow cracks, clean them out and apply an asphalt crack filler that remains flexible after cure, but consult a paving professional if the crack is moving or connected to settlement. Hot-pour crack sealant is common in professional work because it bonds well and moves with the pavement; cold-pour products are easier for homeowners but usually less durable. Either way, the crack must be clean and dry. A dirty crack with loose aggregate is a weak joint wearing a fake smile.
For wider or working cracks, filler by itself is not enough. If the crack is spreading because the base has settled, the soil below may need regrading, edge support, or patching. On asphalt, a patch over a moving base often fails at the seam within a season or two.
One more point people miss: sealcoating is not crack repair. A sealer can slow oxidation and limit water intrusion, but it does not bridge active movement. If you coat over open cracks without filling them first, the crack still moves under the sealer and the failure line comes back through. The Federal Highway Administration notes that pavement distress usually returns when water intrusion and base problems are left in place.
How do I keep foundation walls from cracking?
Reduce outside water pressure, control soil moisture, and fix small wall cracks before they become active leaks. That’s the game. The wall is usually reacting to what the ground is doing, so the outside grade, gutters, downspouts, and footing drainage matter as much as the wall surface. For how prevent new cracks concrete, asphalt, foundation walls, foundation drainage is often the most important step.
Foundation cracks are the one category where I want to be stricter. Hairline vertical cracks in poured concrete walls can be common, especially from shrinkage, but horizontal cracks, stair-step cracks in block, or any crack paired with inward bowing deserve careful attention. The wall is not just “showing age”; it is being pushed or pulled.
The prevention sequence is practical:
- Keep gutters clean and sized correctly for the roof load.
- Carry roof runoff away from the foundation with downspout extensions.
- Maintain a positive grade away from the wall, ideally about 6 inches over 10 feet where the site allows.
- Avoid piling mulch or soil above the top of the foundation wall.
- Seal small static cracks with the correct wall repair method before water cycles through them.
- In wet yards, consider whether footing drains or surface drains are needed to lower water at the wall.
A concrete wall crack that stays dry and unchanged is one thing. A crack that leaks after a storm tells you water pressure is part of the problem. A wet basement floor at the wall line often means water is coming in at the footing or through the cove joint, not just the visible crack.
If the wall is block, mortar joints can open as the wall moves. The prevention is not to smear more mortar on the face; it is to manage the soil and water outside. If the wall is poured concrete, epoxy or polyurethane injection can seal certain cracks, but only after the movement is understood. A crack caused by settlement can reopen after a rigid epoxy repair if the structure is still moving.
When should I stop and call a contractor?
Stop once the crack is acting like a movement problem instead of a surface defect. Sealant won’t stop the next one if the structure is still shifting. Here are the situations that change the job:
Cracks wider than about 1/8 inch and still growing: This usually means active movement — do not just patch it; get a structural assessment or repair contractor to diagnose settlement or lateral pressure.
Horizontal foundation cracks: These often point to wall pressure from soil or water — stop DIY sealing and have the wall evaluated before it bows further.
Cracks with one side offset up or down: The slab or wall has moved out of plane — a surface repair will not correct the support problem.
Repeated crack failure in the same location after repair: The cause is still active — a contractor needs to look at drainage, base support, or joint design.
Visible inward bowing, bulging, or leaning: The wall is deforming under load — do not wait for the crack to “settle”; that can mean the load is increasing.
Water entering through the crack during rain or snowmelt: Moisture is still traveling through the assembly — sealants alone are not enough if drainage is wrong.
For ordinary household work, a competent homeowner can still handle cleaning, drainage adjustments, and flexible crack sealing on minor, stable cracks. But once the line starts changing, diagnosis comes before coating. Simple.
What mistakes make new cracks show up again?
The biggest mistake is repairing the visible crack and ignoring the cause. That usually means a second repair later, and sometimes a bigger one.
- Painting or coating over a crack without filling it. The coating bridges nothing and the crack telegraphs back through. The better alternative is crack cleaning, proper filler, then coating if needed.
- Using rigid material on a moving joint. Hard mortar or stiff filler in a joint that needs movement will split beside the repair. Use a flexible sealant where movement is expected.
- Skipping drainage work. If downspouts dump at the foundation or water ponds by the slab, the crack source stays active. Extend runoff first.
- Repairing damp or dirty cracks. Adhesion fails. Clean and dry the crack to the product’s requirements before applying anything.
- Ignoring the base or subgrade. On asphalt and slabs, bad soil support means repeated cracking. The fix may require regrading or base repair, not just patching.
- Treating all cracks as cosmetic. A 1/32-inch hairline and a 1/4-inch widening crack are not the same problem, and it is wise to consult a professional if the crack changes. Measure before deciding.
A bad repair looks neat on day one and ugly by the next season. The better repair may seem less polished up close, but it stays bonded and the crack line does not keep moving.
What if the crack is in a cold climate, clay soil, or a new pour?
Change the approach when frost, expansive soil, or curing conditions are in the mix. In a cold climate, freeze-thaw cycles make water control nonnegotiable. Any crack that lets water in can widen after repeated freezing. In that setting, I would prioritize drainage, sealing, and air-entrained concrete for new work, because air entrainment helps concrete resist freeze-thaw damage.
On expansive clay soils, seasonal moisture change can move slabs and walls more than the crack repair can tolerate. The soil shrinks when dry and swells when wet. Here, the goal is not just sealing but keeping moisture more even around the structure. That may mean better downspout routing, controlled irrigation, and avoiding large grade changes close to the wall.
For a new pour, curing is the big deal. Concrete that dries too fast in the first week is more prone to shrinkage cracking. The standard fix is proper curing for at least several days; many contractors aim for 7 days of controlled curing on typical mixes, though project conditions and mix design matter. If a slab cracked early because it was left exposed to wind and sun, later sealers cannot undo that.
One edge case people forget is a driveway with heavy vehicle loads. A cracked area that supports delivery trucks, RVs, or repeated turning loads is under more stress than a normal parking pad. In that setting, a shallow cosmetic patch is more likely to fail, and the base may need reinforcement or reconstruction.
How long does prevention take?
Because curing controls the first crack risk, the timeline depends on whether you are dealing with a new pour or an existing crack. For a new slab, the first 7 days matter most, and many repairs should be watched through at least one wet season. For an existing driveway or wall, the immediate work can take an afternoon, but drainage fixes and crack monitoring usually take 30 to 90 days to verify.
On a typical weekend job, a homeowner can clean, seal, and redirect runoff in 2 to 6 hours if the crack is stable and the area is accessible. If the line keeps changing after 30 days, or the wall shows bowing, staining, or movement, prevention is no longer the right label for the project and you should consult a contractor or engineer.