How to Seal Basement Wall Cracks from the Inside
Last updated: September 10, 2026
Key Takeaways
- Clean the crack and the surrounding 4 to 6 inches.
- Read the cure window carefully; many products need at least 24 hours, sometimes longer in cool weather. Follow the manufacturer’s label instructions or consult a foundation professional; see U.S. EPA guidance on damp basements and drying conditions.
- Remove standing water, run a fan, and give the wall at least 24 hours of drying time if conditions allow.
- Keep the area dry and undisturbed for the product’s cure window, often 24 hours or longer depending on the material and temperature. Follow the product label or consult a foundation professional; see U.S. EPA guidance on moisture control.
A basement crack that leaks from the inside is not always a disaster. But it is also not something to shrug off. The fix has to match the crack, plain and simple: clean, dry, then seal stable hairline to modest openings from the interior. Stop, though, if the wall is bowed, moving, or cracked in a structural pattern. A good inside repair can block seepage in a poured concrete or block wall; it will not cure drainage trouble, hydrostatic pressure, or foundation movement.
Who this applies to, and what I assume you already know
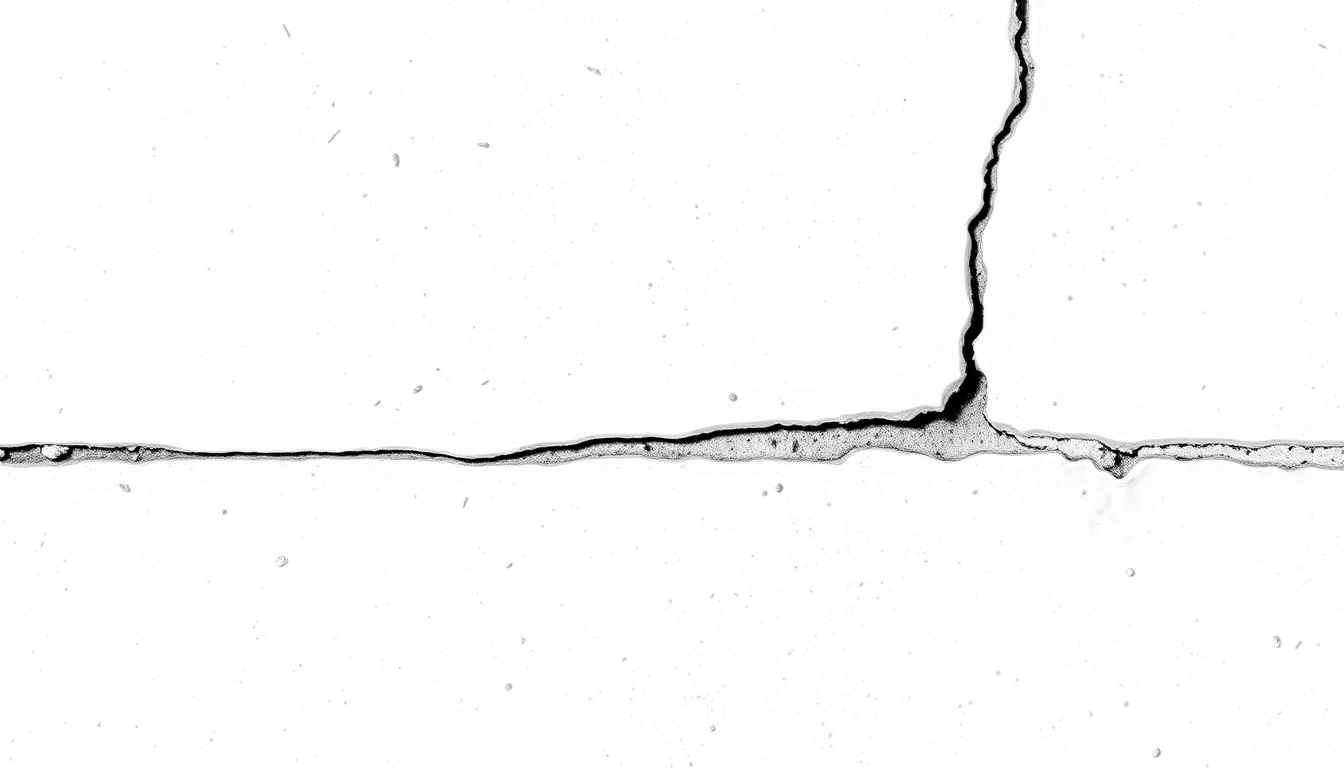
This is for a homeowner or hands-on reader dealing with a basement wall crack that lets in dampness, seepage, or the occasional trickle, usually in a poured concrete wall or a concrete block foundation. I’m assuming you already know how to clean a surface, use a caulk gun or mixing container, and work safely around dust, concrete, and chemical sealers. I’m also assuming the wall is not actively bowing, collapsing, or shifting. If it is, sealing the inside is a bandage, not a repair.
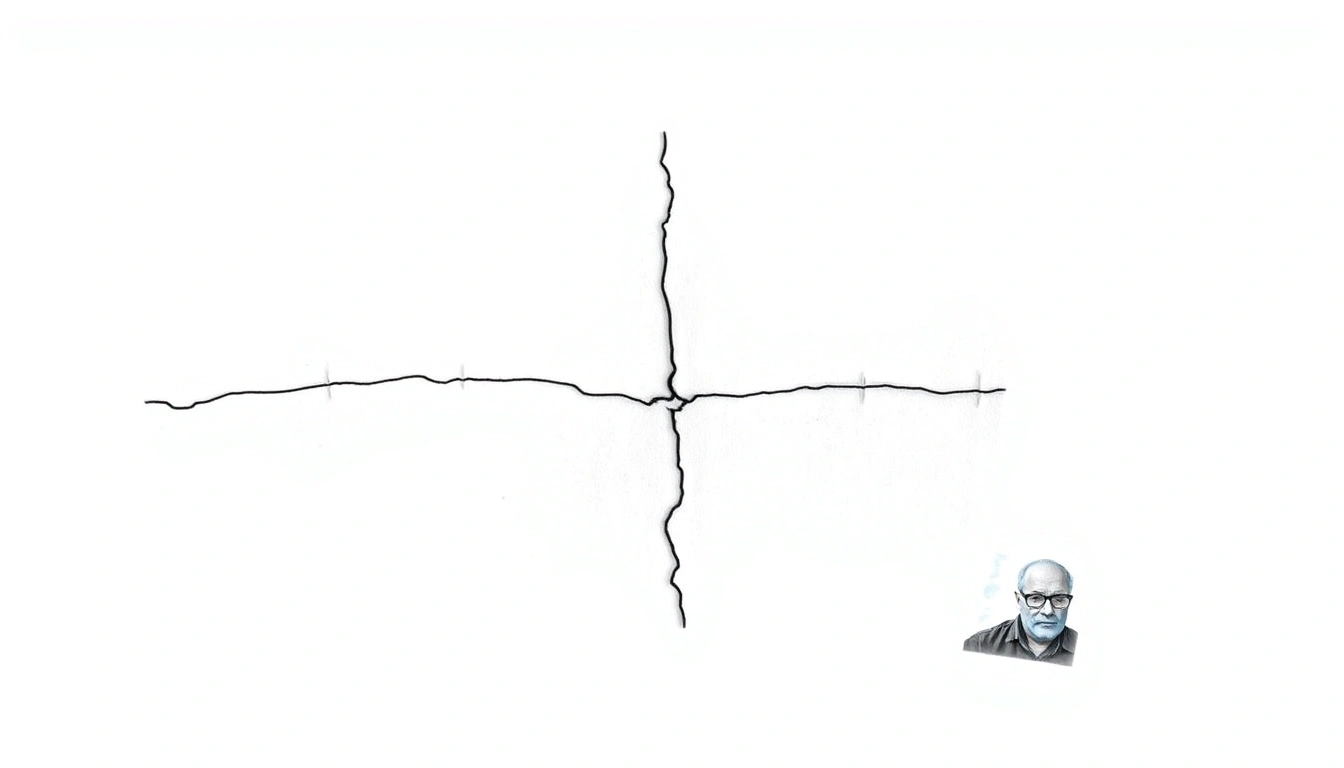
How seal basement wall cracks from inside begins with separating a leak path from a foundation problem. A vertical hairline crack from shrinkage is a very different job from a stair-step crack in block or a horizontal crack in a poured wall. Horizontal cracks, cracks wider than about 1/4 inch, cracks with offset from one side to the other, or cracks that keep opening after you patch them are outside the “seal it yourself and move on” category. Those need someone qualified to assess the foundation before you close anything over.
I would also separate “wet” from “moving.” A damp crack that has stayed the same for months is a sealing job. A crack that grows with seasons, opens during rain, or shows one edge proud of the other is a movement problem. Inside sealants can stop water, but they do not knit a moving foundation back together.
If you are doing this yourself, plan on basic tools, a vacuum, a wire brush, a chisel or scraper, masking material, and a repair material meant for masonry cracks — often polyurethane injection for active leaks, epoxy for dry structural cracks, or hydraulic cement for small surface defects. I’ll explain where each belongs. I would not use interior crack sealing as the first fix for a basement that already needs exterior grading, a downspout extension, or sump work; those water-management issues usually decide whether the repair lasts 6 months or 6 years. Honestly, that trade-off is where many DIY jobs go sideways.
What kind of crack can be sealed from the inside?
You can usually seal it from the inside if the crack is narrow, stable, and not showing structural distress. That means the wall is intact except for the crack itself, and the crack is acting like a path for water rather than a sign of failure.
A good candidate is often a vertical or diagonal crack in poured concrete, or a thin mortar-line crack in a block wall with no bulging. Hairline cracks — the kind you can barely fit a putty knife into — may only need surface preparation and a sealant. Cracks around 1/16 inch to 1/8 inch wide are often still manageable with injection or patching. Once you get near 1/4 inch, I start asking why it opened. At that point, shape matters as much as width. Funny how a tiny gap can tell on itself.
A structural epoxy injection is used when the goal is to bond concrete back together. “Epoxy” here means a rigid resin that hardens into a strong adhesive; it is for dry cracks that are not expected to move. A polyurethane injection is more flexible and is better when water may still be present or when the crack may open and close a little with temperature or soil pressure. Hydraulic cement is a fast-setting patching material that can sometimes stop a localized seep, but it is not the best answer for a long crack that needs deep sealing.
The kind of crack I would not casually seal is a horizontal crack in a poured wall, especially if it lines up with floor level or shows inward bowing. I also would not trust a stair-step crack in block if the wall is displaced, because the block may be shifting. Sealing the face only hides the symptom.
A useful rule is that if you can press on the wall and see movement, or if the crack has a measurable offset, treat it as more than a leak and consult a foundation professional. If the wall is otherwise sound and the crack is the only problem, inside sealing is often the right first repair.
How do you seal a basement wall crack from the inside?
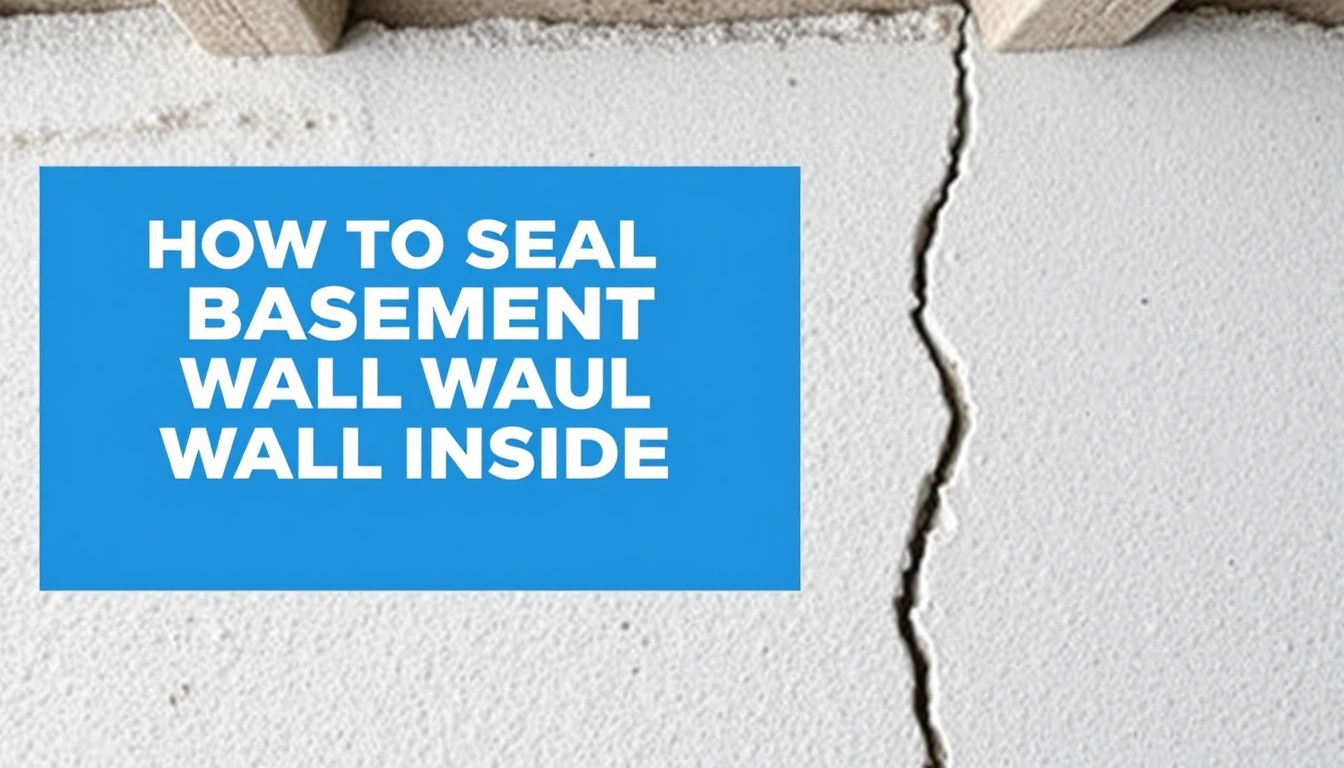
You seal it by cleaning the crack thoroughly, opening it enough to accept the repair material, packing or injecting the right product, and then confirming that water is no longer coming through after the next wet period. The order matters.
- Mark the crack and measure it. Use painter’s tape or a pencil to outline the full length, then note the width at the thinnest and widest points with a ruler or feeler gauge. Verify whether the crack is straight, diagonal, vertical, or stair-step. A problem sign is a crack that is wider at one end, has a sharp offset, or changes width over a few feet.
- Check for movement before sealing. Put a small pencil mark across the crack at 2 or 3 places, or tape a simple crack gauge over it, then watch it for at least a few days and after rain. Verify that the marks do not separate further. If they do, the wall is still moving and injection alone may fail.
- Dry the wall as much as possible. Remove standing water, run a fan, and give the wall at least 24 hours of drying time if conditions allow. Consult a foundation professional if the crack is still damp or you are unsure whether the product can bond. Verify that the surface is not wet to the touch and that there is no active drip. A problem sign is water pushing out of the crack as you work; that often means you need a water-stop material or a different product choice.
- Clean the crack and the surrounding 4 to 6 inches. Vacuum dust, scrape loose paint, and brush out efflorescence, which is the white mineral powder left by water movement. For stubborn edges, lightly open the surface with a chisel to create a small V-groove, usually just enough to give sealant a bite. Verify that loose material is gone. A problem sign is crumbling concrete or soft mortar, which suggests a larger substrate problem.
- Select the repair method for the crack type. Use epoxy for dry, stable cracks in poured concrete; use polyurethane for cracks that seep or may still move slightly; use hydraulic cement only for small patches or plugging an obvious leak point. Verify the product’s stated cure time and application method on the label, and consult a foundation professional if the label guidance conflicts with the site conditions. A problem sign is choosing a rigid product for a damp, active crack that needs flexibility.
- Install the material from the inside face. If using an injection kit, place ports along the crack at the recommended spacing, usually several inches apart, then seal the surface over the crack and inject from the lowest port upward. If using a patching compound, pack it firmly into the groove with a putty knife, pressing to the back of the crack as much as possible. Verify that the repair material fills the line with no voids. A problem sign is a hollow-sounding patch or a pinhole that still weeps.
- Allow full cure time before loading the wall. Keep the area dry and undisturbed for the product’s cure window, often 24 hours or longer depending on the material and temperature. Consult a foundation professional if the repair is in a cold, damp basement or the product label gives a longer cure period. Verify that the patch is hard, bonded, and not tacky before you remove masking or apply finish paint. A problem sign is painting too soon or covering a soft repair, which can trap moisture or break the bond.
- Test after the next rain or water event. Inspect the crack line, the floor joint, and the surrounding wall after rainfall or a hose test at grade level outside the wall area. Verify that no damp line returns. A problem sign is a new wet spot next to the repaired crack, which usually means water found another path.
I usually favor injection over surface patching for longer cracks because it reaches deeper into the wall. Surface patching can look finished while leaving the crack open behind it. Neat on the outside, wet on the inside. Classic.
What should I check before I start?
Check the crack pattern, the wall material, and the moisture source before you open a bucket of repair compound. That saves time and avoids treating the wrong problem.
How seal basement wall cracks from inside depends first on the wall type: poured concrete, concrete block, or stone. Poured walls usually crack in a cleaner line and accept injection better. Block walls often leak through mortar joints as well as the crack itself, so the repair may need to span more than one joint. Stone foundations behave differently again, and many inside sealers are a poor fit for irregular masonry.
Second, look for white efflorescence, peeling paint, mold staining, or a damp tide mark. Efflorescence means water has been moving through the masonry and carrying salts to the surface. That doesn’t tell you the crack is structural, but it does tell you the wall has been wet repeatedly. If the wall is damp across a broad area, I would not expect a single crack repair to solve everything.
Third, check the floor-to-wall joint. A lot of basement water shows up there and gets blamed on the crack because the path is hard to read. If the floor joint is wet too, the outside drainage or footing drainage may be part of the same problem.
Fourth, read the crack with a straightedge or a level if you suspect bowing. A slight inward curve or a horizontal crack with visible deflection is a different category from a shrinkage crack. A wall that moves inward even a little deserves more caution. In foundation work, “small” can still matter.
Finally, compare the weather. If the crack leaks only after heavy rain or snowmelt, that points to water pressure outside the wall. If it leaks even in dry weather, the issue may be groundwater or condensation. That distinction affects whether you choose polyurethane, a patch, or a broader drainage fix.
I’d rather see a reader spend 20 minutes checking these details than spend a Saturday sealing a crack that is only the symptom of a bigger moisture route.
When should I stop and call this the wrong fix?
Stop when the crack shows movement, structural distress, or a leak pattern that inside sealing cannot realistically hold back. In those cases, the consequence of forcing a surface repair is usually a wasted repair and a hidden wall problem that keeps getting worse.
Horizontal crack in a poured wall: This often points to lateral soil pressure or bowing — do not seal it as a stand-alone fix; have the wall evaluated before covering it over.
Crack wider than about 1/4 inch: This may be too large for simple injection or patching — check whether the wall has shifted, then use a repair plan suited to the cause, not just the opening.
One side of the crack is offset from the other: That offset means movement, not just leakage — stop the cosmetic repair and look for structural assessment.
Water is actively flowing through the crack during rain: A sealant may not bond well against active flow — use a water-stop approach only if the product is meant for live leaks, and address outside drainage at the same time.
Cracks in a block wall with bulging or stair-step displacement: That pattern can mean the wall is under load — patching the inside face may hide a problem that is still progressing.
Recurring leak after two repair attempts: Repeated failure usually means the water path is broader than the visible crack — shift to a drainage or structural solution instead of another layer of patching.
I would also stop if the wall is painted with a film-forming coating that keeps peeling. Covering over failed paint without removing it makes adhesion worse. And if the basement has chronic humidity rather than a specific leak, crack sealing may only treat one symptom of a ventilation or condensation issue. That is why I keep saying to read the water pattern first.
What mistakes do people make most often?
The most common mistake is sealing a dirty crack. Dust, salts, loose paint, and damp sludge prevent bond. The consequence is easy to predict: the repair peels, blisters, or leaks around the edges. The better move is to vacuum, scrape, and expose sound masonry before applying anything.
Another mistake is using the wrong material for the crack type. Rigid epoxy on an active seep or a crack that still moves can fail because it has no give. Flexible polyurethane on a dry structural crack may stop water but not restore bond the way epoxy can. Choose the product based on whether the crack is dry, wet, stable, or moving.
A third error is patching only the visible front edge. A basement wall crack is a passage, not a surface scratch. If the material does not reach deep enough, water simply follows the path behind the patch. Injection works better for that reason; it fills the fracture from within.
A fourth mistake is ignoring outside drainage. If downspouts dump water near the foundation, or if grade slopes toward the house, the wall keeps getting loaded with water. The consequence is repeated failure even when the patch itself is sound. The correct alternative is to correct runoff and soil grade so the wall sees less pressure.
A fifth error is painting too soon. Even a good repair can fail if you trap uncured material under paint or waterproof coating. Read the cure window carefully; many products need at least 24 hours, sometimes longer in cool weather. If the surface is still soft, leave it alone.
The last mistake I see often is treating every crack as “normal settling.” That phrase can become an excuse to ignore movement. Not every crack is dangerous, but not every crack is harmless either. If the crack is changing, leaking more, or forming a pattern with others, I would stop pretending it is a simple seal job.
When the standard approach does not apply
The standard inside-sealing approach needs modification when the wall is masonry block, stone, painted, or already waterproofed. Those surfaces change adhesion, cure behavior, and where the water is actually traveling.
If the wall is block, the crack may be part of a larger mortar-joint leak, so a narrow injection line may not catch the whole path. If the wall is painted, the coating may need to come off far beyond the crack so the repair can bond to bare masonry. If the wall already has a waterproofing membrane or coating, I would confirm that the new product is compatible before adding another layer.
Because the wall is only as dry as the soil and grade around it, a crack that keeps returning after rain often points outside, not inside. The safest order is to fix roof runoff, downspout discharge, and soil slope first, then seal from the inside if the crack still needs attention. In many basements, that combination matters more than any single crack product.
For sealed or finished basements, be careful with odor, cure time, and vapor trapping. Some products need more ventilation than people expect, and some coatings can lock in moisture if the wall is still damp. That is one reason a small test patch is smart when you are unsure.
Comparison of common inside crack repair options
| Product | Best use | Typical cure window | Approx. 2026 price range |
|---|---|---|---|
| Epoxy injection | Dry, stable cracks in poured concrete | About 24 hours or longer | $40 to $150 per DIY kit |
| Polyurethane injection | Active seepage or slightly moving cracks | About 12 to 24 hours, sometimes longer | $45 to $180 per DIY kit |
| Hydraulic cement | Small surface defects or a localized leak point | Minutes to a few hours | $10 to $30 per bag |
| Professional crack injection | Cracks with movement, wide openings, or repeated leaks | Varies by product and site conditions | $300 to $1,200+ per crack in many markets |
Sources
- U.S. Environmental Protection Agency, Mold and Moisture
- Indiana Department of Environmental Management, Basement Moisture and Mold guidance
- U.S. Department of Energy, Basements and moisture control